- Node.js ≥ 18.0.0
- A package manager for your platform (optional):
- macOS / Linux:
brew - Arch Linux:
paru - Windows:
choco,winget, orscoop
- macOS / Linux:
1. Install OpenCode
Pick whichever installation method fits your system and tooling.1. Install via Node.js
2. Using Homebrew (macOS / Linux)
3. Using Paru (Arch Linux)
4. Windows Installation
Windows users can install OpenCode with any of the following:2. Configure OpenCode via CC Switch
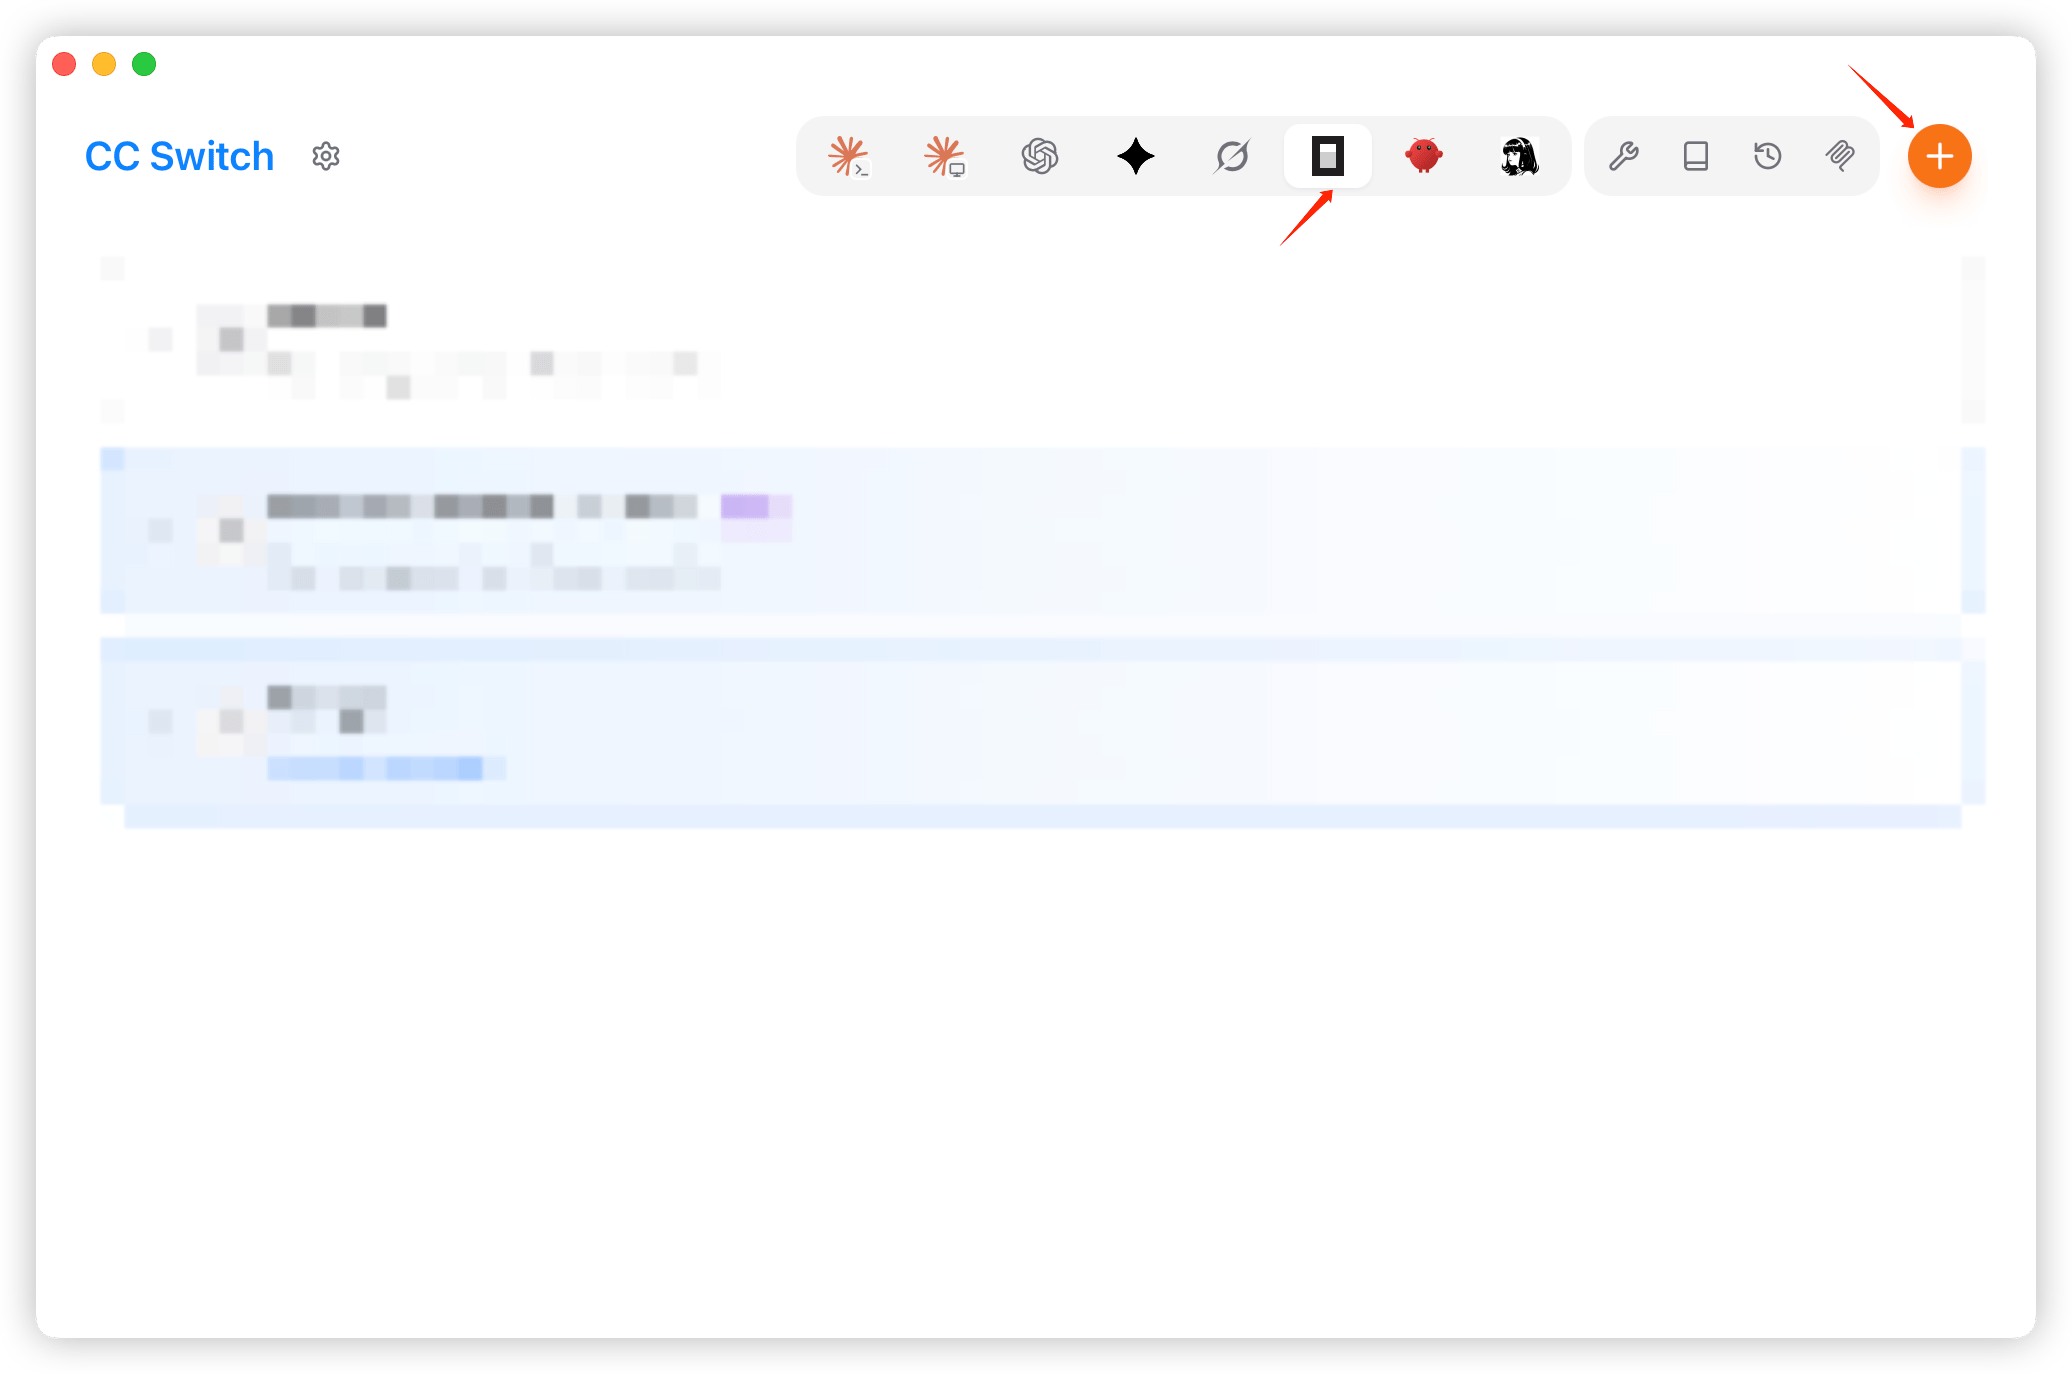
- Launch CC Switch, select OpenCode on the left, then click “Add Provider.”
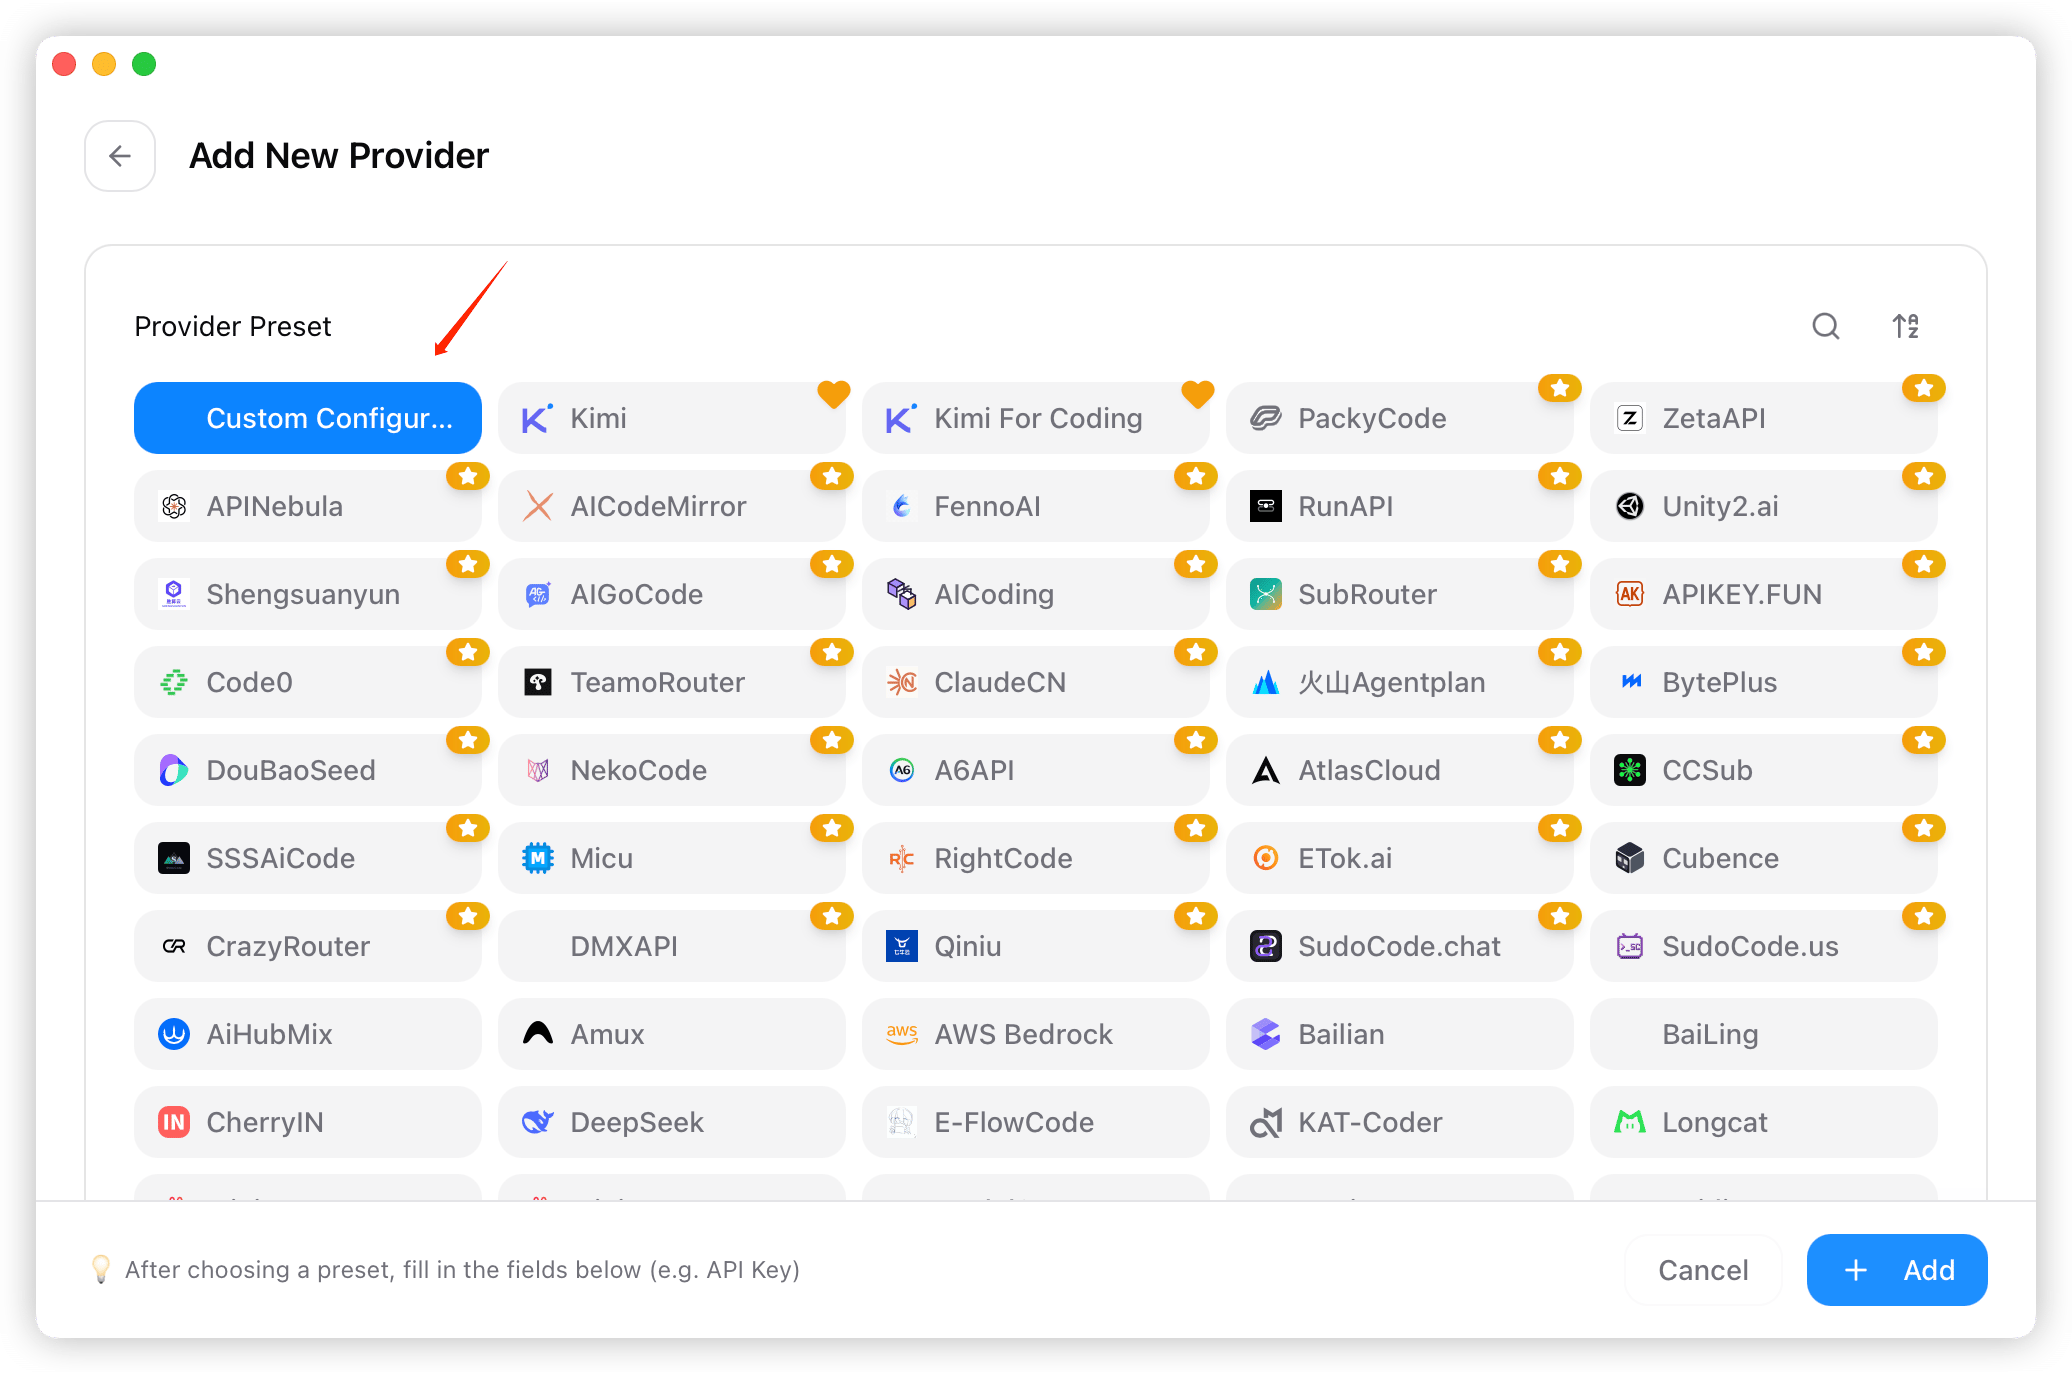
- From the preset list, choose “Custom Configuration” as the provider.
- Fill in the provider key, name, API key, and endpoint (“https://api.harogo.ai/v1”), etc.
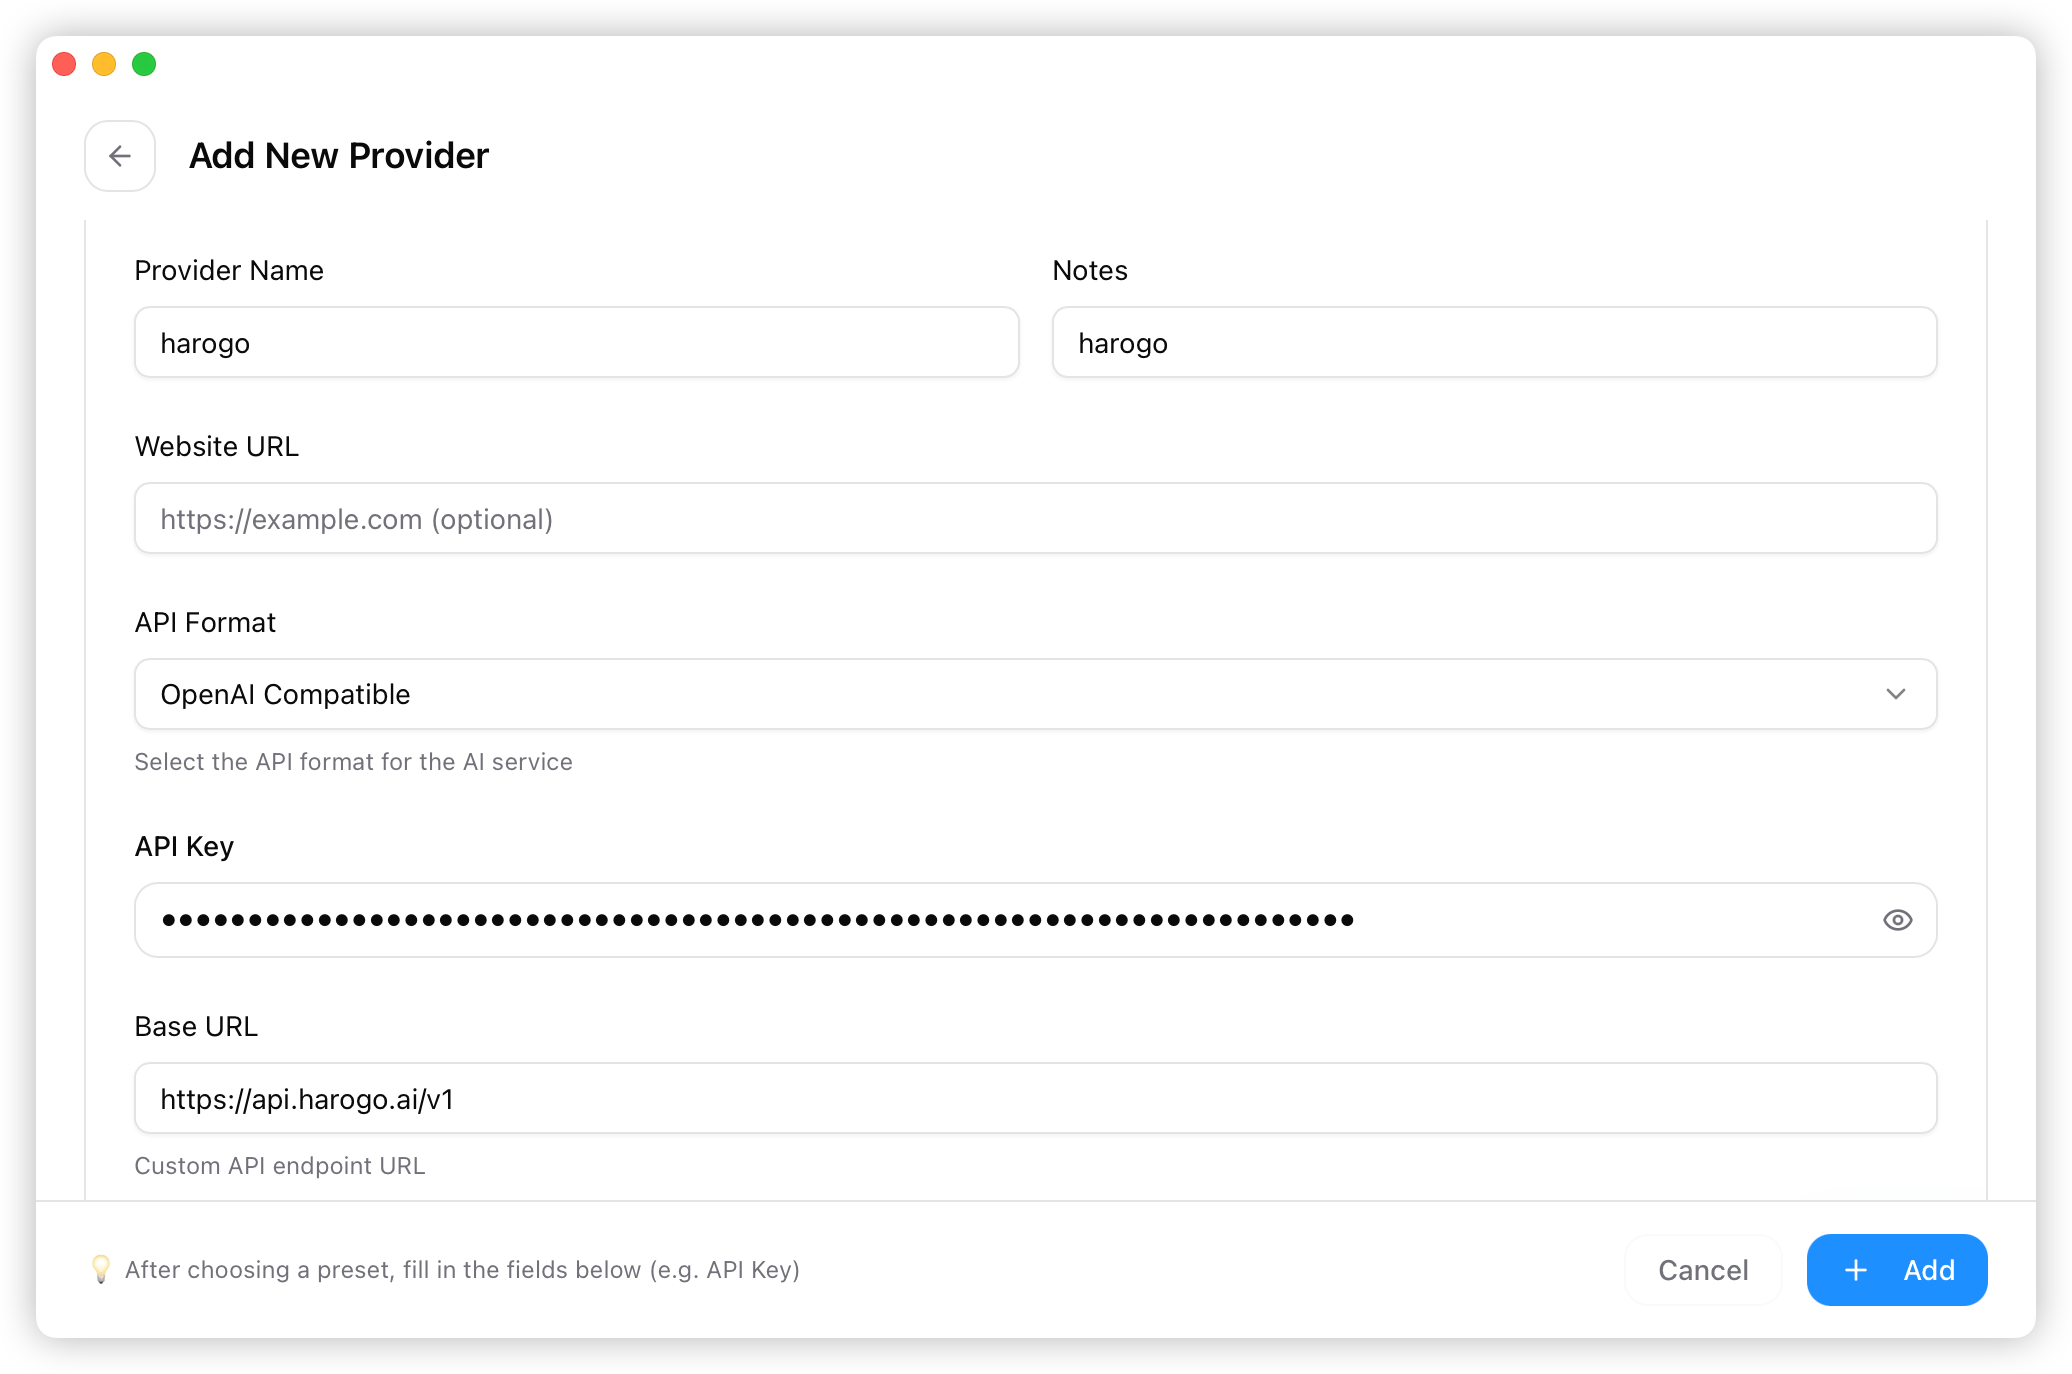
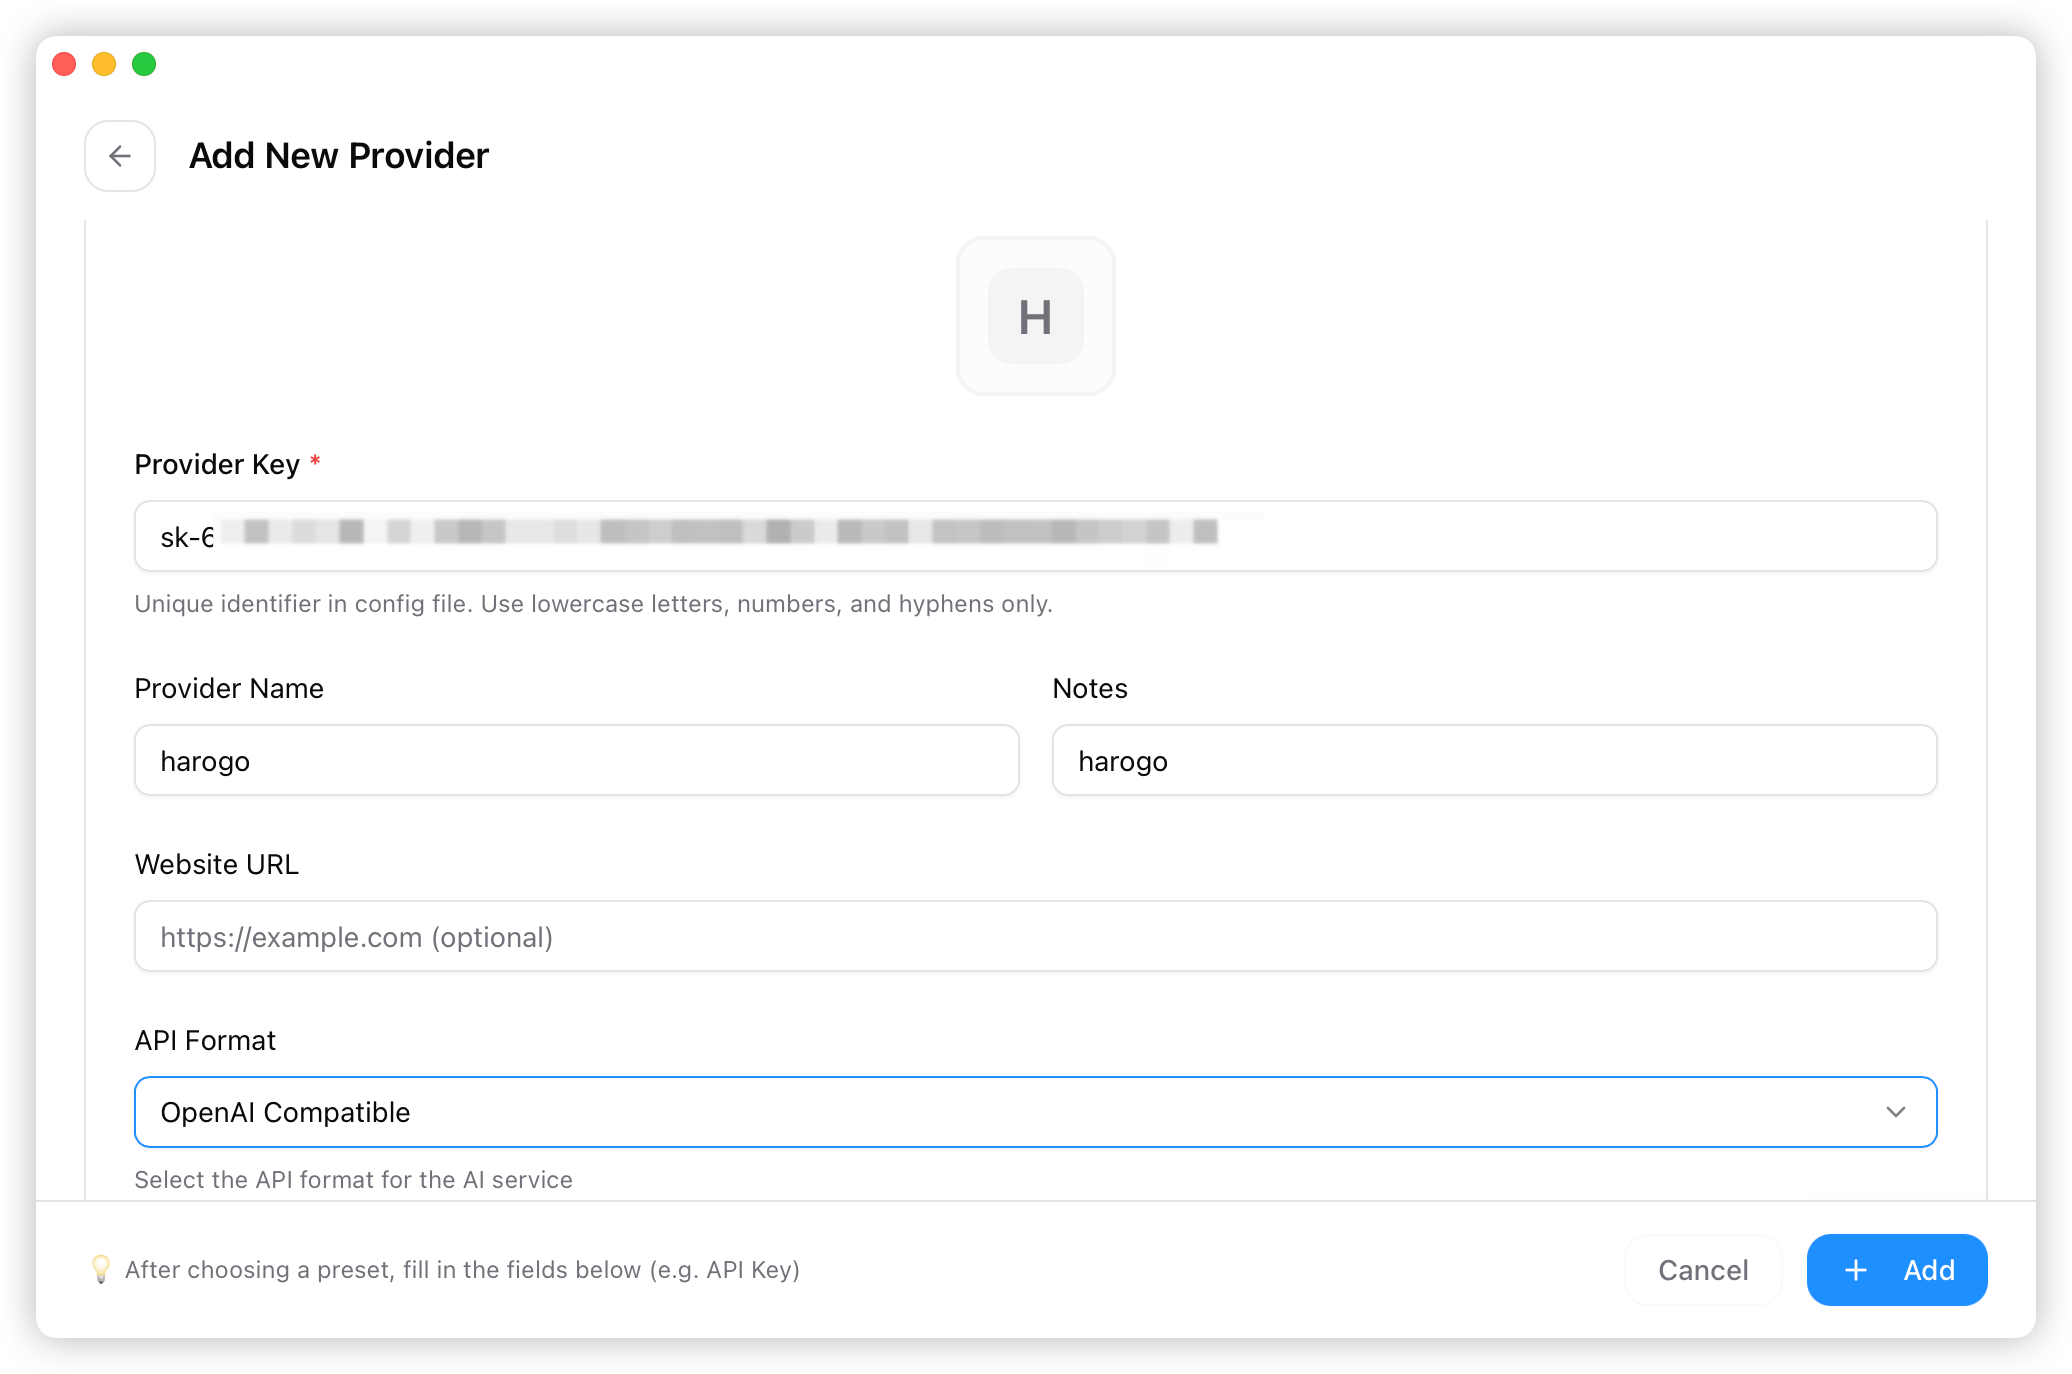
- Fill in the model information, then save.
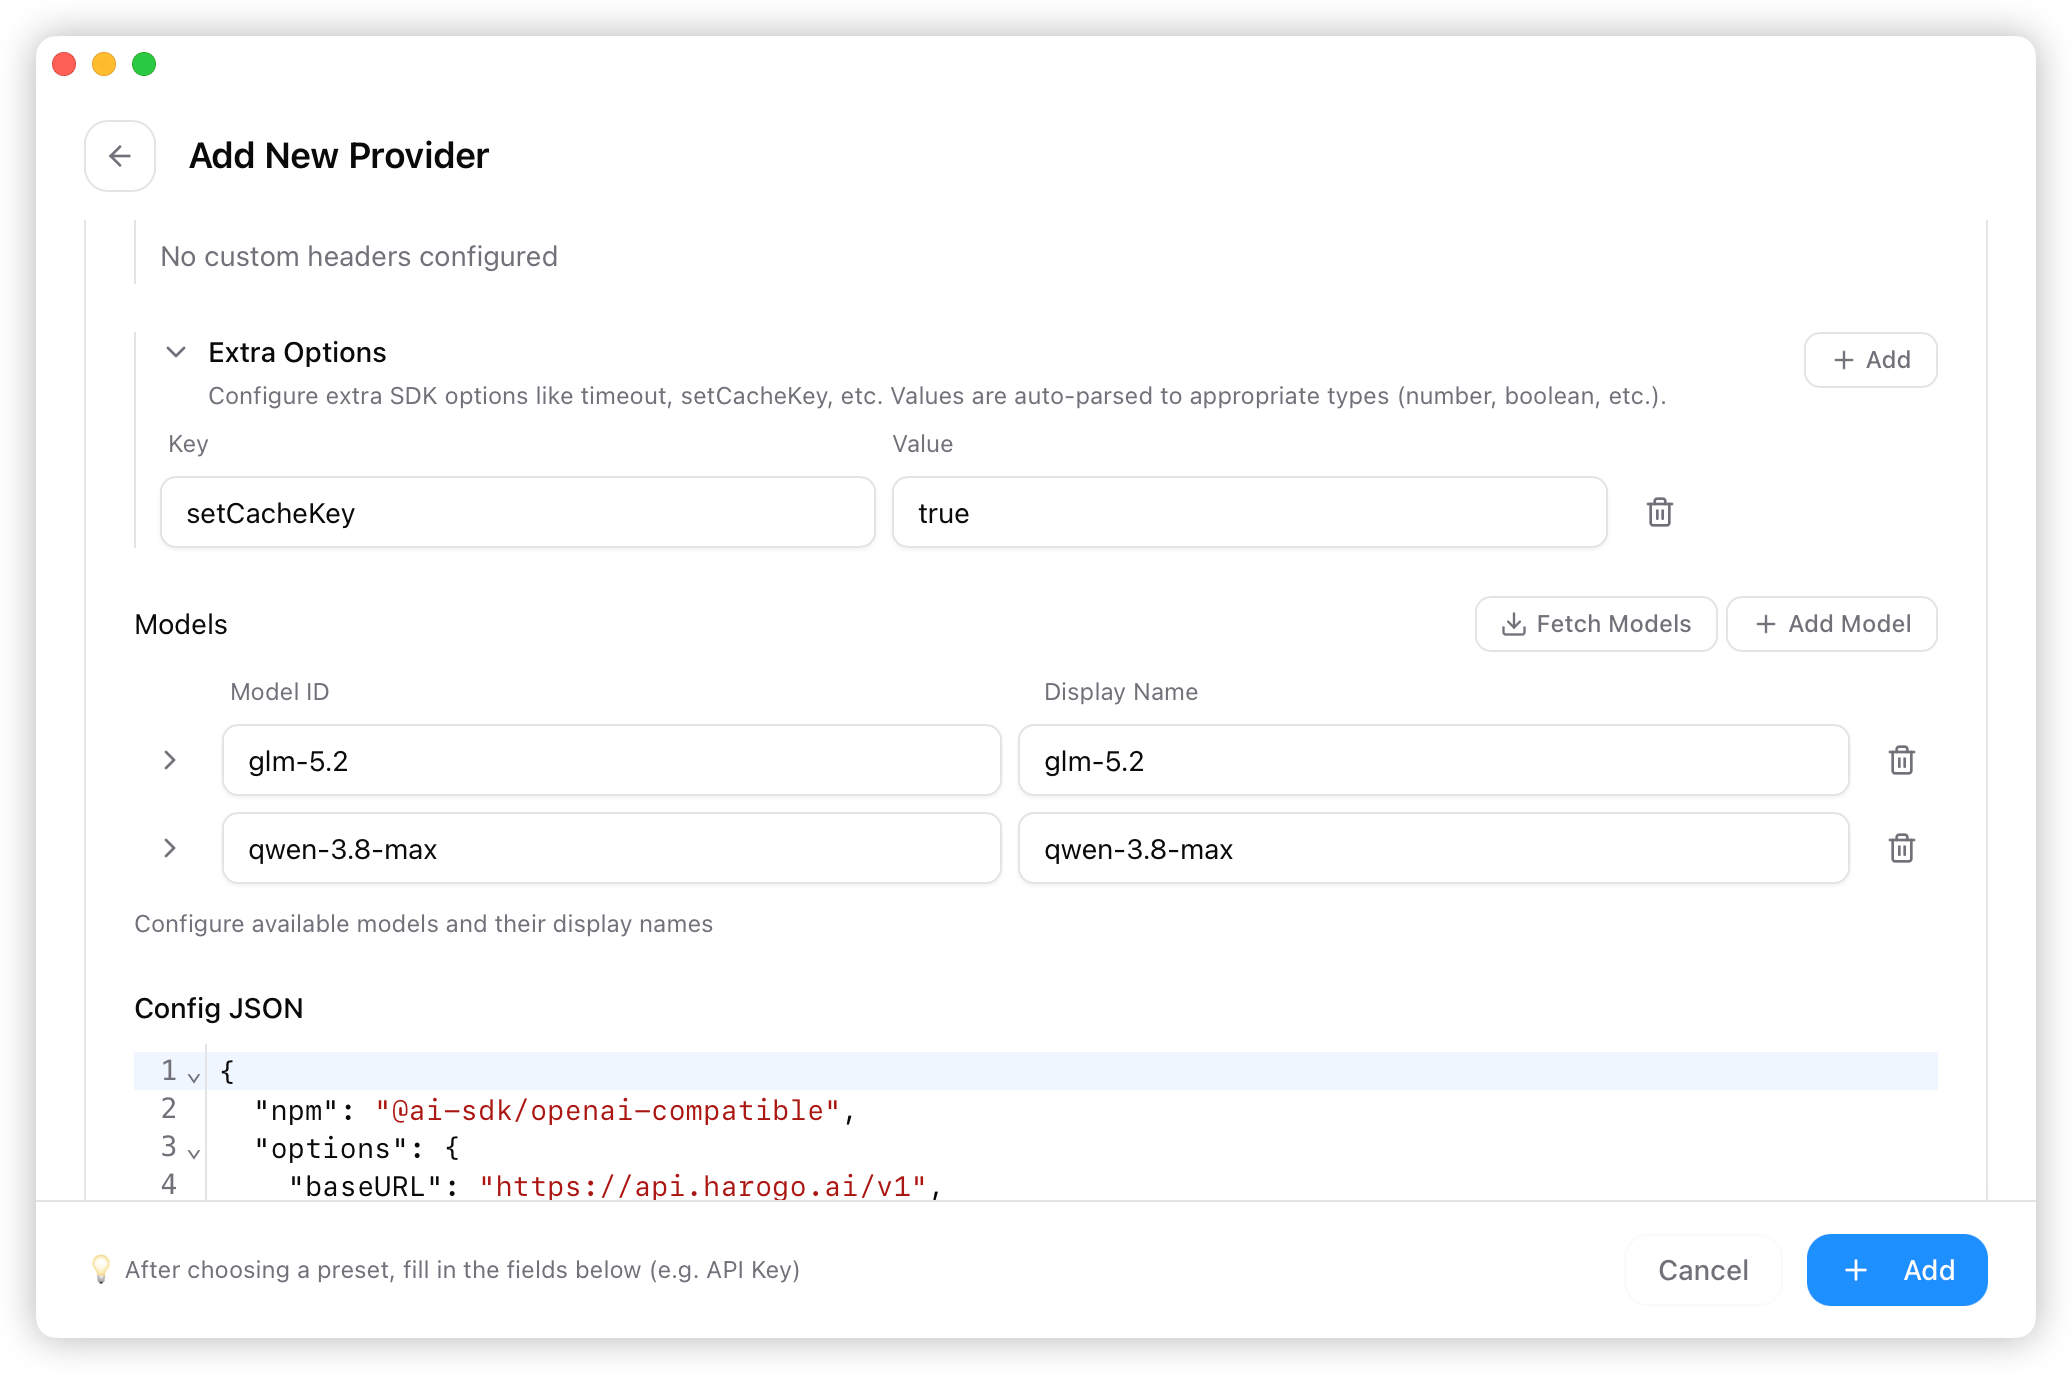
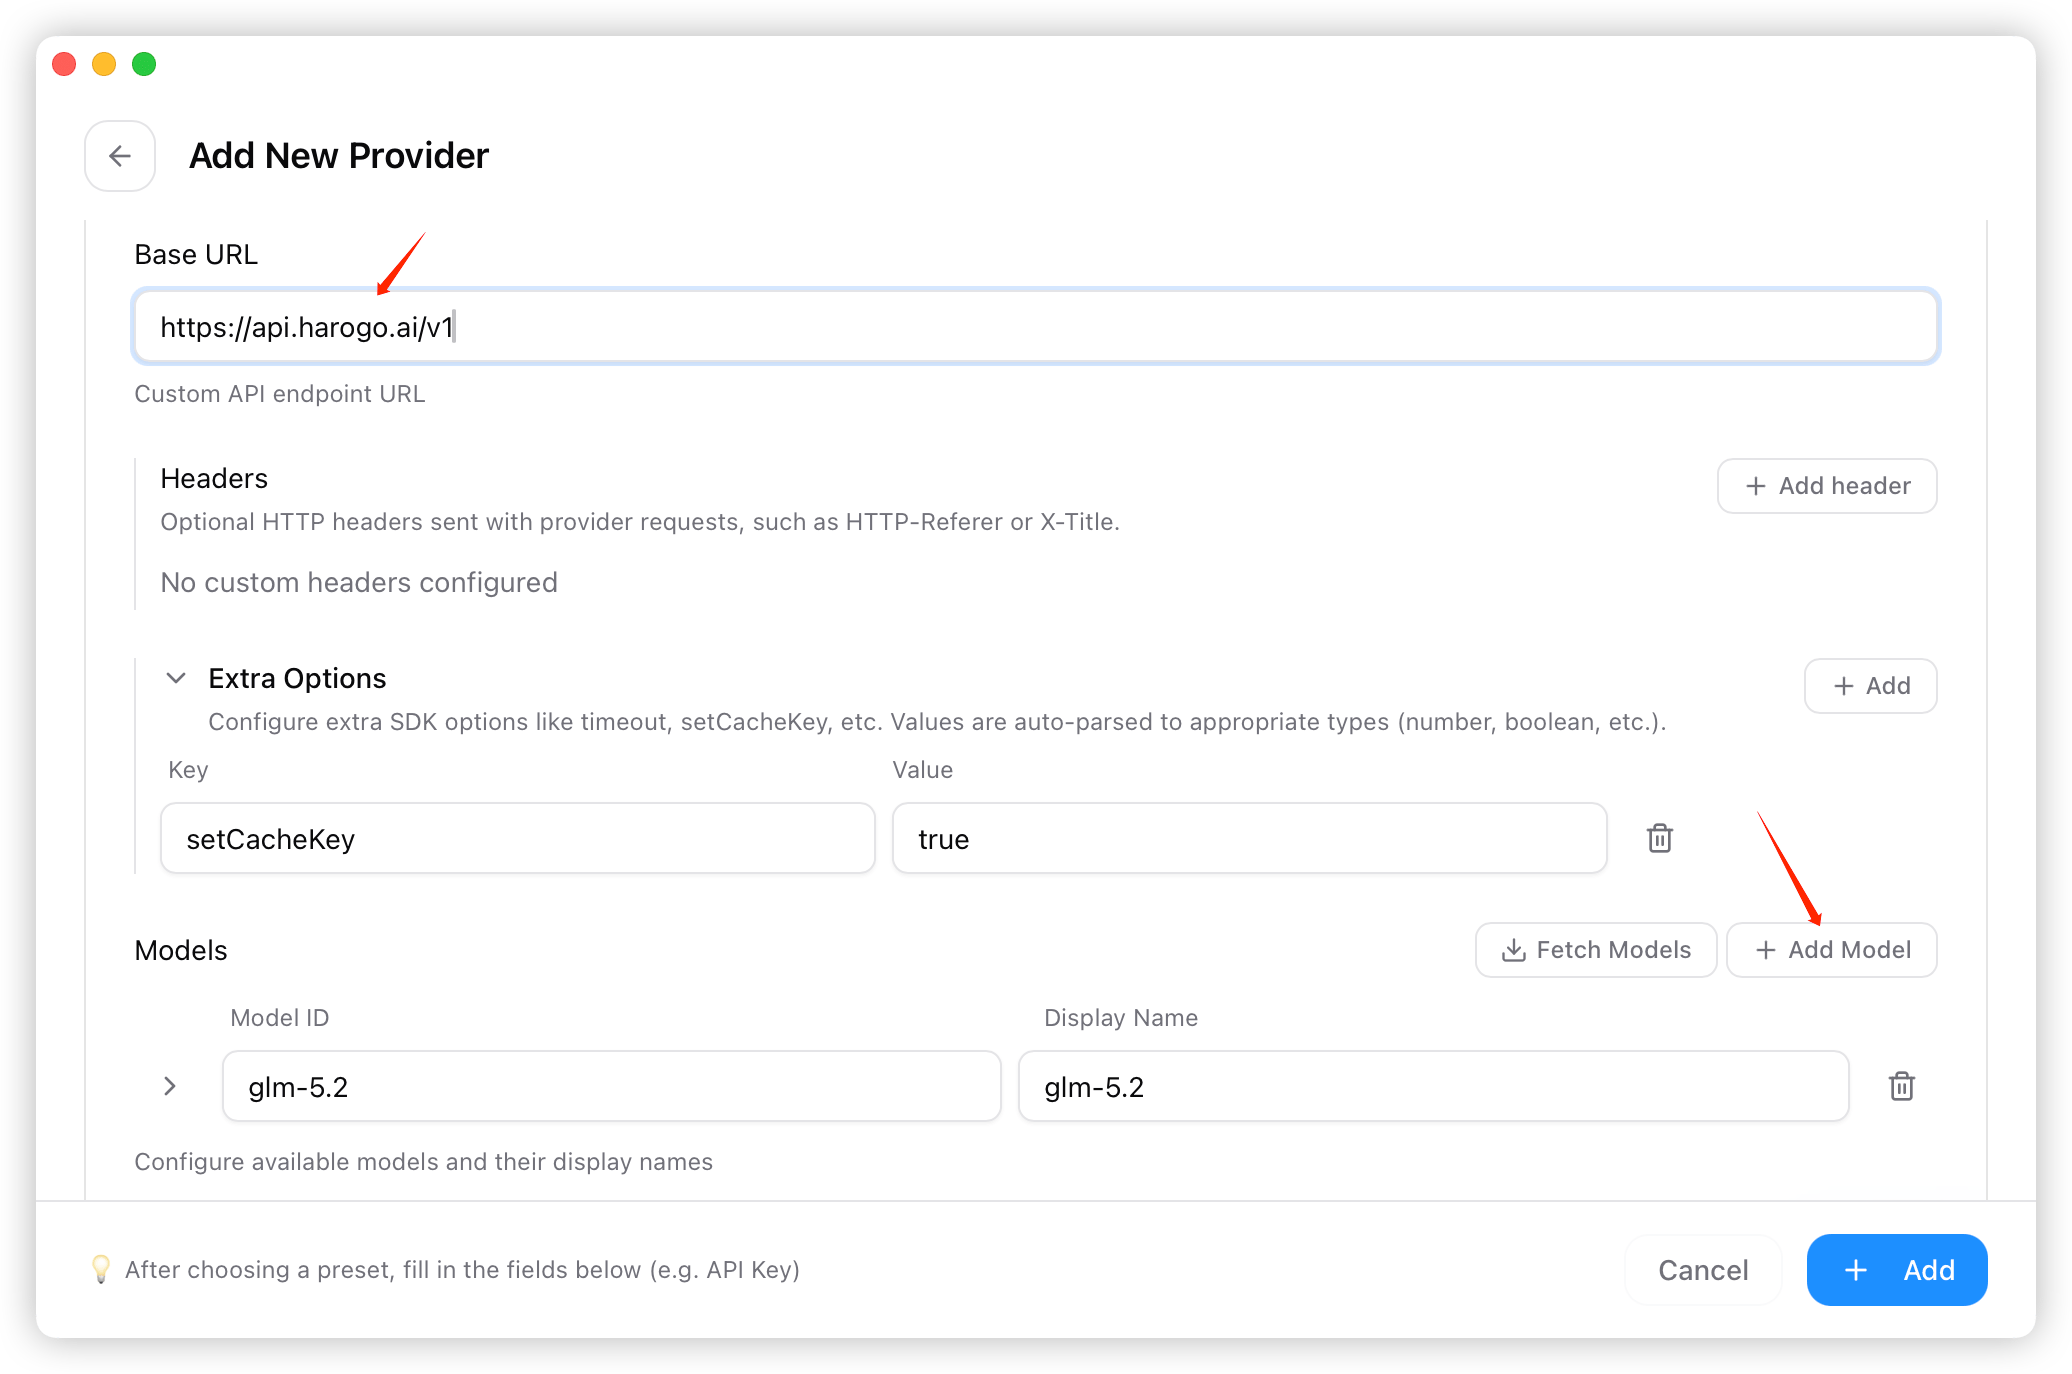
- Back on the home screen, select “harogo” from the provider list and click “Use.”
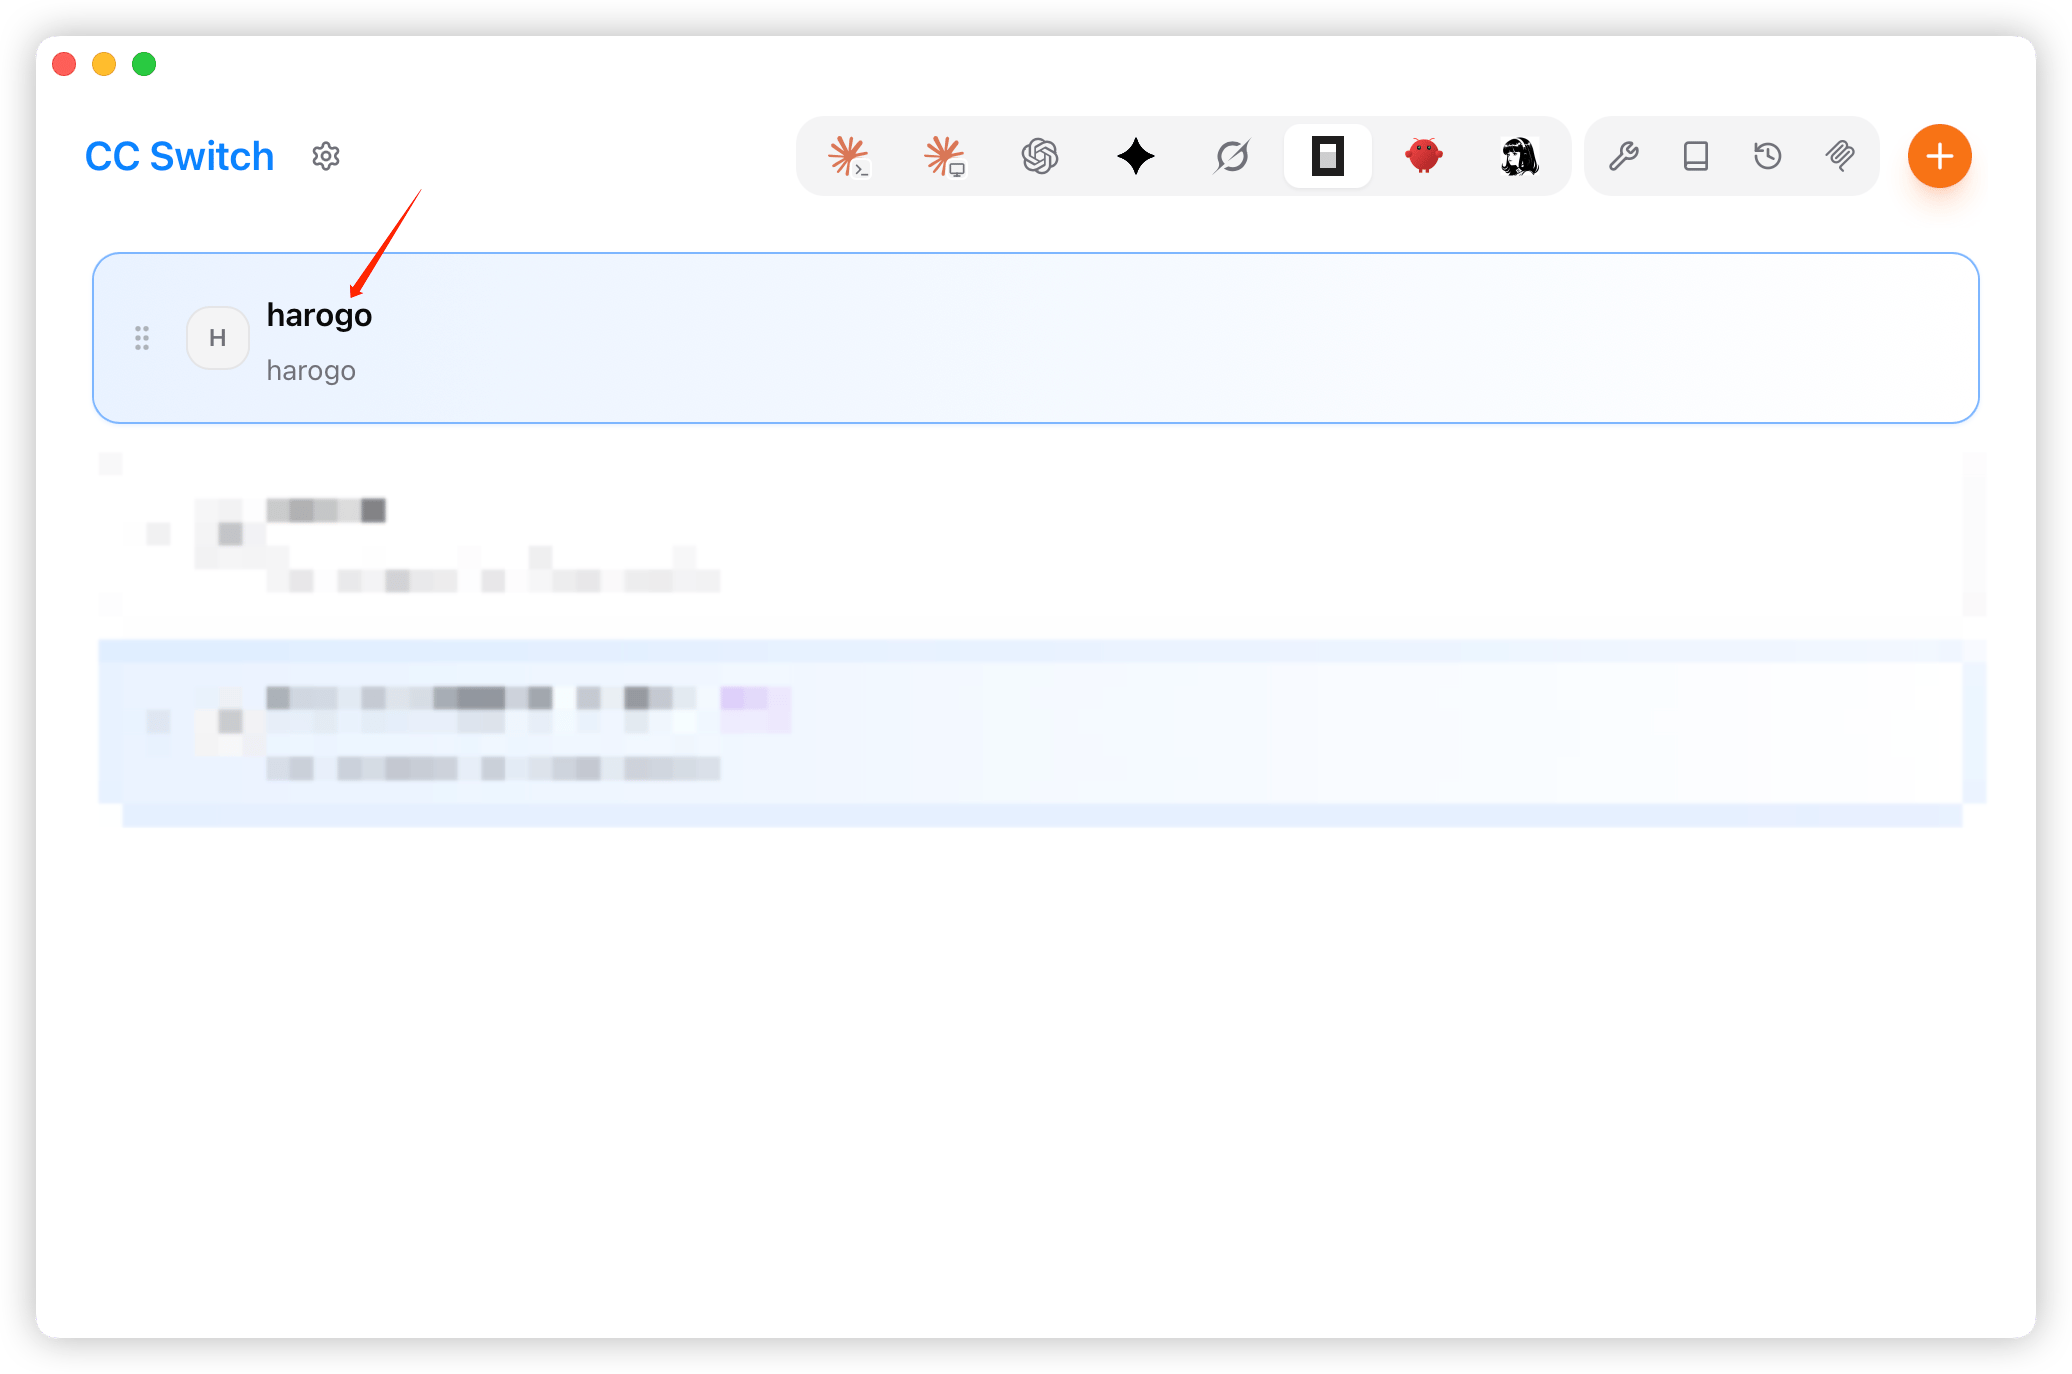
3. Using the Model
1. Verify the Installation
You can verify that OpenCode installed and configured correctly with the following command: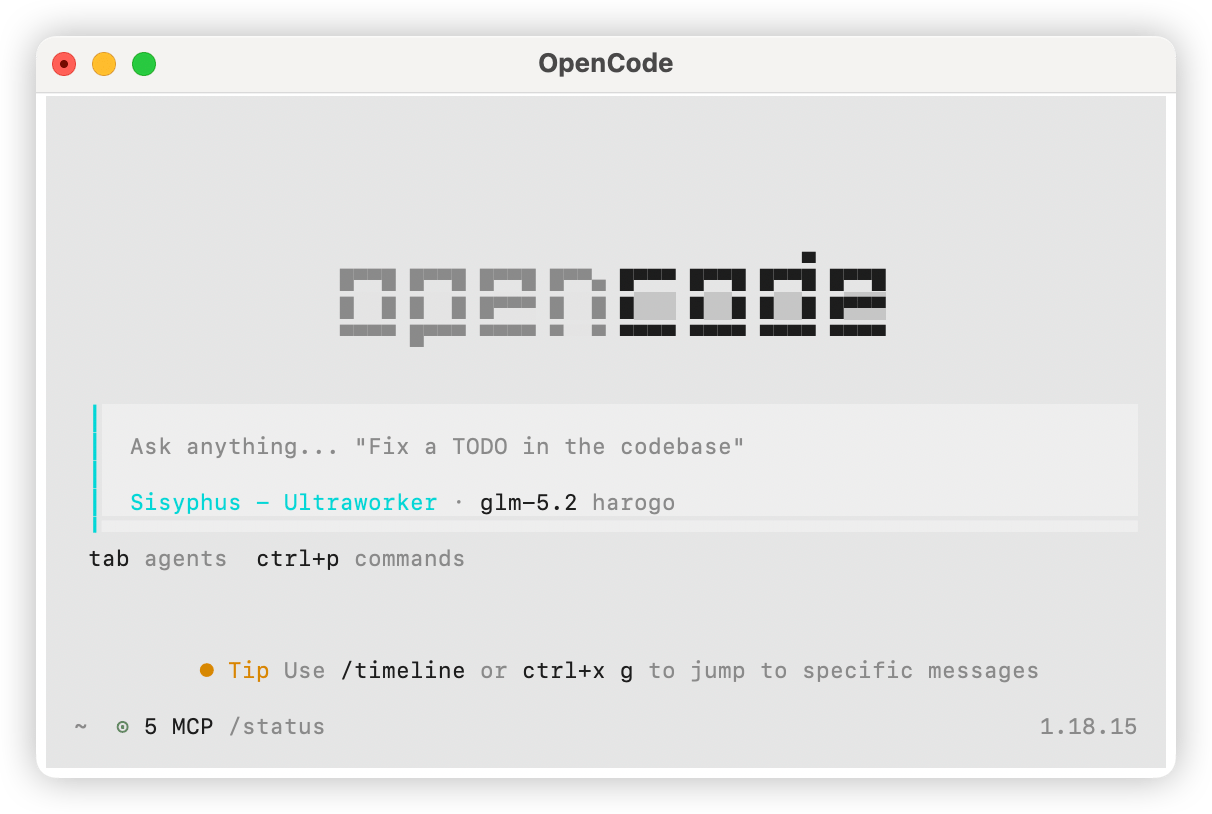
2. Select a Model
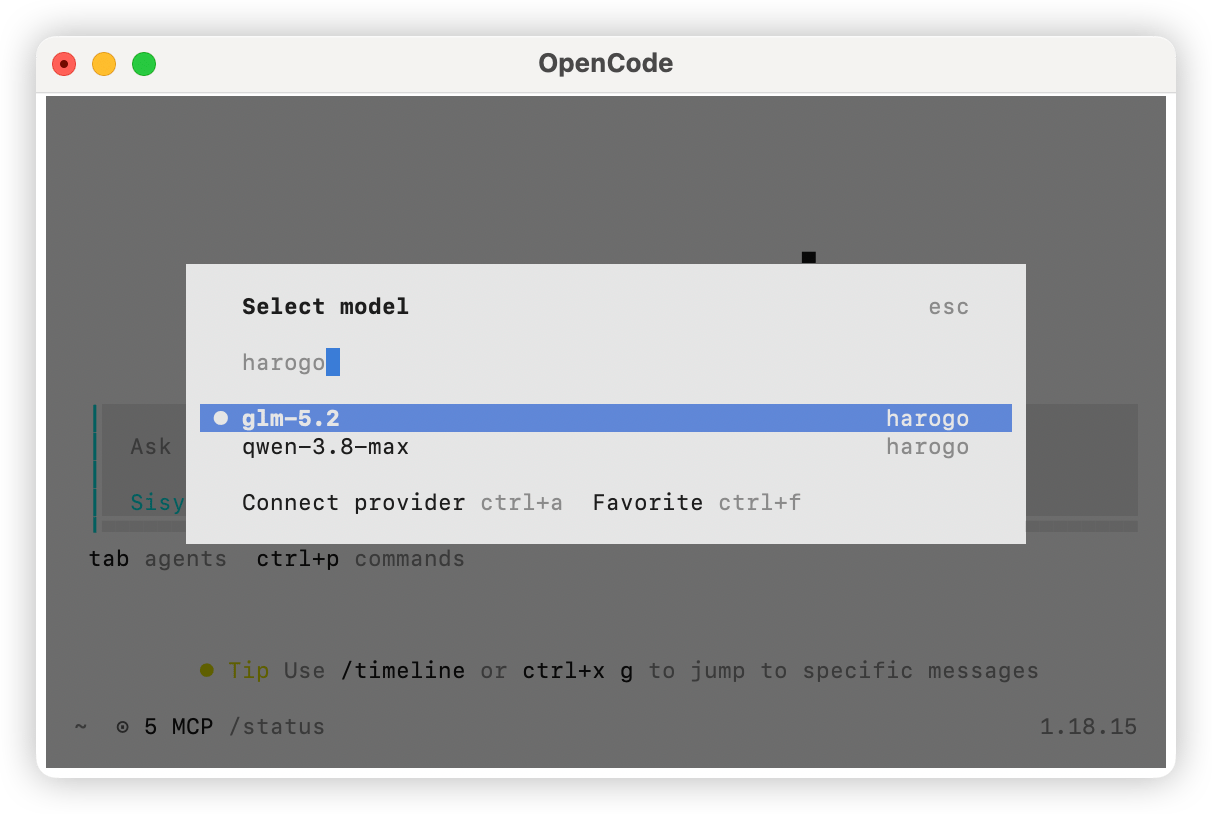
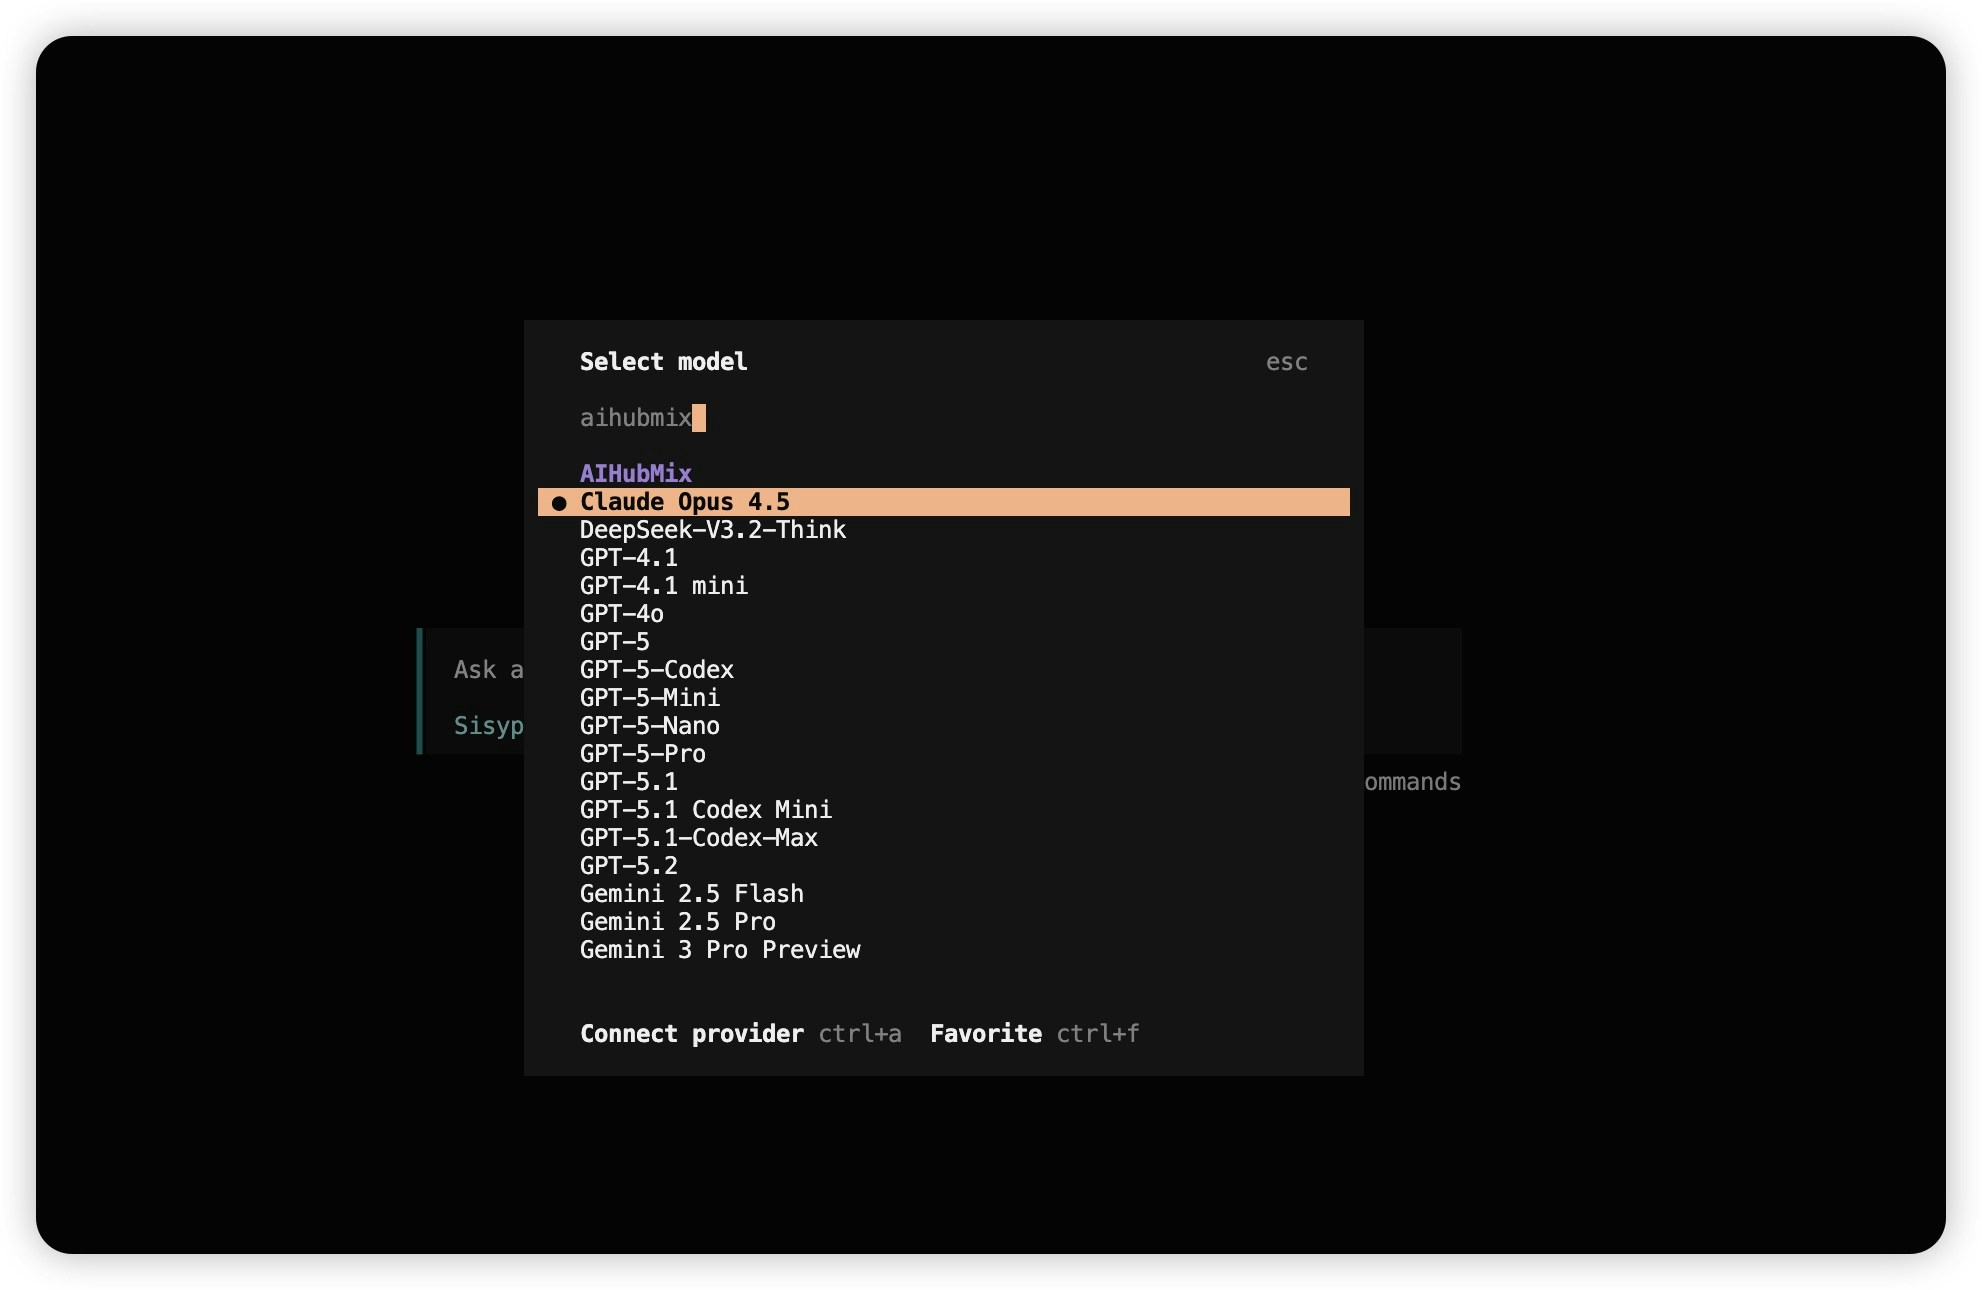
Type/models, search for harogo, and pick the model you want.