1. Install Claude Code
Local Installation
Install via npm
Requires Node.js 18 or later2. Configure the Harogo API
To connect to Harogo’s model service through the Anthropic-compatible API, set the following environment variables.- Set
ANTHROPIC_BASE_URLtohttps://api.harogo.ai/ - Set
ANTHROPIC_AUTH_TOKENto the API key you got from the Harogo platform - Set
ANTHROPIC_MODELto a Claude model supported by Harogo, for exampleclaude-sonnet-5.
- macOS
- Windows
- Run the following command in your terminal to check your default shell.
- Set the environment variables based on your shell type:
- Run the following command in your terminal to apply the environment variables.
- Open a new terminal and run the following commands to confirm the environment variables took effect.
If you’re going to manage Claude Code through CC Switch, we recommend not also setting global
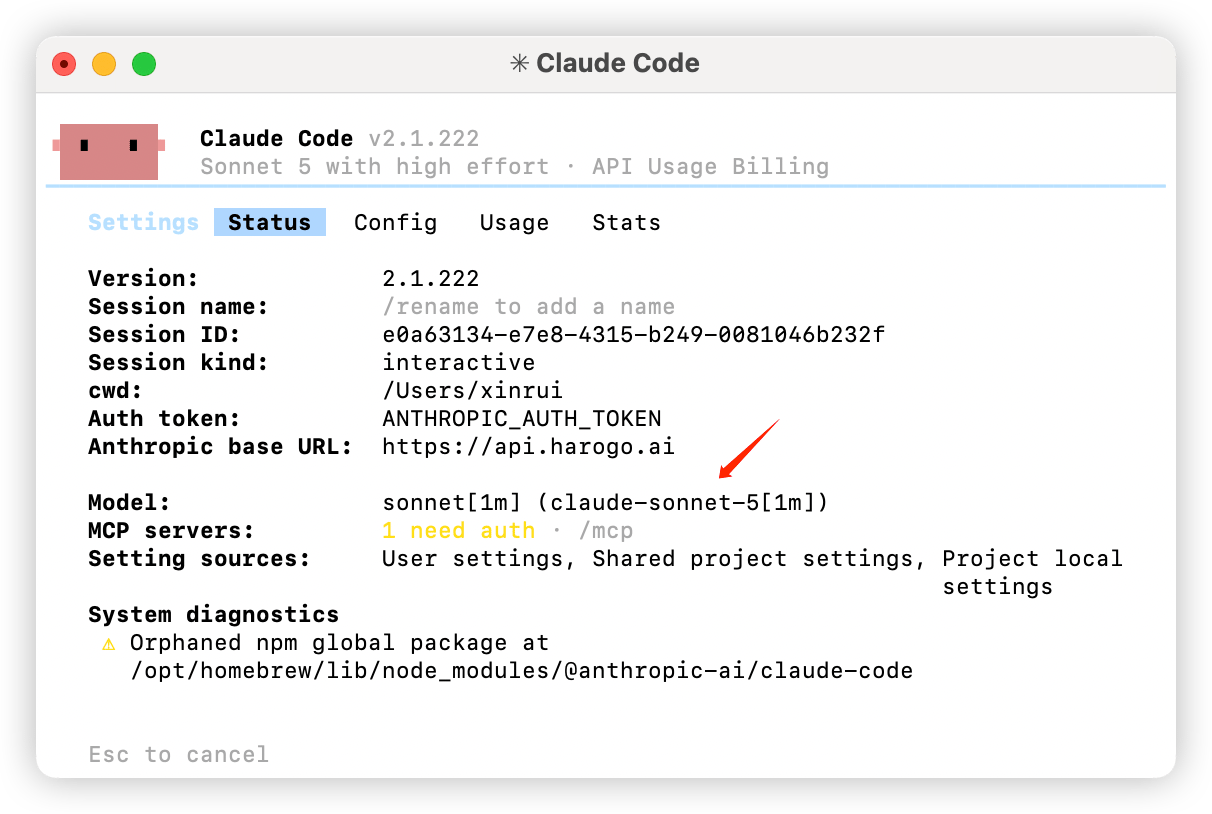
ANTHROPIC_AUTH_TOKEN, ANTHROPIC_BASE_URL, or ANTHROPIC_MODEL values. System- or user-level environment variables can override the provider config CC Switch writes, so the UI shows the correct provider selected while Claude Code is still actually running on an old key or model.3. Verify the Configuration
After setting up environment variables or CC Switch, send one minimal request first to confirm the key, model, and Anthropic-compatible endpoint are all working, before starting a longer session.4. Start Using Claude Code
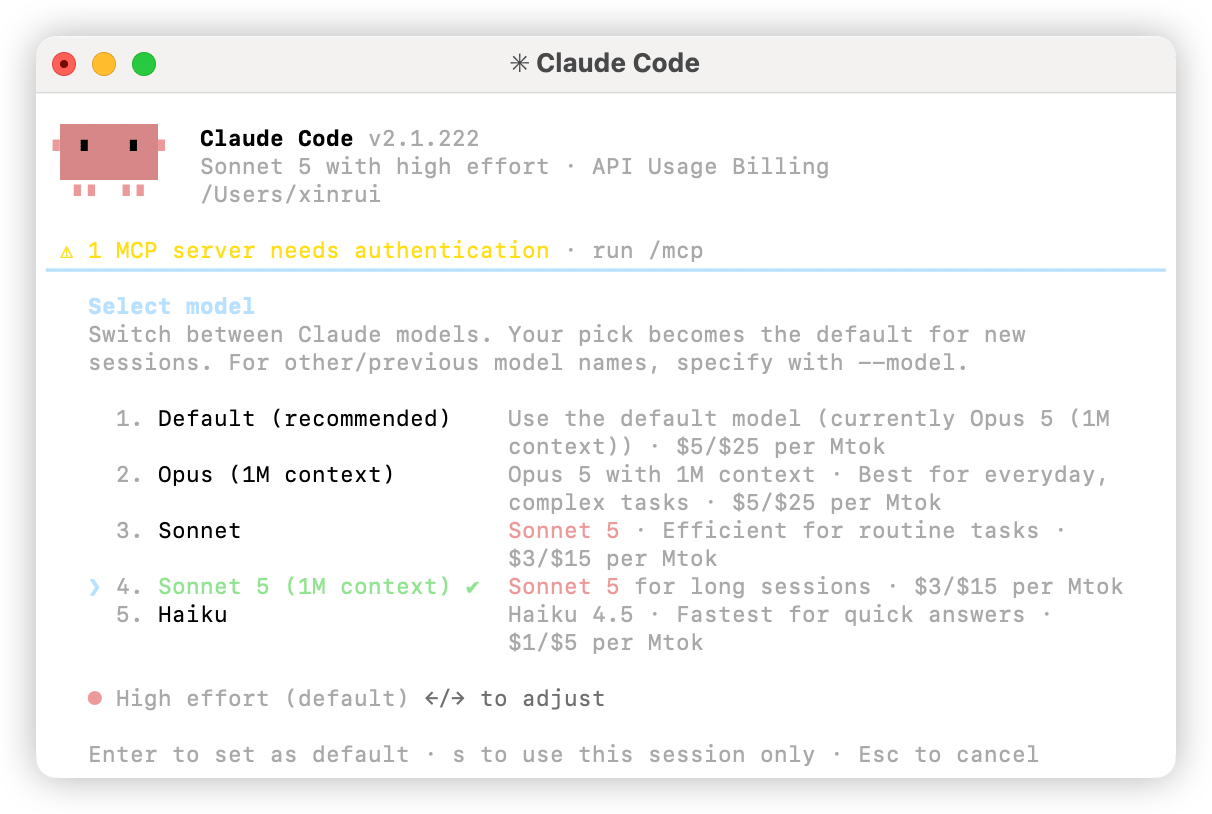
Once configured, go to your working directory and run theclaude command in your terminal to get started.
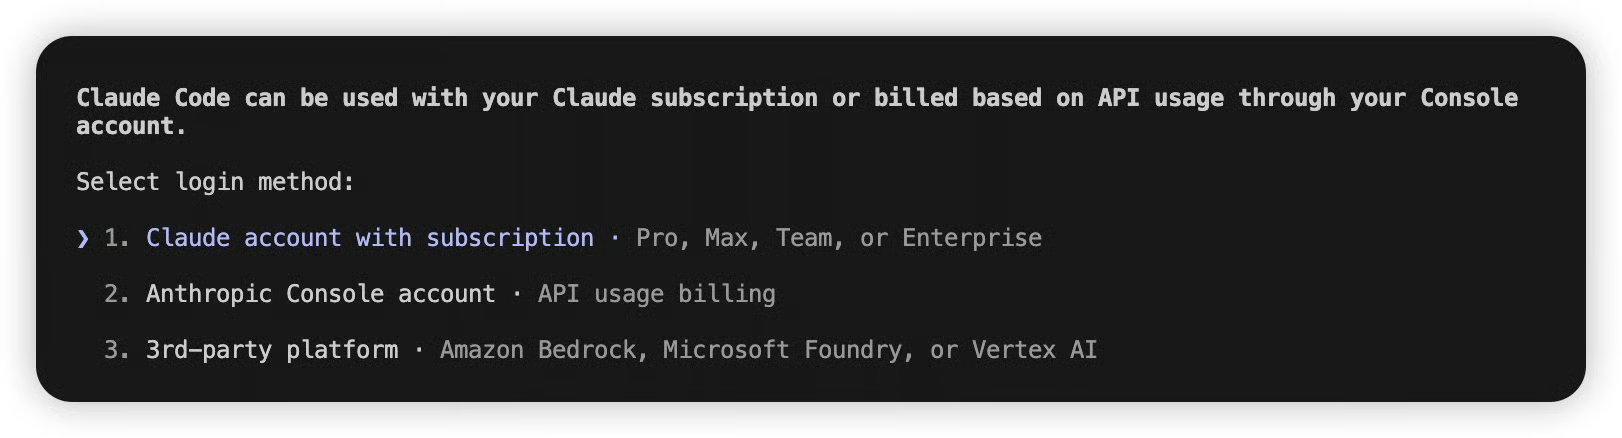
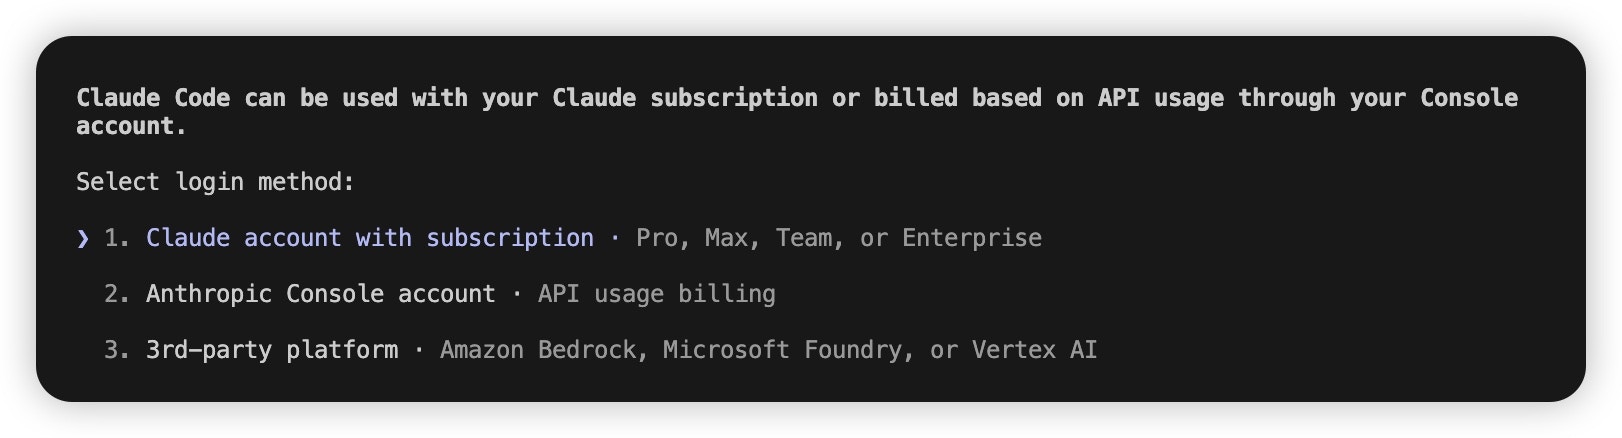
Not logged in · Please run /login on startup, or you’re dropped into the Anthropic login flow, it usually means Claude Code didn’t pick up a working Harogo configuration, or first-time onboarding hasn’t been completed. First confirm the minimal request from the previous step returns 2, and check whether ANTHROPIC_AUTH_TOKEN, ANTHROPIC_BASE_URL, or ANTHROPIC_MODEL are being overridden by old global environment variables. Once you’ve confirmed the key works, if you’re still sent to the login flow, you can skip first-time onboarding with the steps below:
- Locate the
.claude.jsonfile in your home directory:- macOS / Linux:
~/.claude.json - Windows:
C:\Users\%USERNAME%\.claude.json
- macOS / Linux:
- Set the
hasCompletedOnboardingfield totrue
- Save the file, then run
claudeagain in your terminal.
(Optional) More Ways to Configure the Model
Claude Code supports the following ways to configure the model, listed from highest to lowest priority — a higher-priority setting overrides a lower-priority one.- During a conversation: run the
/model <model-name>command to switch models. Good for a one-off switch.
- When starting Claude Code: run
claude --model <model-name>to specify a model. Good for a single session.
- Set environment variables: configure different tiers of models by task complexity, and Claude Code will automatically pick the right one for the task. Applies globally.
ANTHROPIC_DEFAULT_OPUS_MODEL: for complex reasoning, architecture design, and other high-difficulty tasks.ANTHROPIC_DEFAULT_SONNET_MODEL: for writing code, implementing features, and other everyday tasks.ANTHROPIC_DEFAULT_HAIKU_MODEL: for syntax checks, file search, and other simple tasks.
- Set permanently in settings.json: write the model configuration into Claude Code’s user config file (e.g.
~/.claude/settings.json, orC:\Users\%USERNAME%\.claude\settings.jsonon Windows) or into a project-level config, for a permanent user-level or project-level setting.
Configuring via CC Switch
- Launch CC Switch, select Claude Code on the left, then click “Add Provider.”
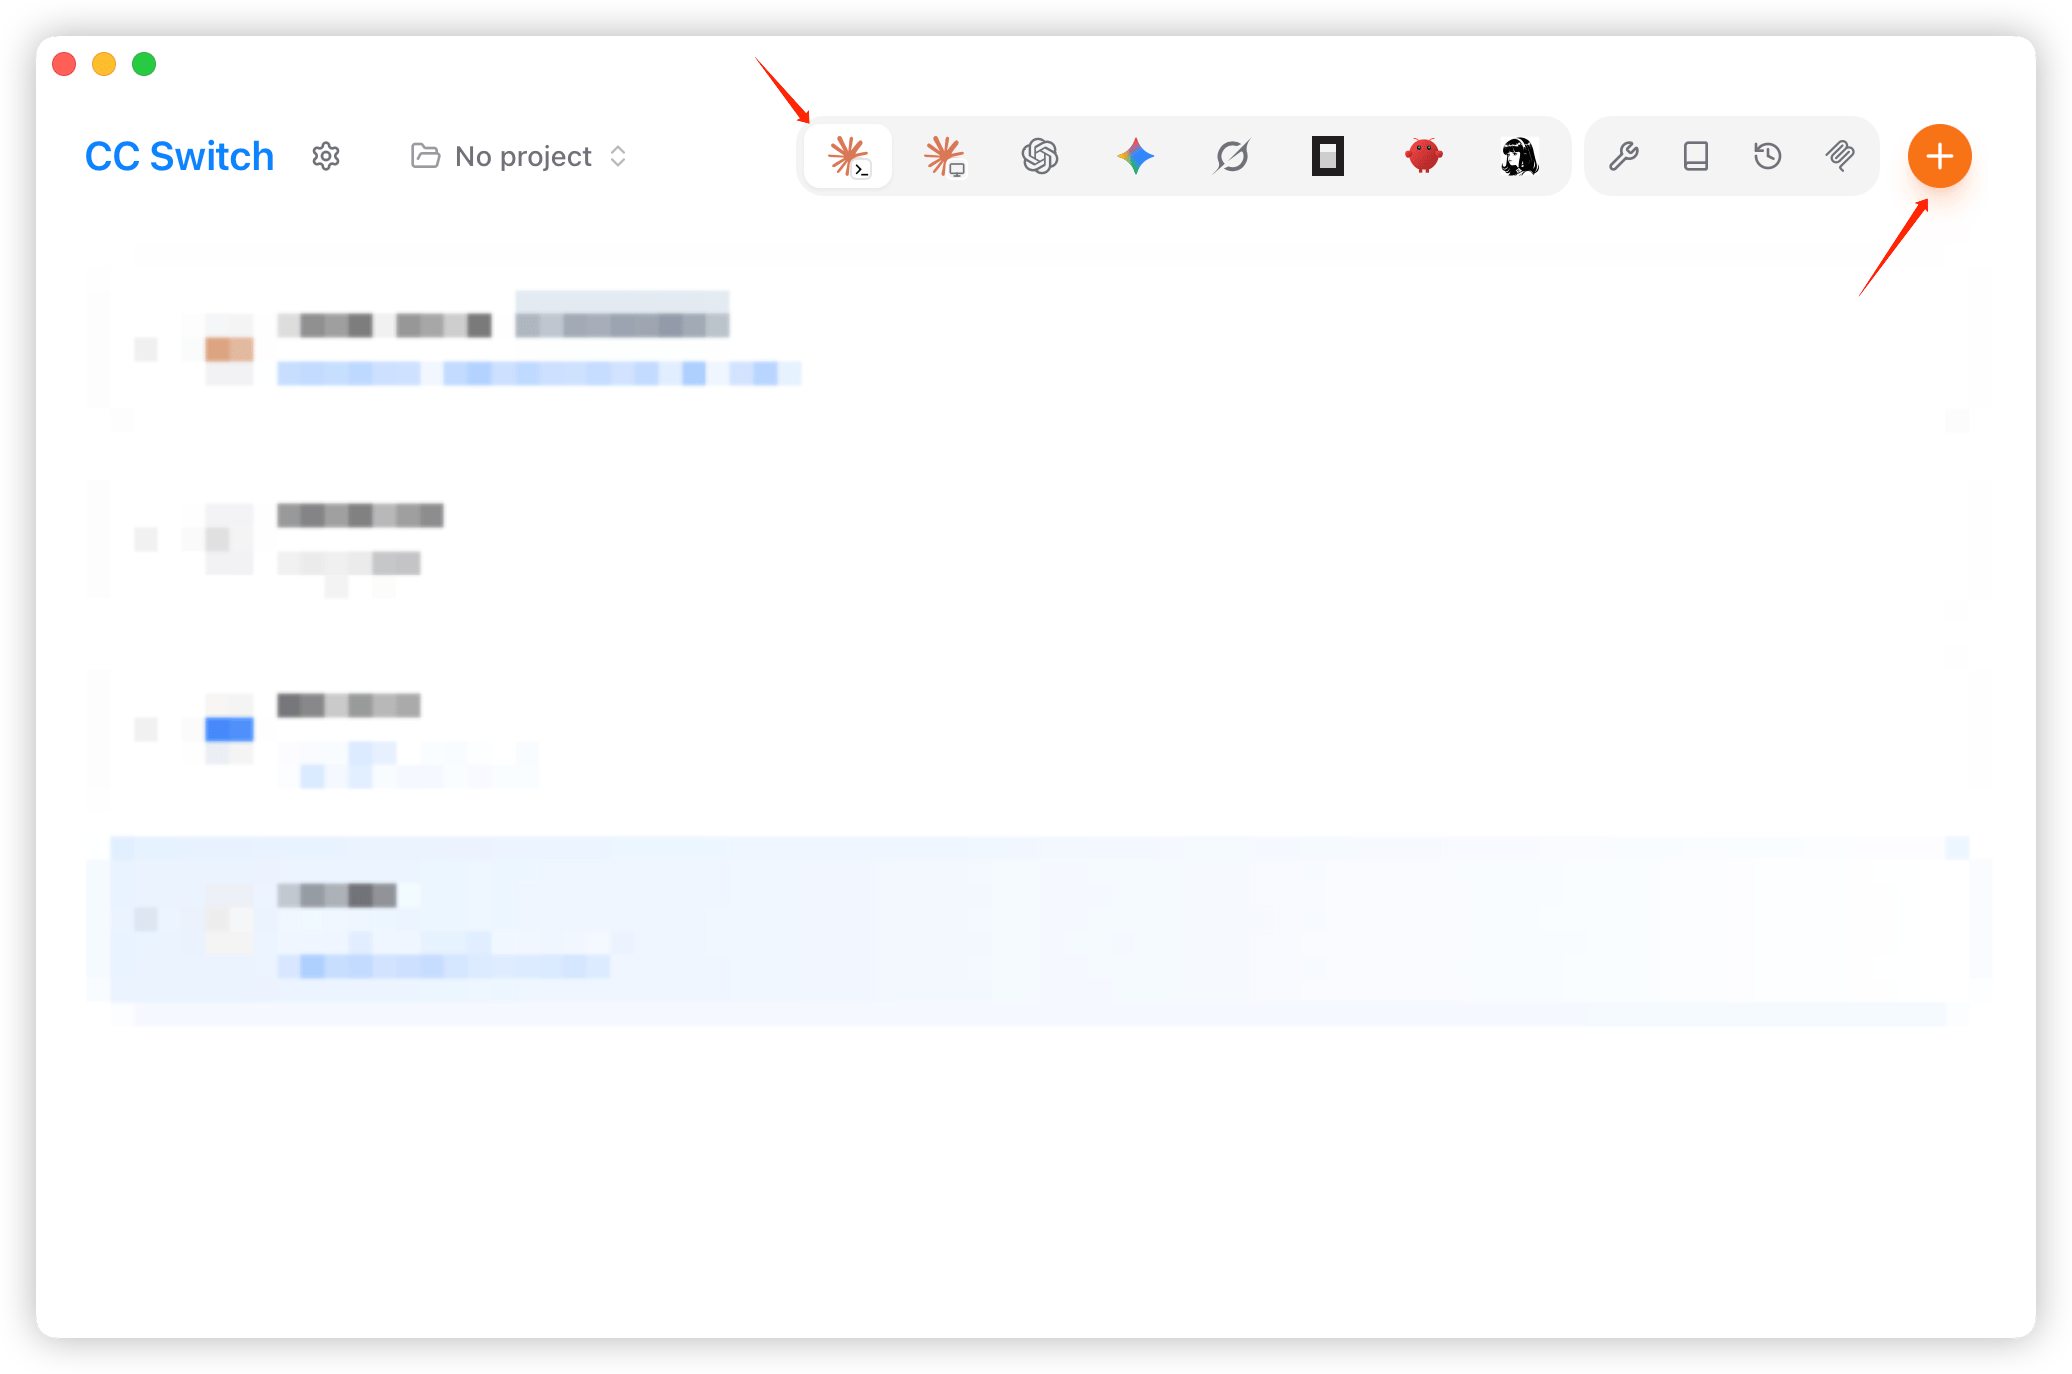
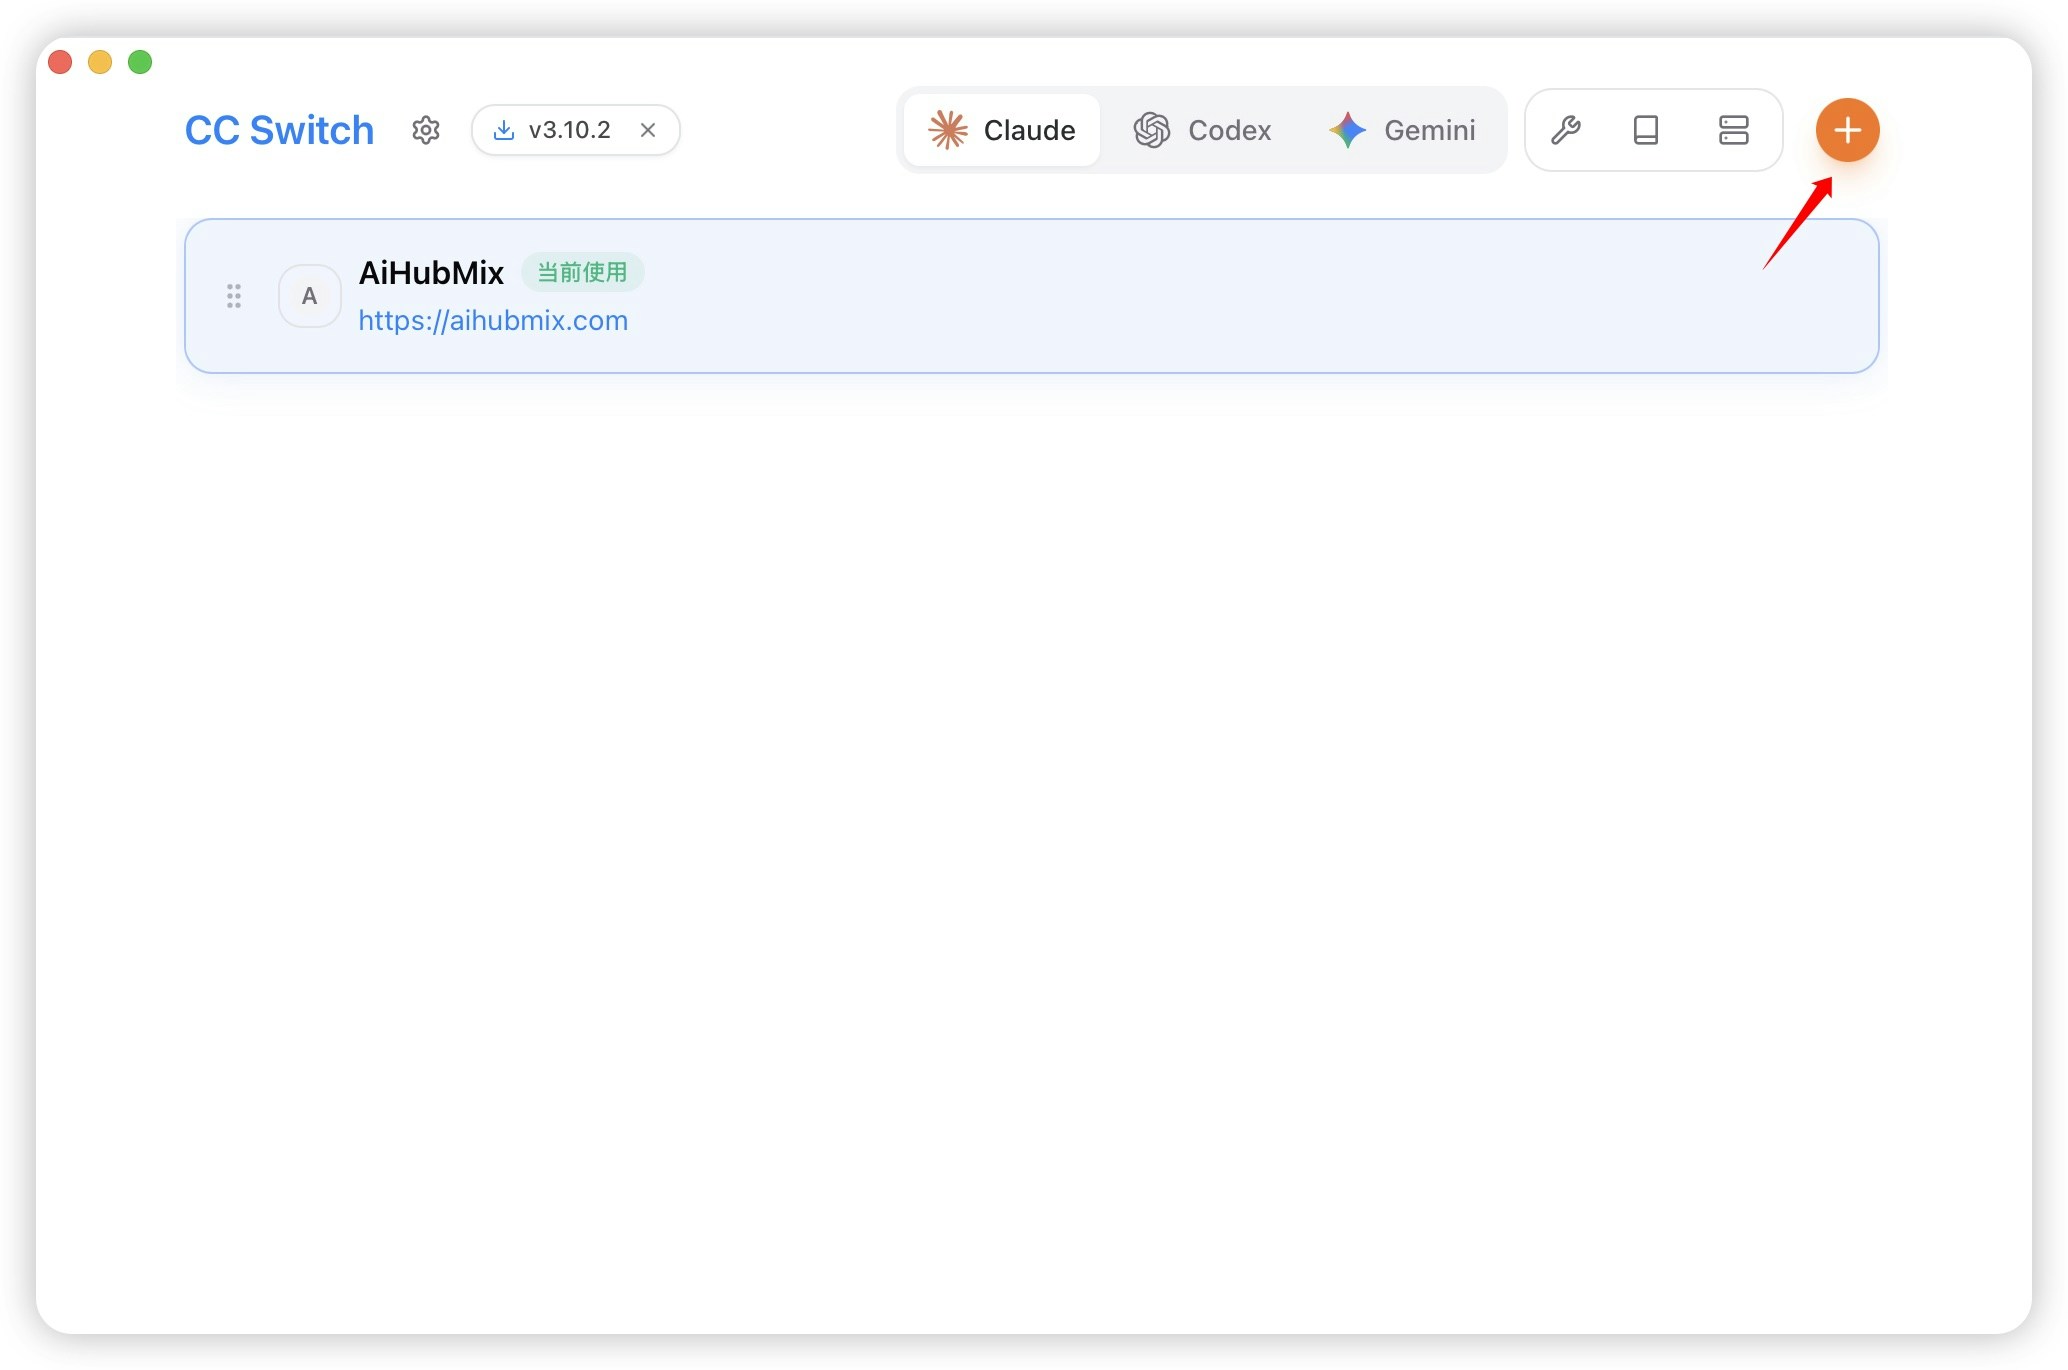
- From the preset list, choose “Custom Configuration” as the provider.
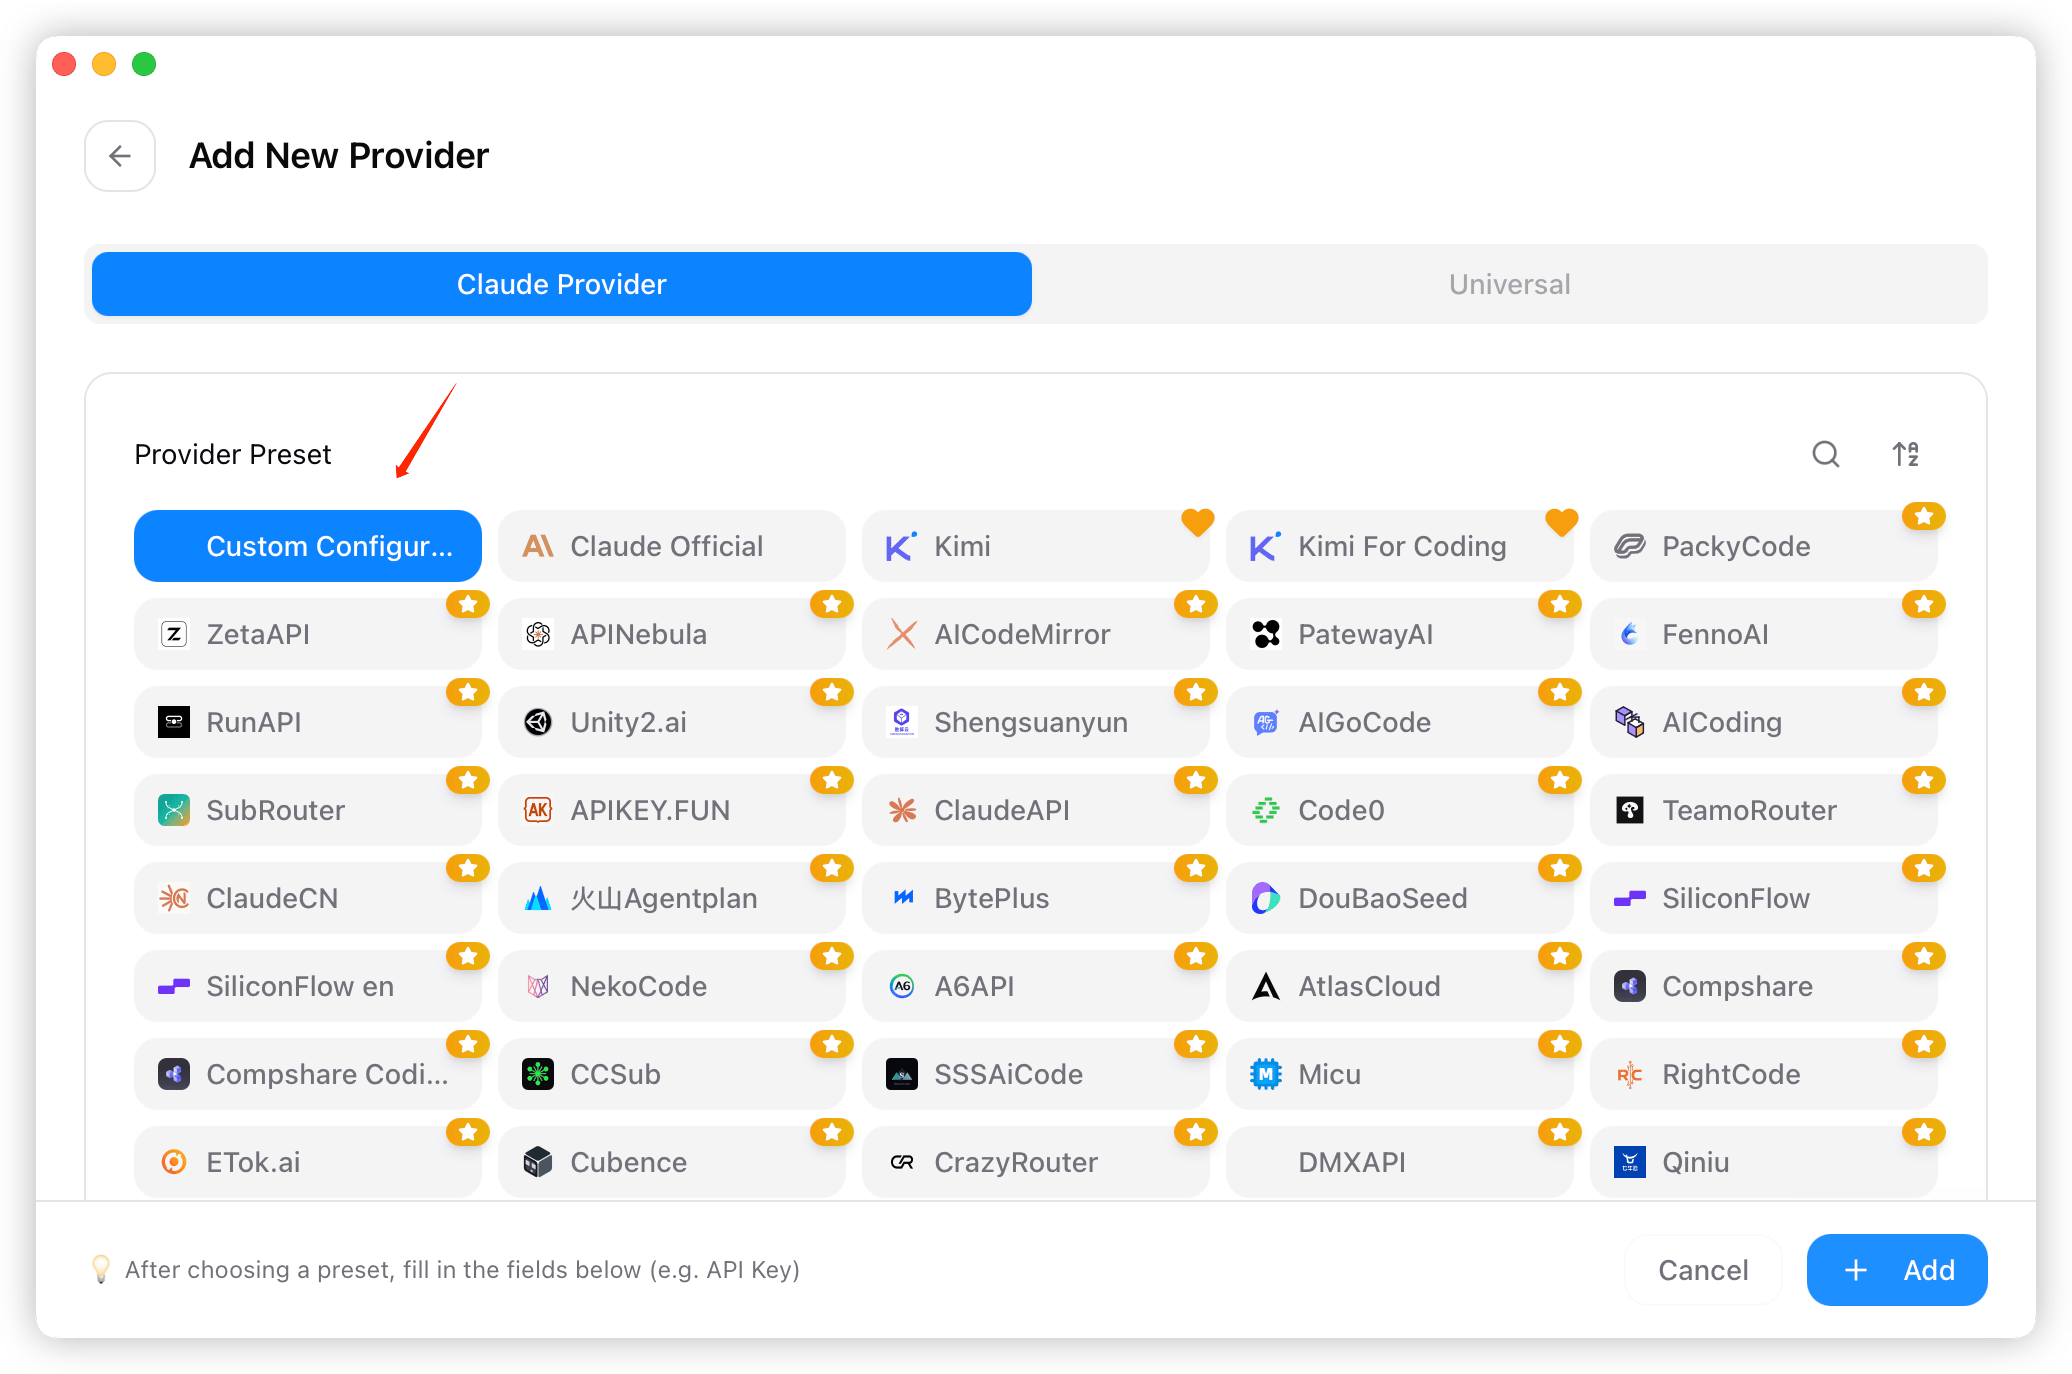
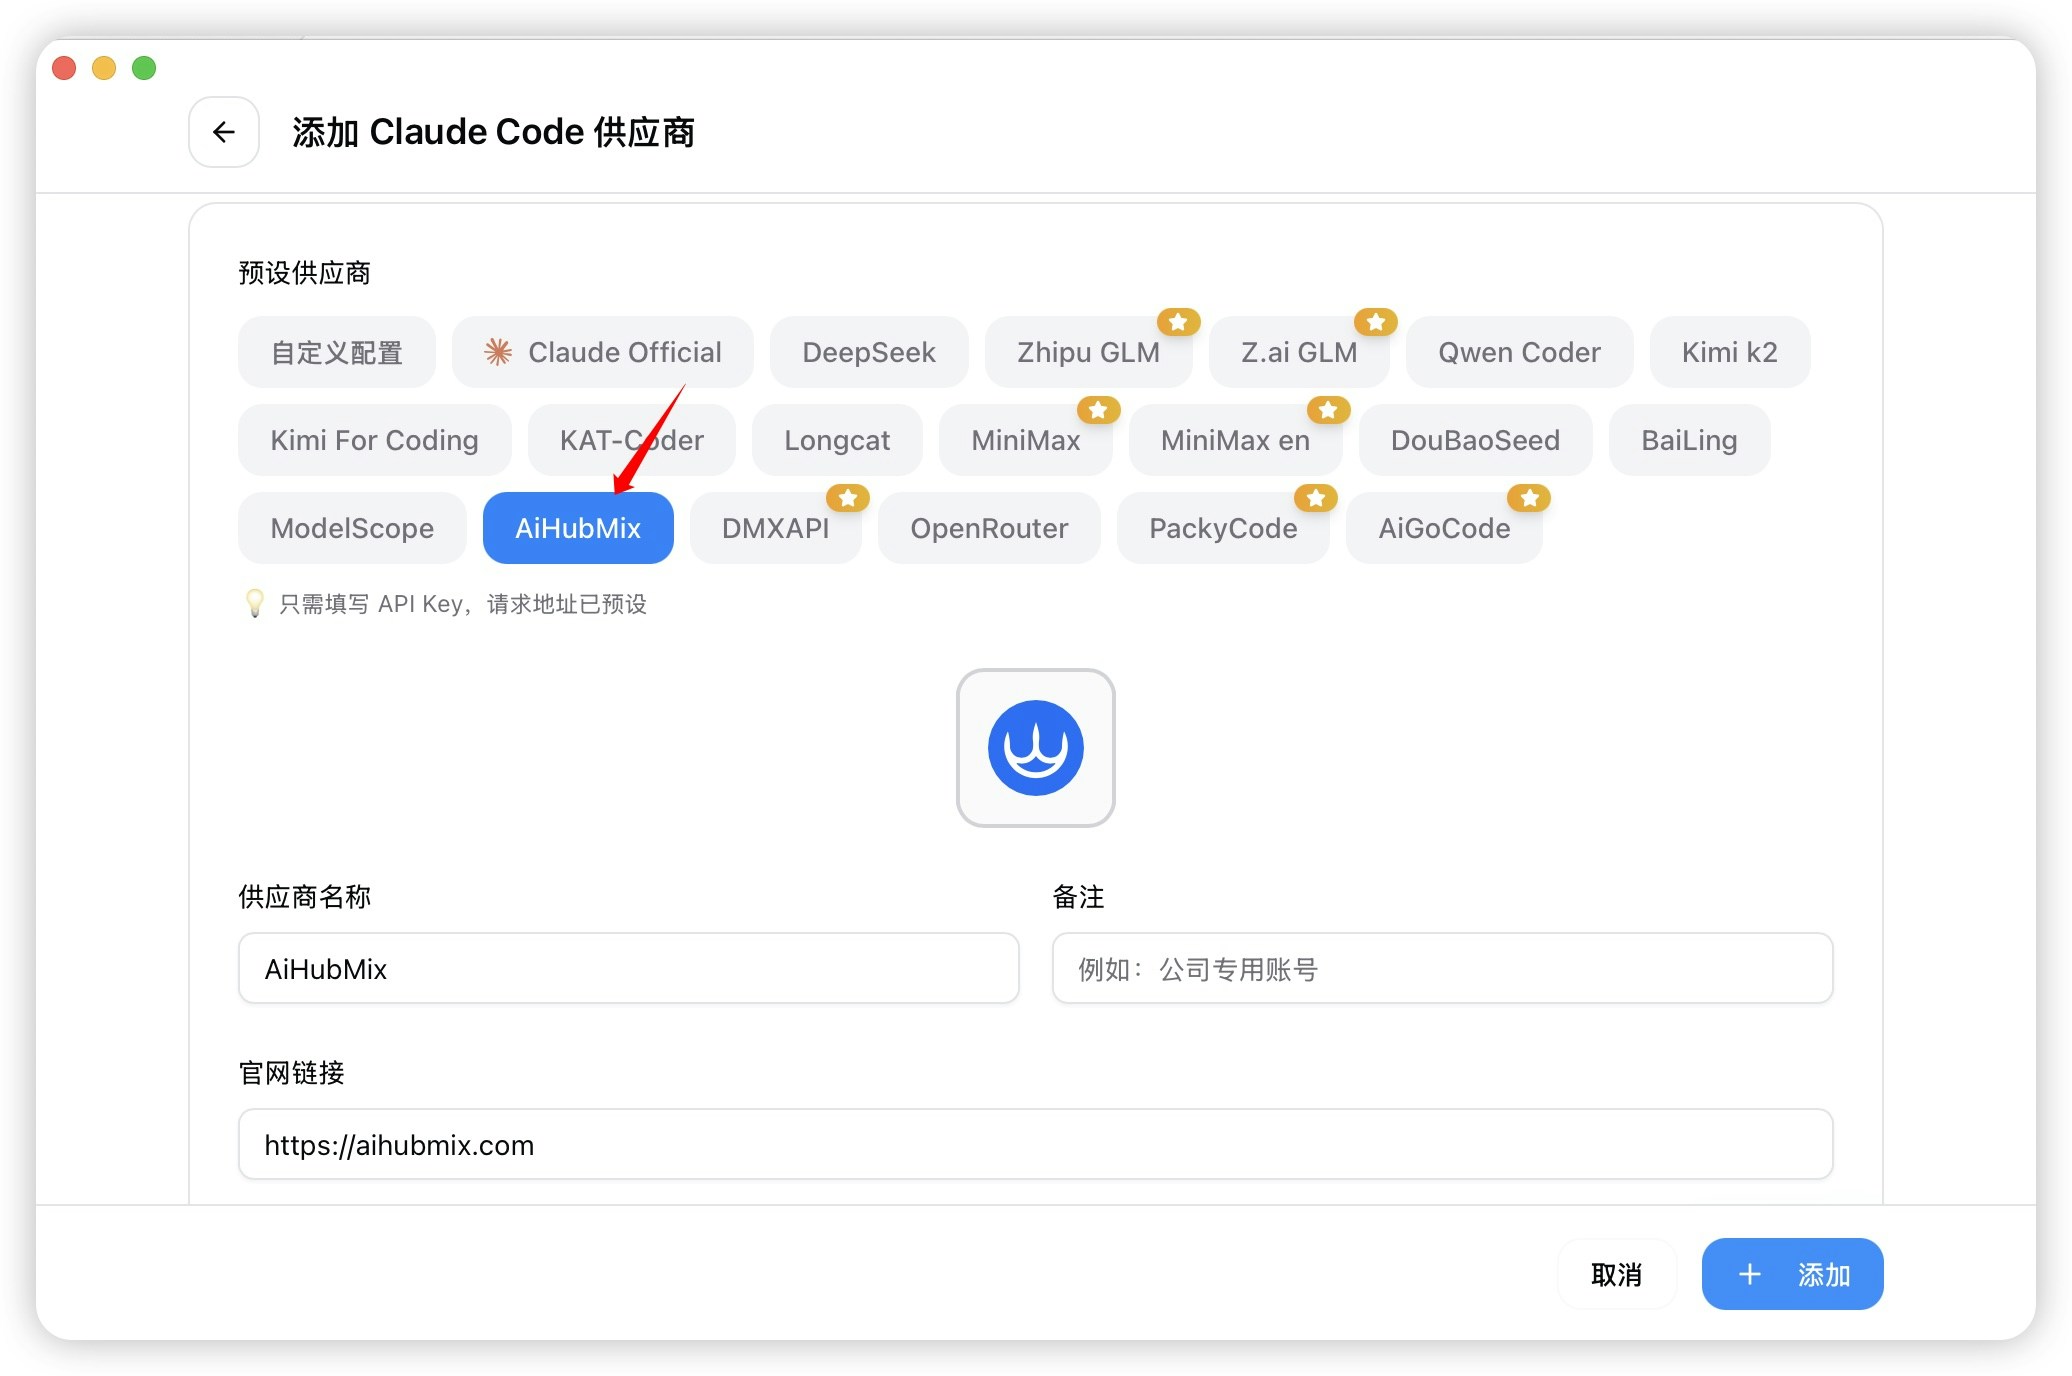
- Fill in the provider name, API key, and endpoint (https://api.harogo.ai), etc. Once everything is filled in, click “Add.”
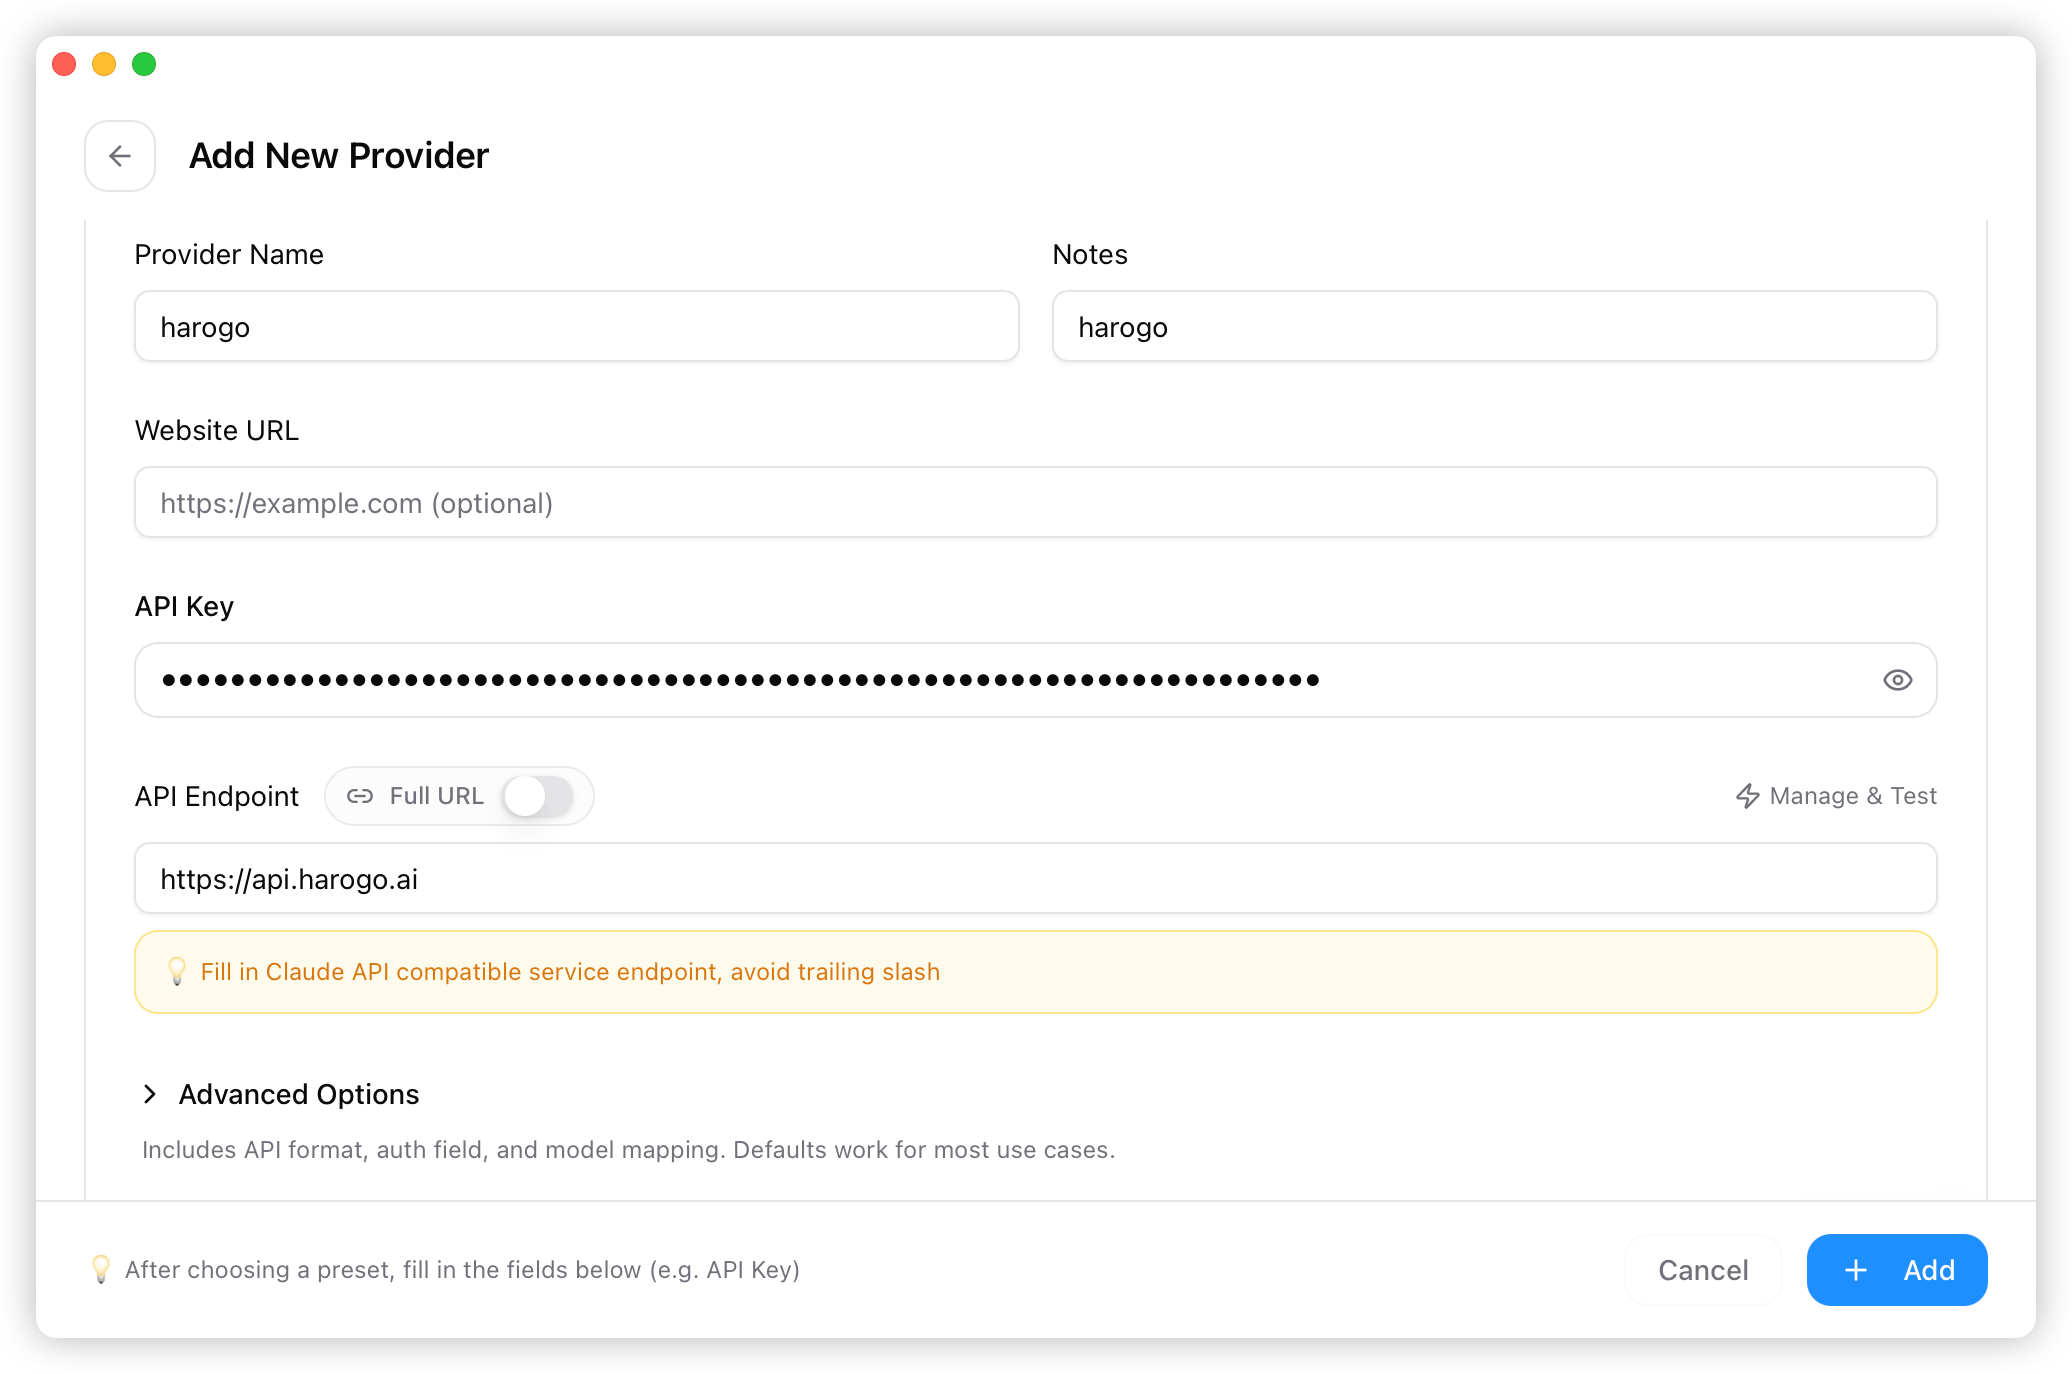
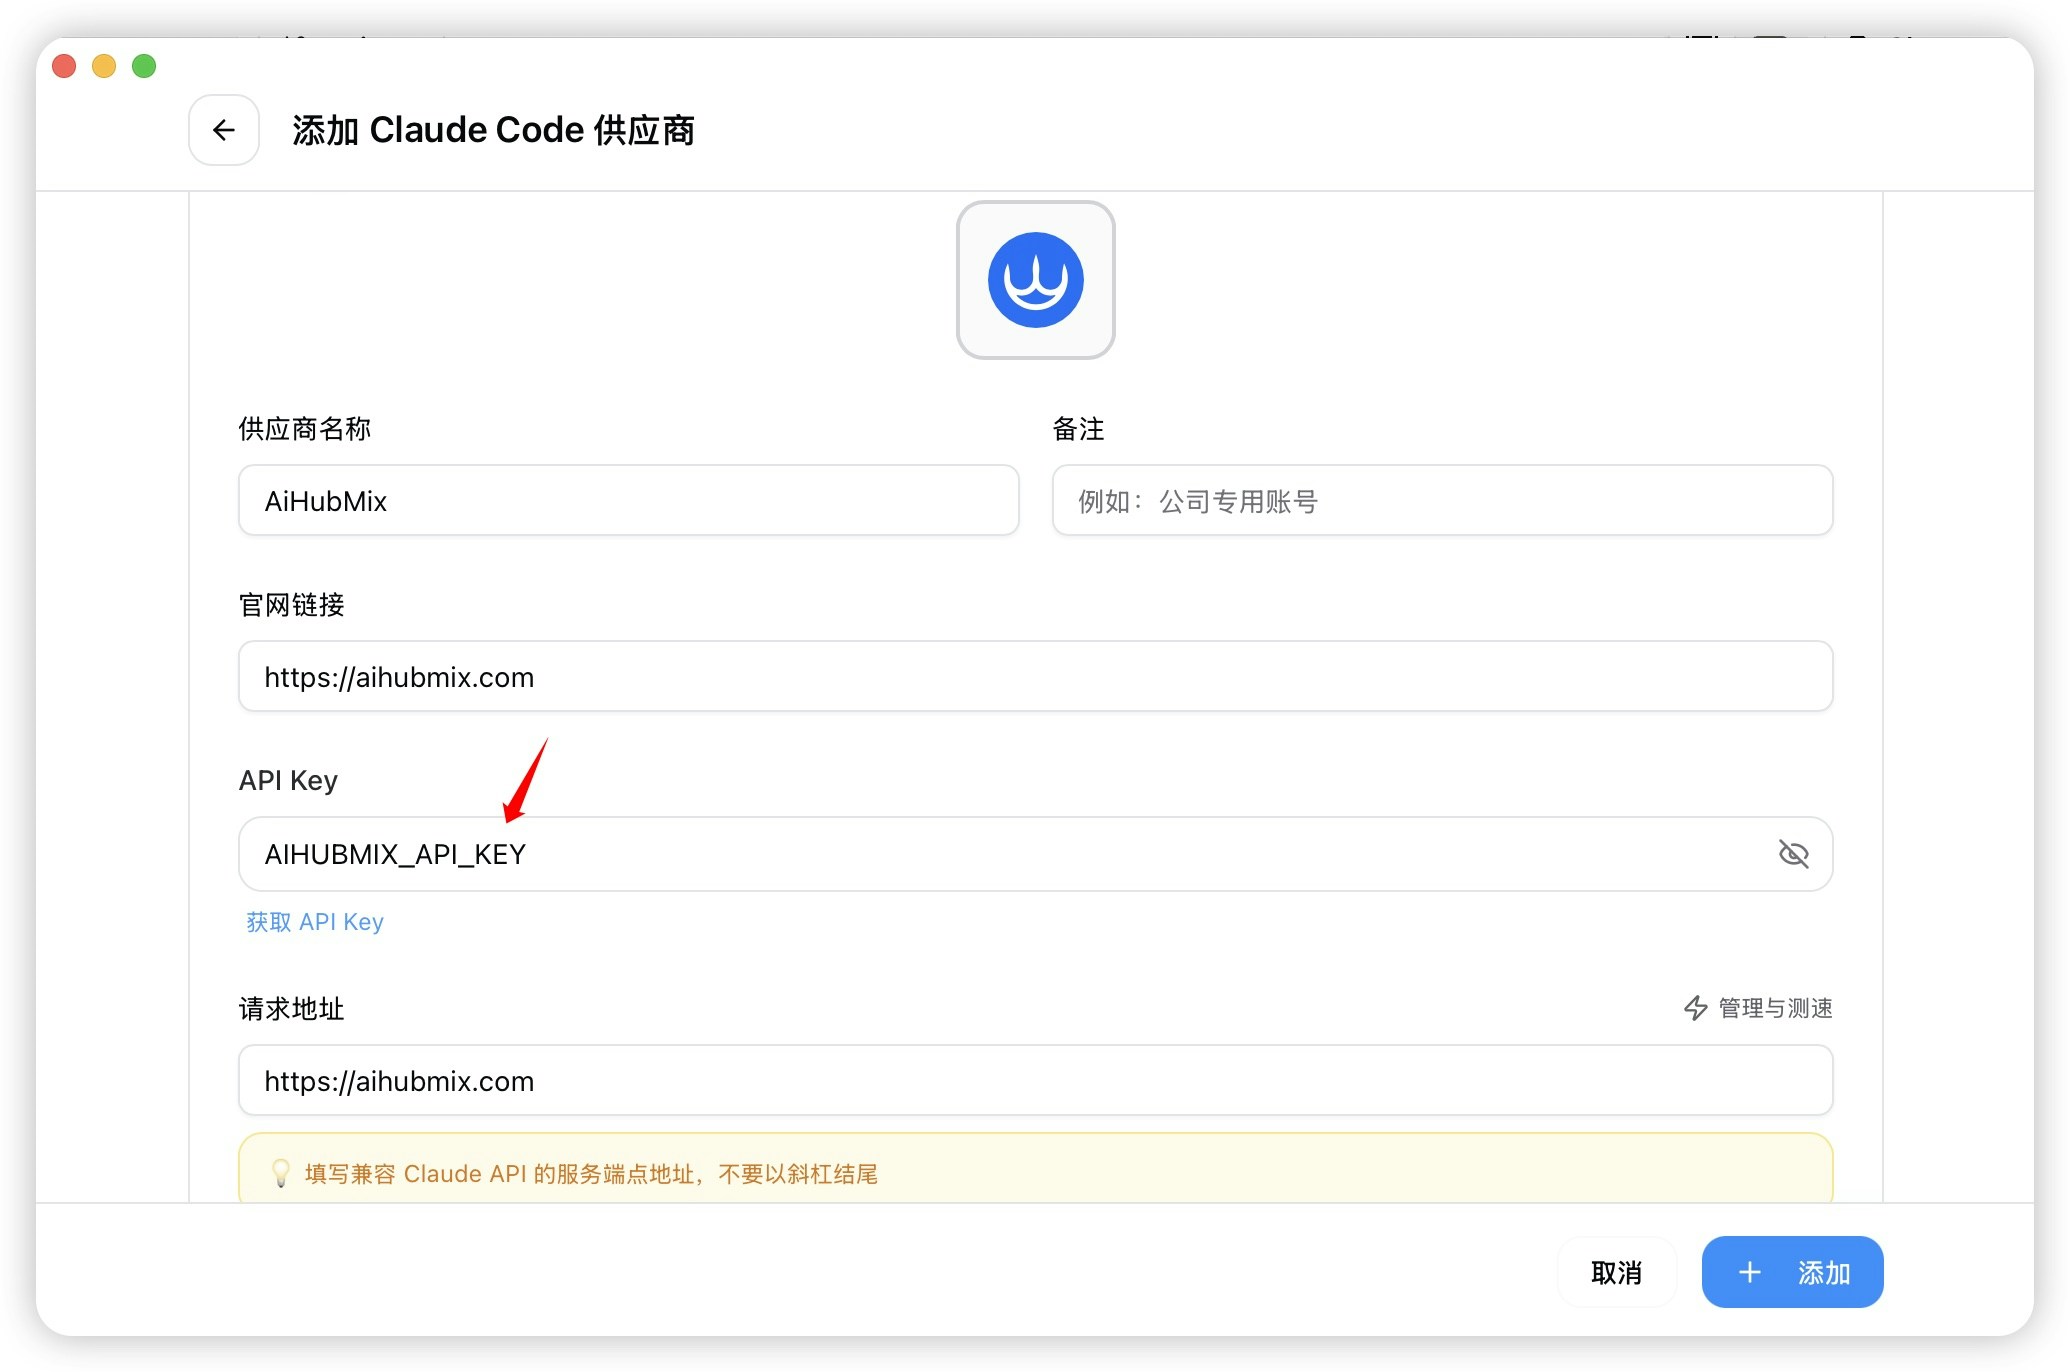
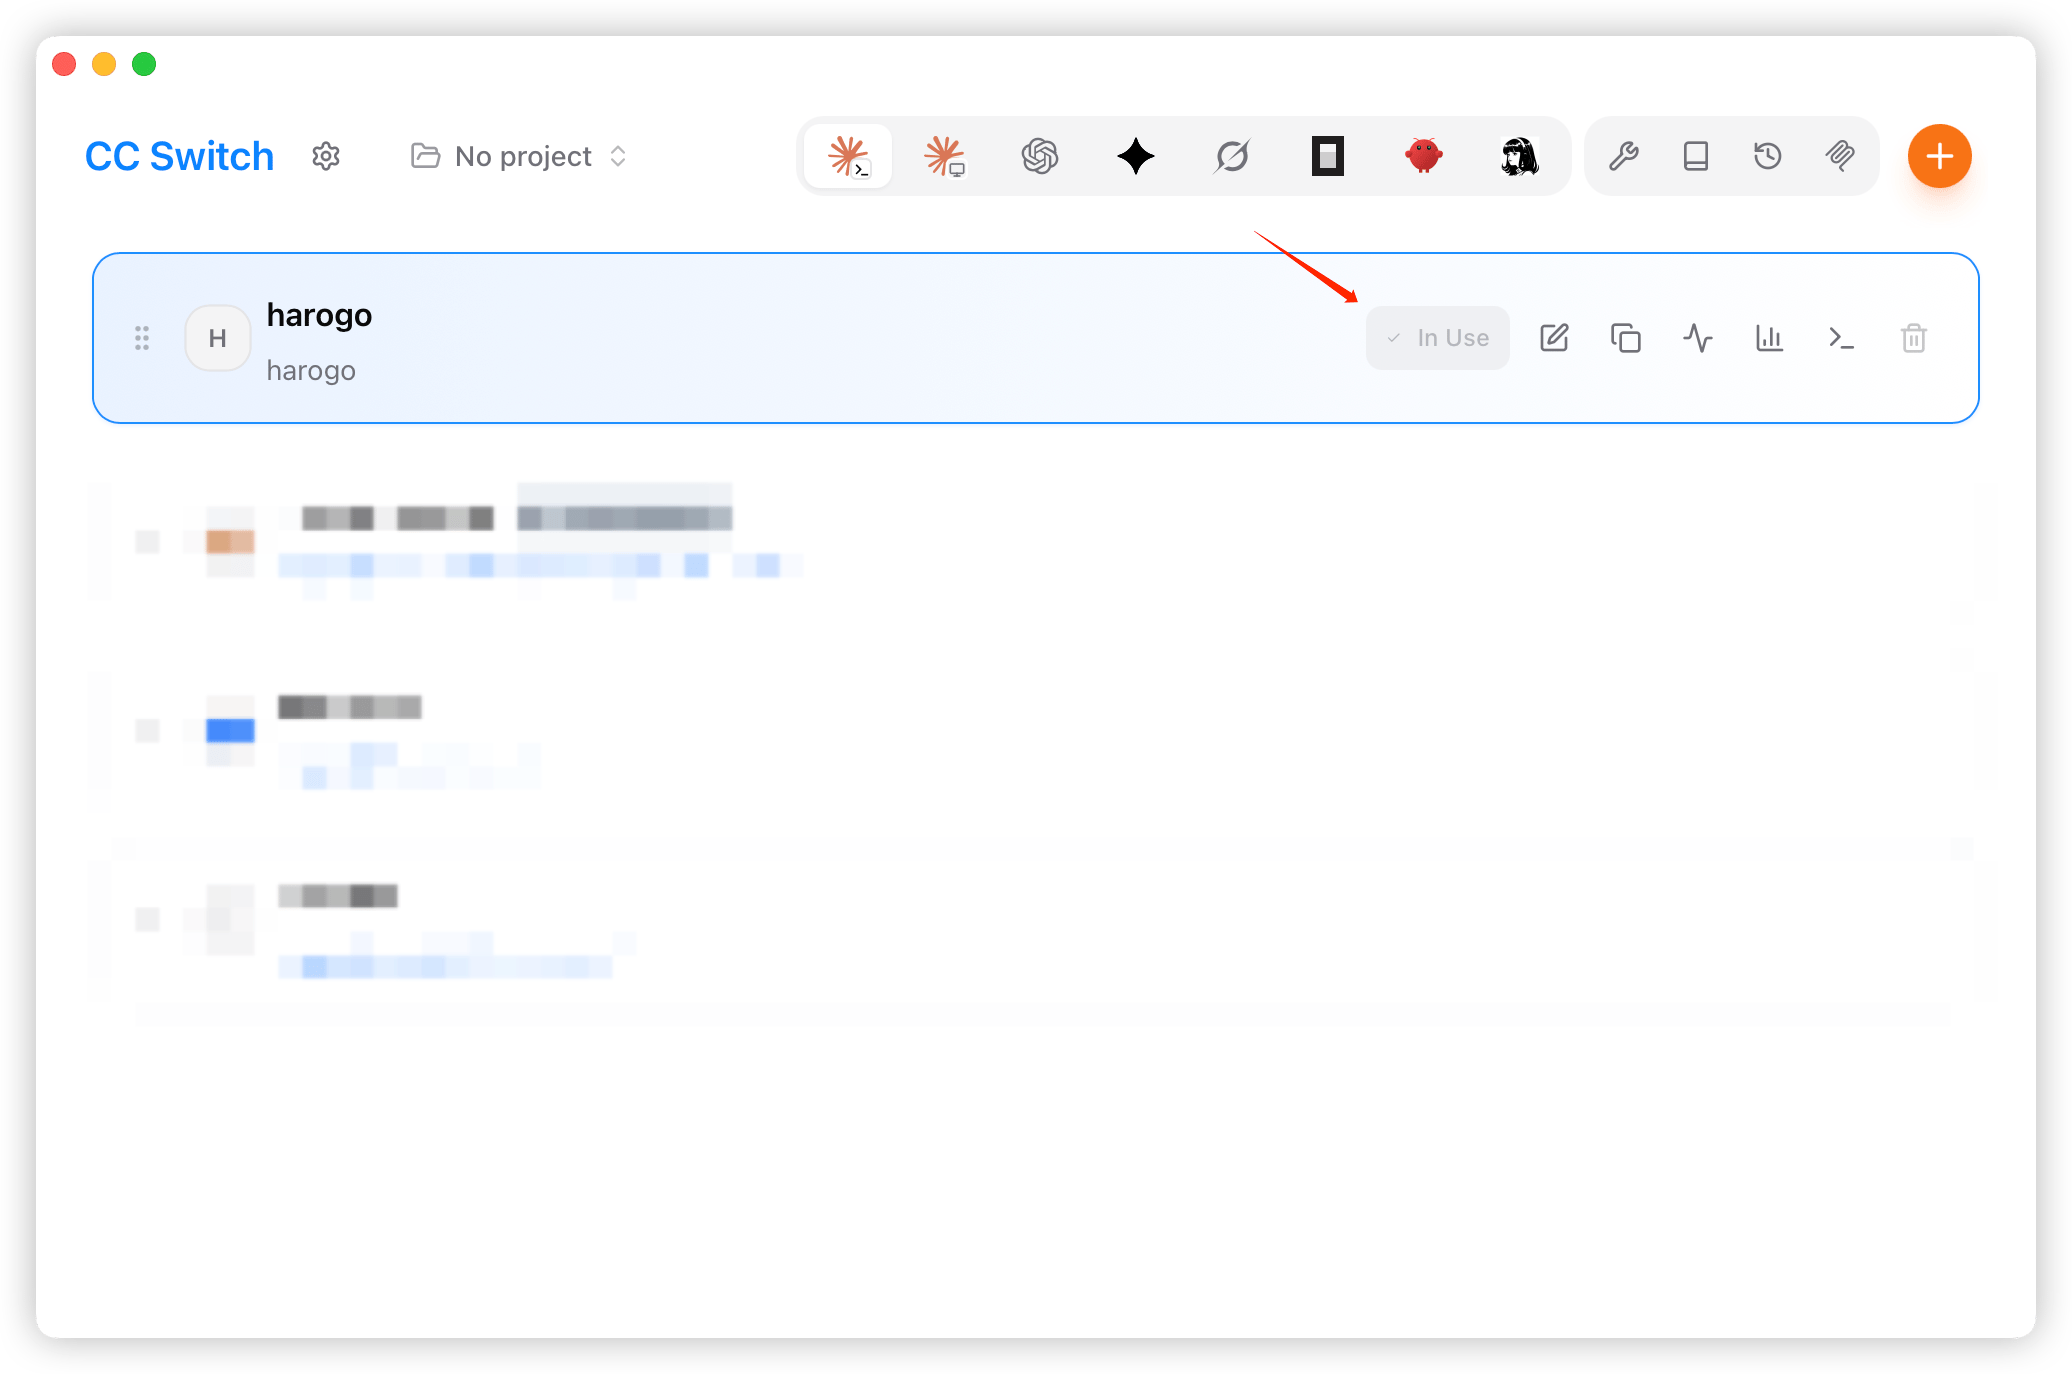
- Back on the home screen, select “harogo” from the provider list and click “Use.”