> ## Documentation Index
> Fetch the complete documentation index at: https://docs.harogo.ai/llms.txt
> Use this file to discover all available pages before exploring further.

# OpenCode

> This guide will get you up and running with OpenCode powered by Harogo in just a few minutes.

Before you install, make sure your system meets the following requirements:

* **Node.js ≥ 18.0.0**
* A package manager for your platform (optional):
  * macOS / Linux: `brew`
  * Arch Linux: `paru`
  * Windows: `choco`, `winget`, or `scoop`

## 1. Install OpenCode

Pick whichever installation method fits your system and tooling.

### 1. Install via Node.js

```text theme={null}
# Quick install via curl script
curl -fsSL https://opencode.ai/install | bash

# Using NPM
npm install -g opencode-ai

# Using Bun
bun install -g opencode-ai

# Using PNPM
pnpm install -g opencode-ai

# Using Yarn
yarn global add opencode-ai
```

***

### 2. Using Homebrew (macOS / Linux)

```text theme={null}
brew install sst/tap/opencode
```

***

### 3. Using Paru (Arch Linux)

```text theme={null}
paru -S opencode-bin
```

***

### 4. Windows Installation

Windows users can install OpenCode with any of the following:

```text theme={null}
# Chocolatey
choco install opencode

# WinGet
winget install opencode

# Scoop
scoop bucket add extras
scoop install extras/opencode

# Or via NPM (requires Node.js) — note: requires administrator privileges
npm install -g opencode-ai
```

***

## 2. Configure OpenCode via CC Switch

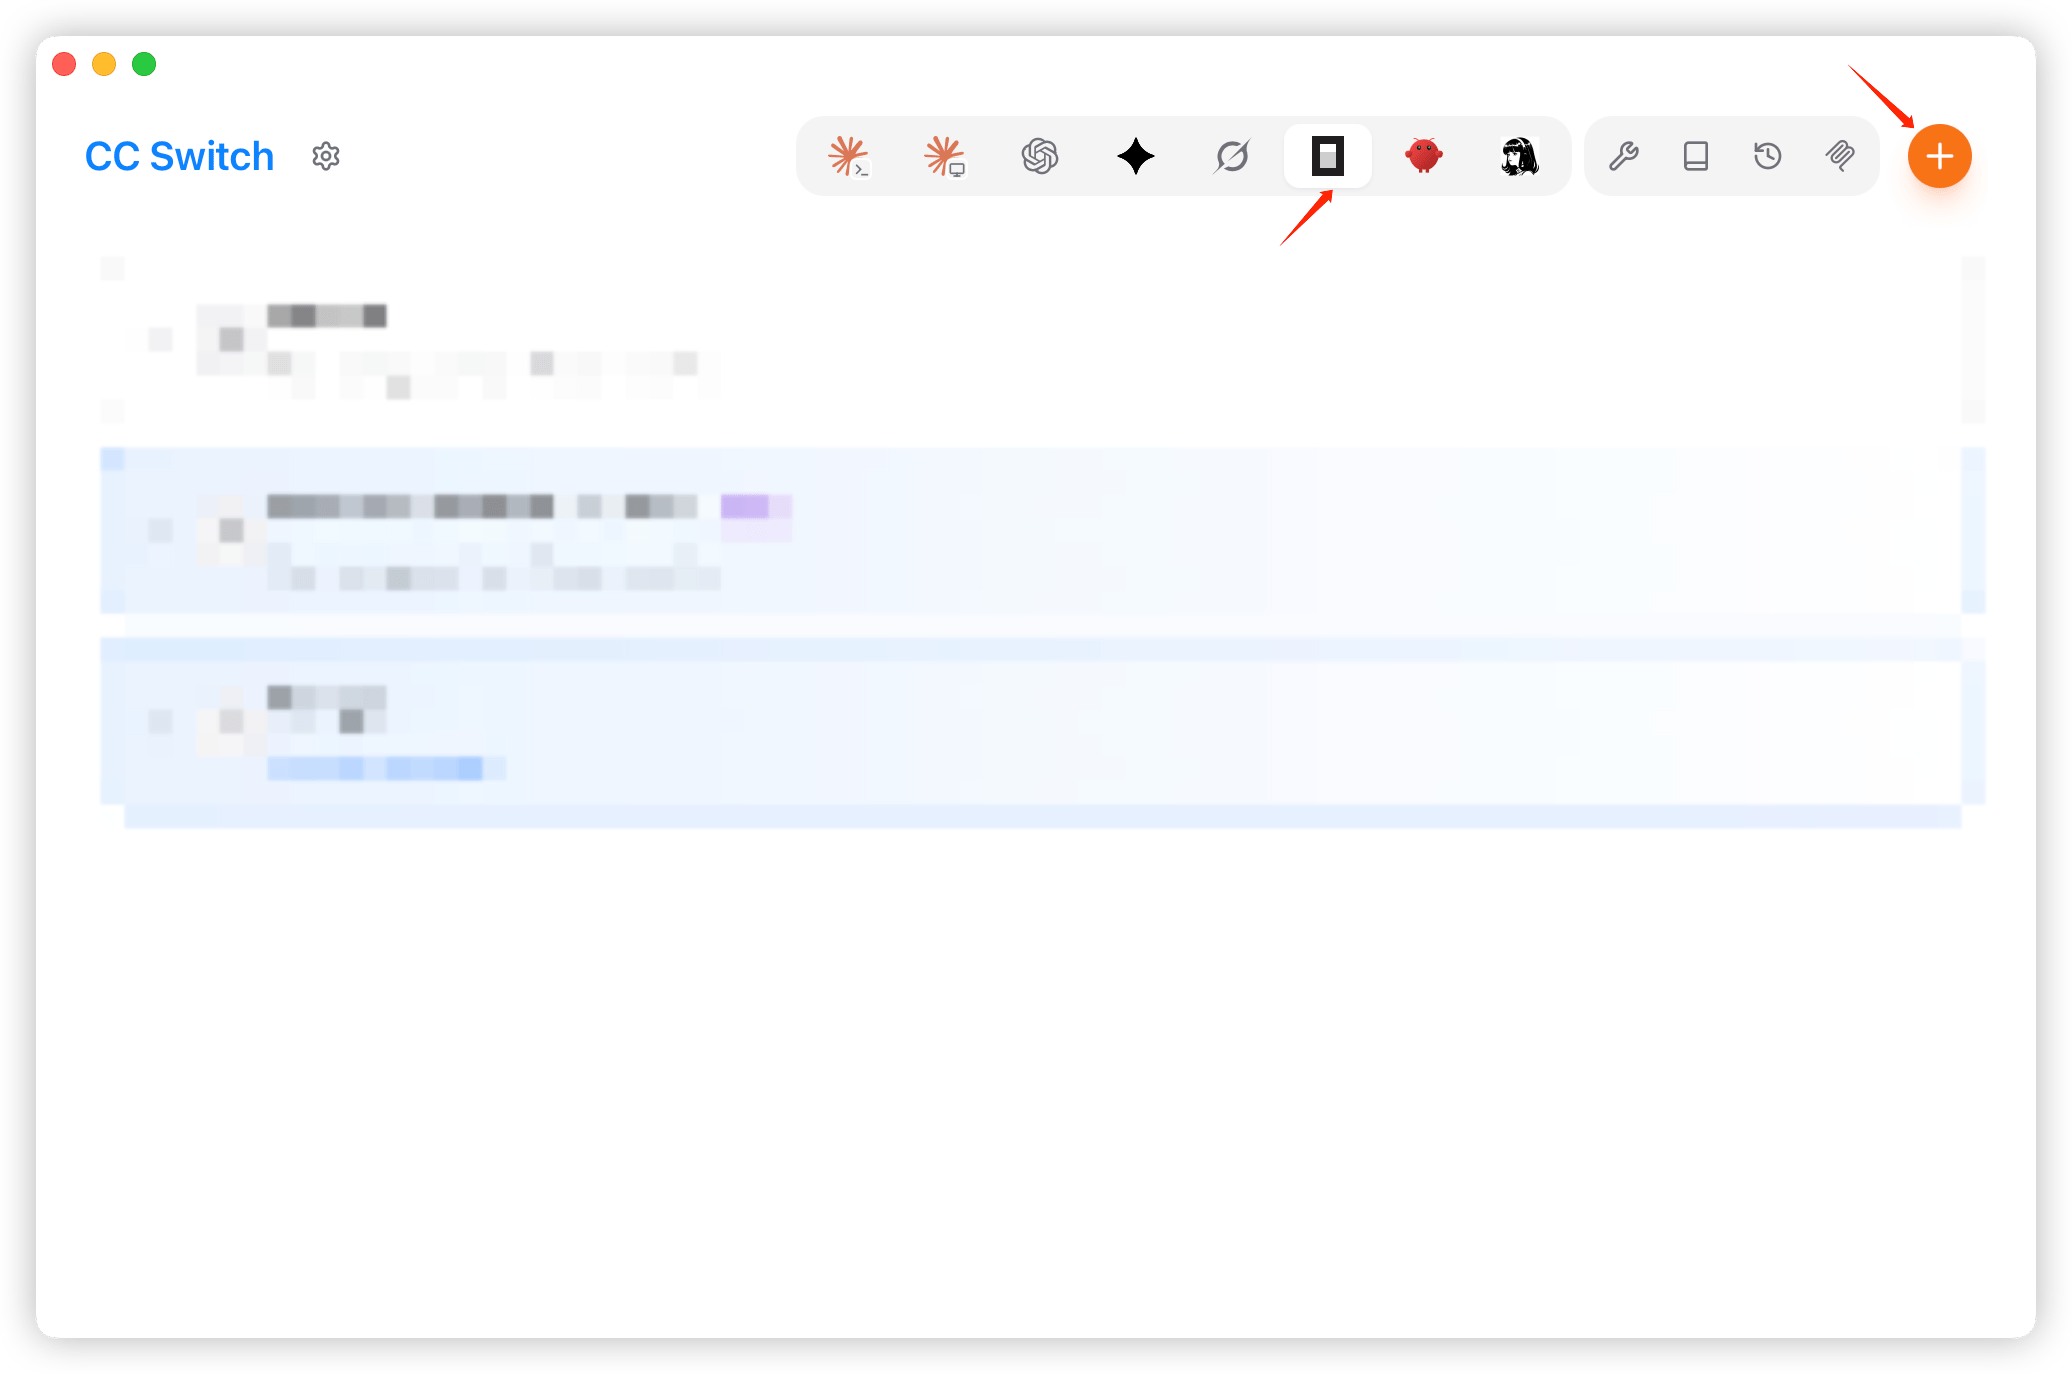
1. Launch CC Switch, select OpenCode on the left, then click "Add Provider."
<Frame>
  <img src="https://mintcdn.com/harogo/ahn9NfUxTetKpuxm/images/iShot_2026-08-07_18.06.55.png?fit=max&auto=format&n=ahn9NfUxTetKpuxm&q=85&s=aeb6ce56ea9400d1e34f84e3f97f2bf8" alt="I Shot 2026 08 07 18 06 55" width="2072" height="1374" data-path="images/iShot_2026-08-07_18.06.55.png" />
</Frame>

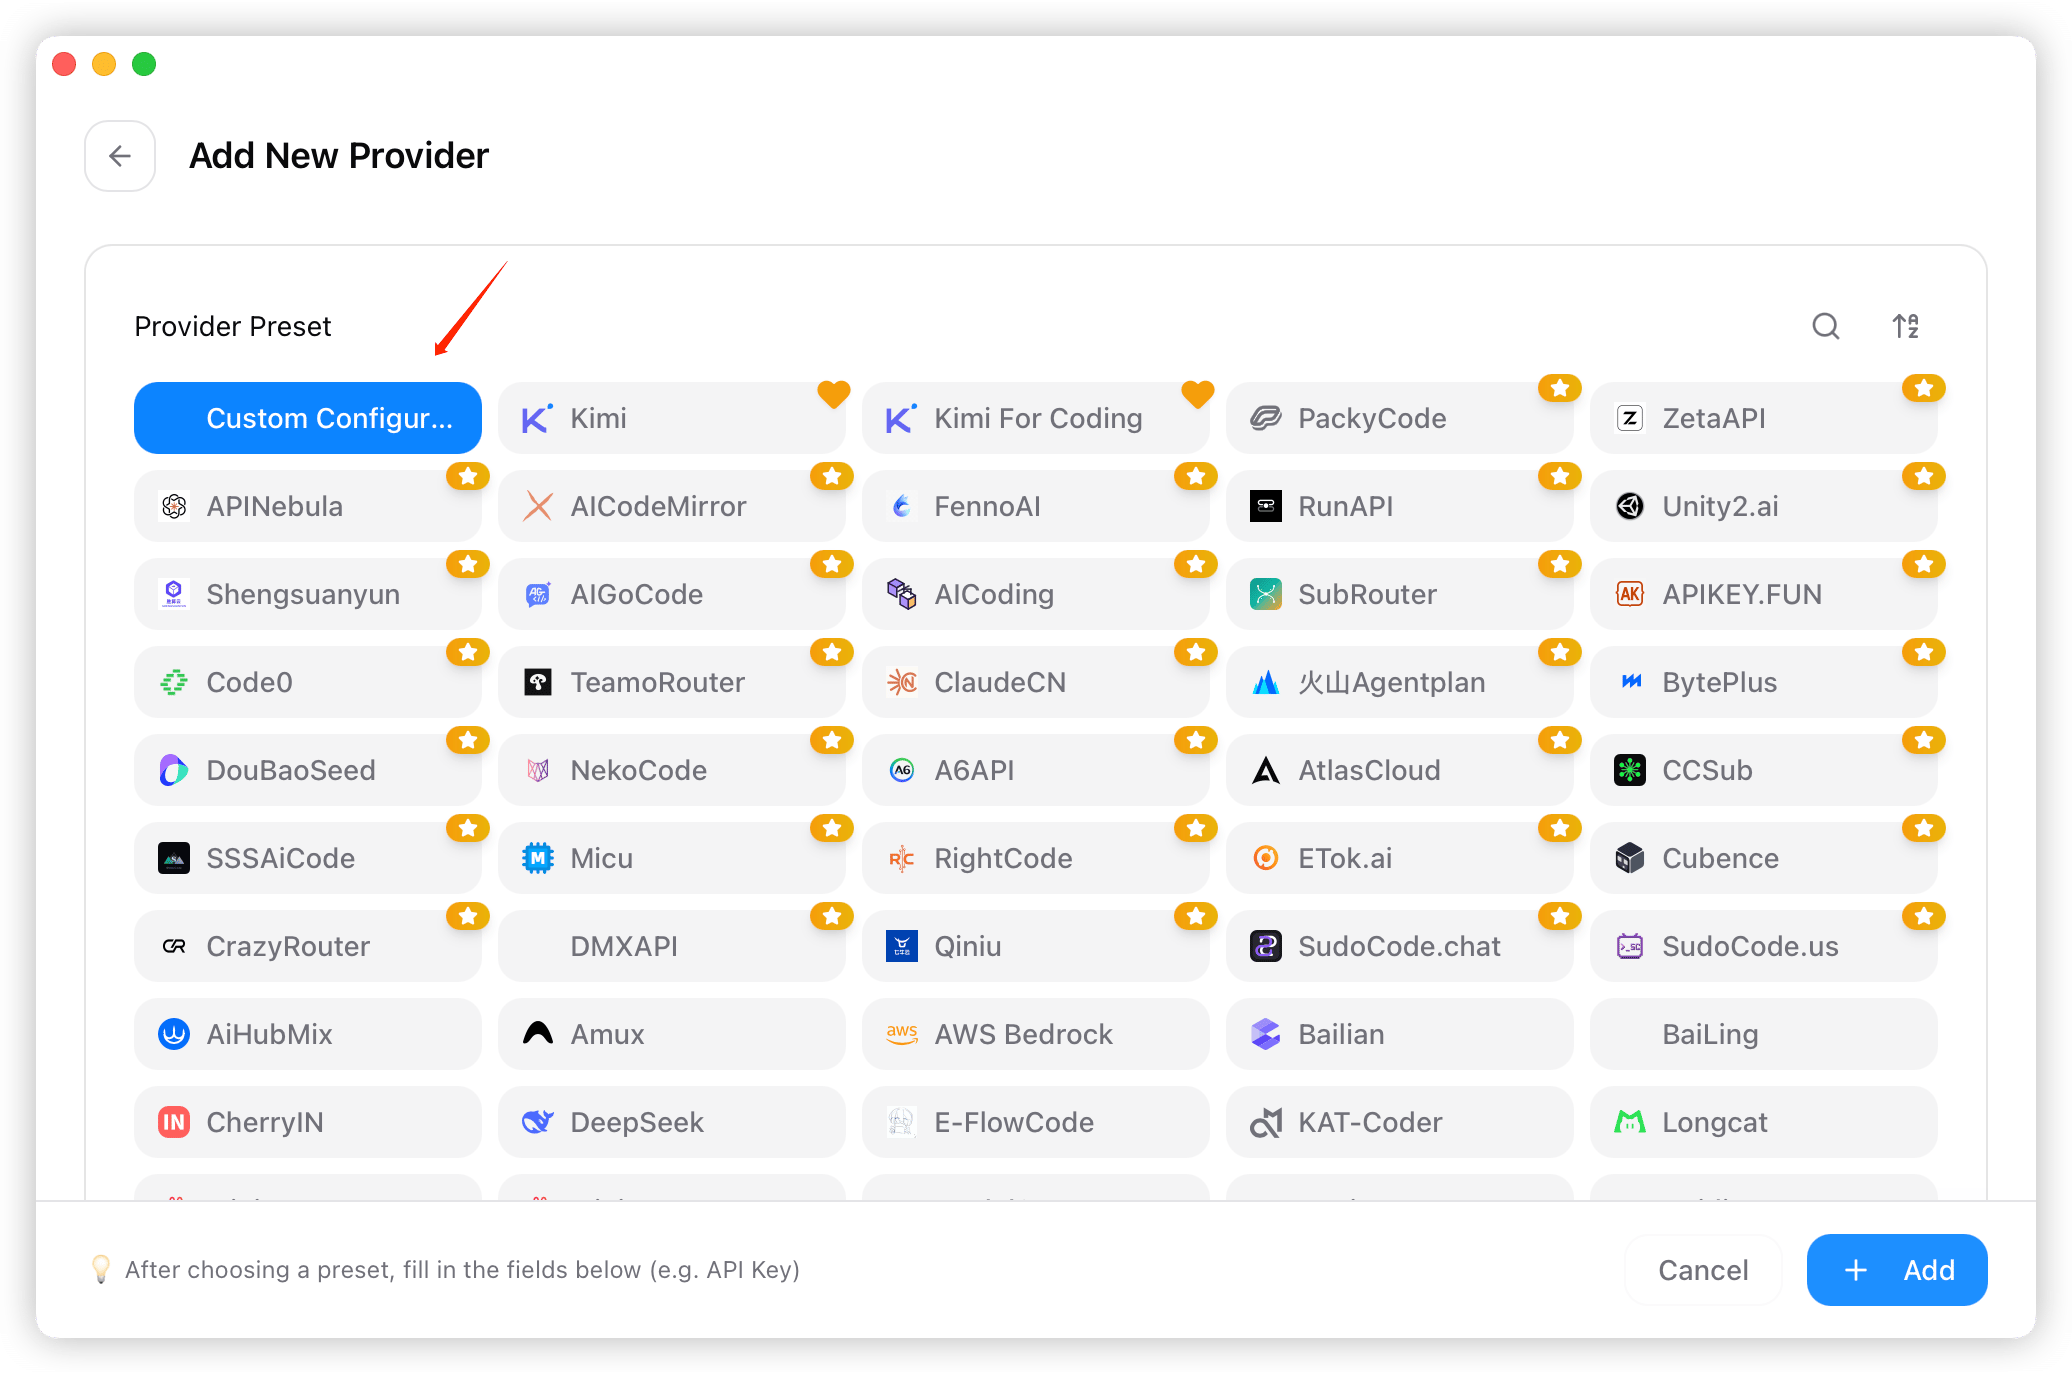
2. From the preset list, choose "Custom Configuration" as the provider.
<Frame>
  <img src="https://mintcdn.com/harogo/ahn9NfUxTetKpuxm/images/iShot_2026-08-07_18.07.24.png?fit=max&auto=format&n=ahn9NfUxTetKpuxm&q=85&s=a465de0d60cc8211610bc93c74f30248" alt="I Shot 2026 08 07 18 07 24" width="2072" height="1374" data-path="images/iShot_2026-08-07_18.07.24.png" />
</Frame>

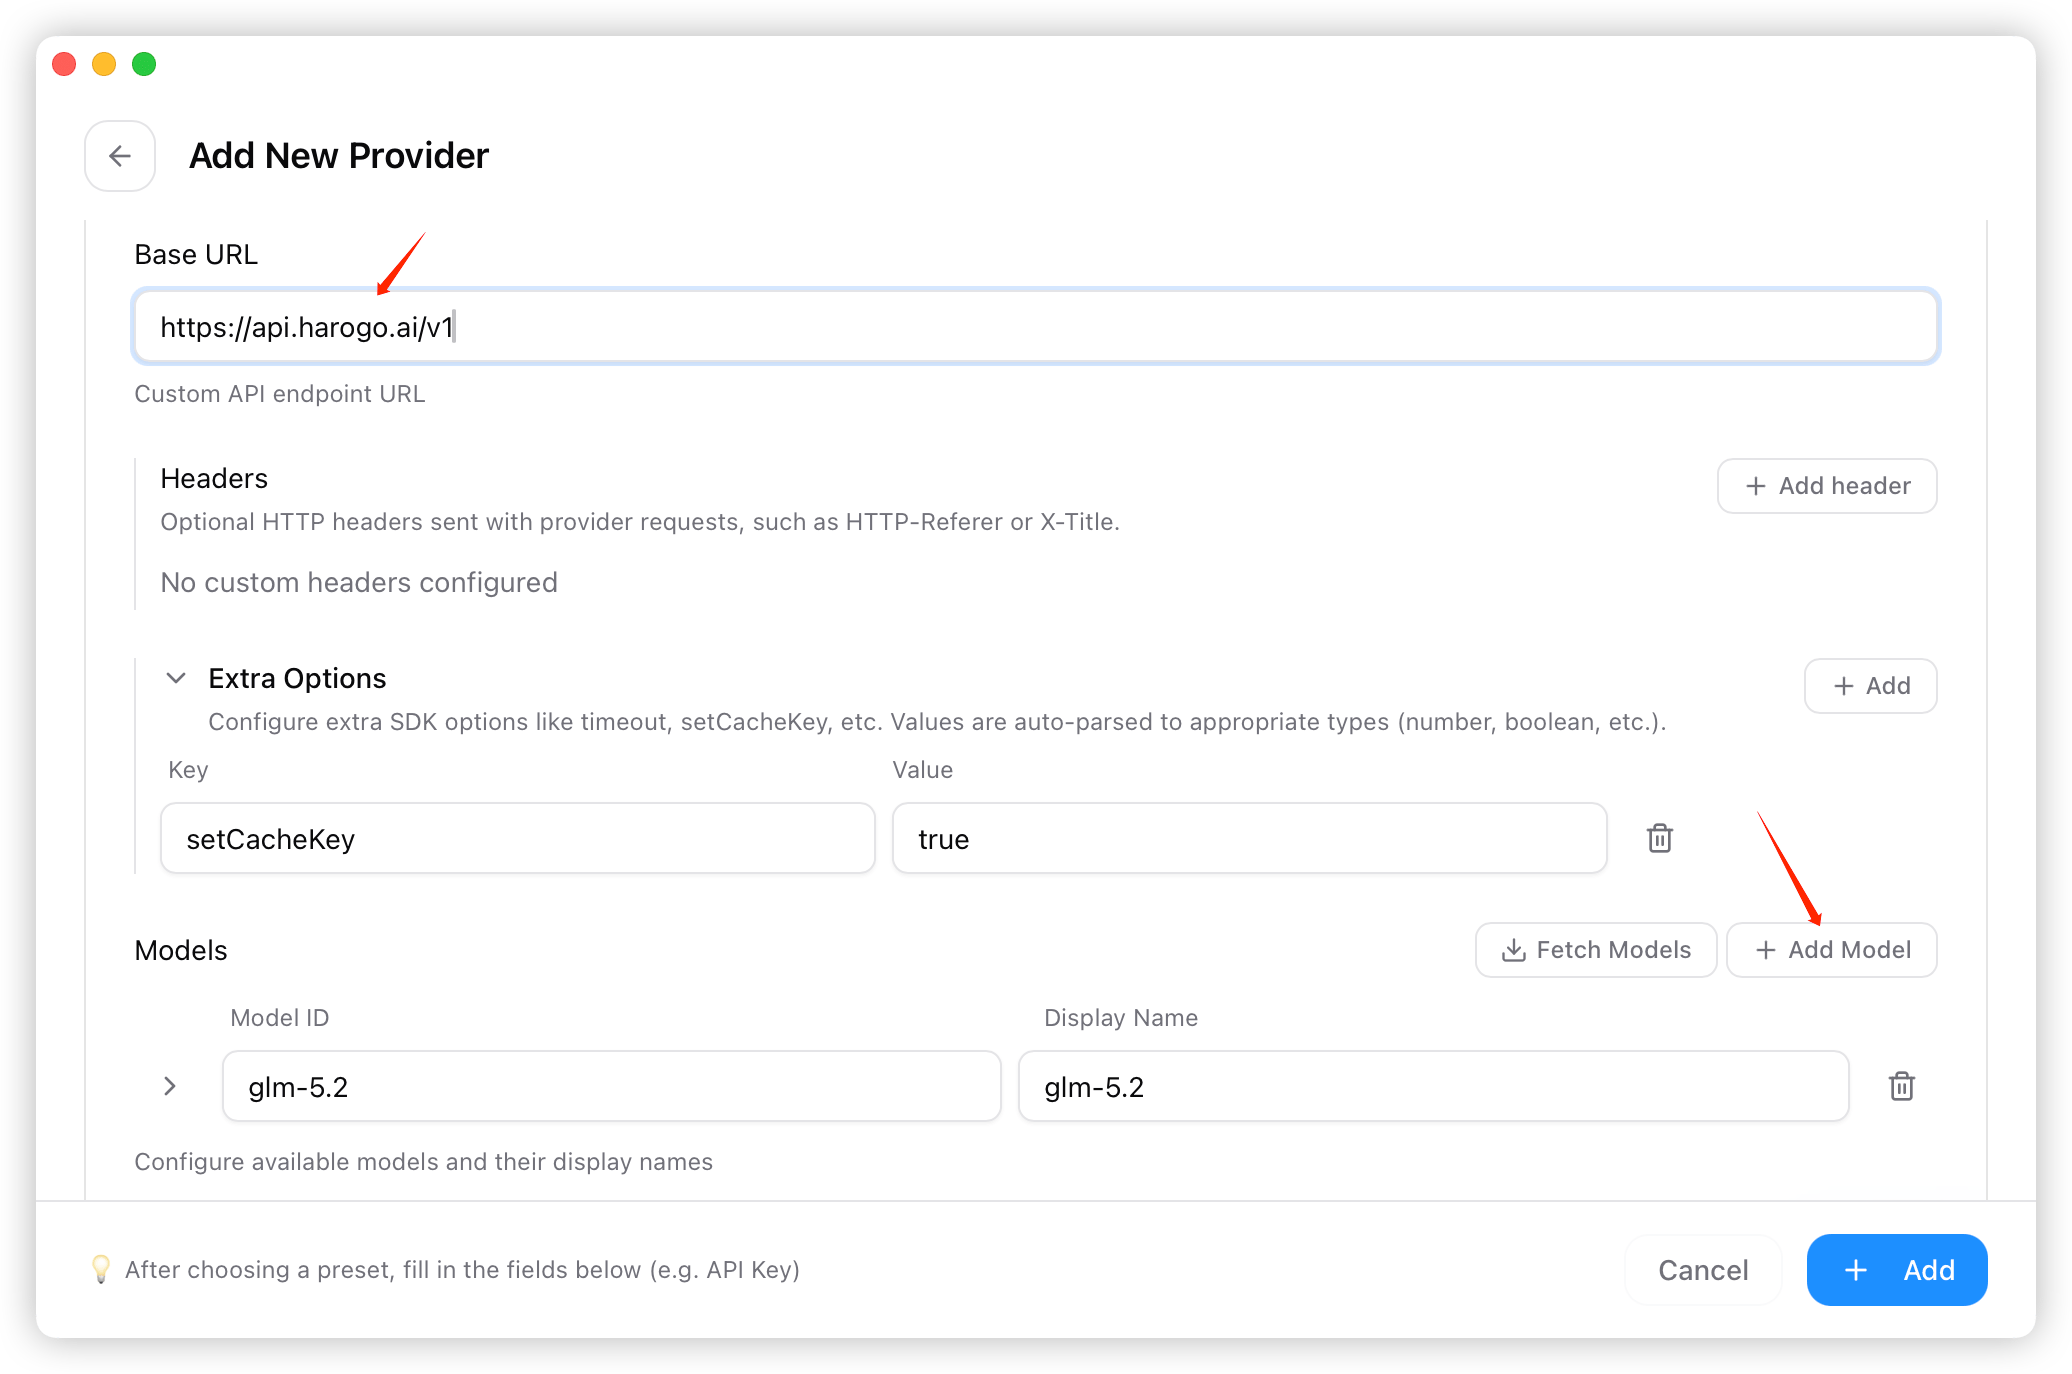
3. Fill in the provider key, name, API key, and endpoint ("[https://api.harogo.ai/v1](https://api.harogo.ai/v1)"), etc.
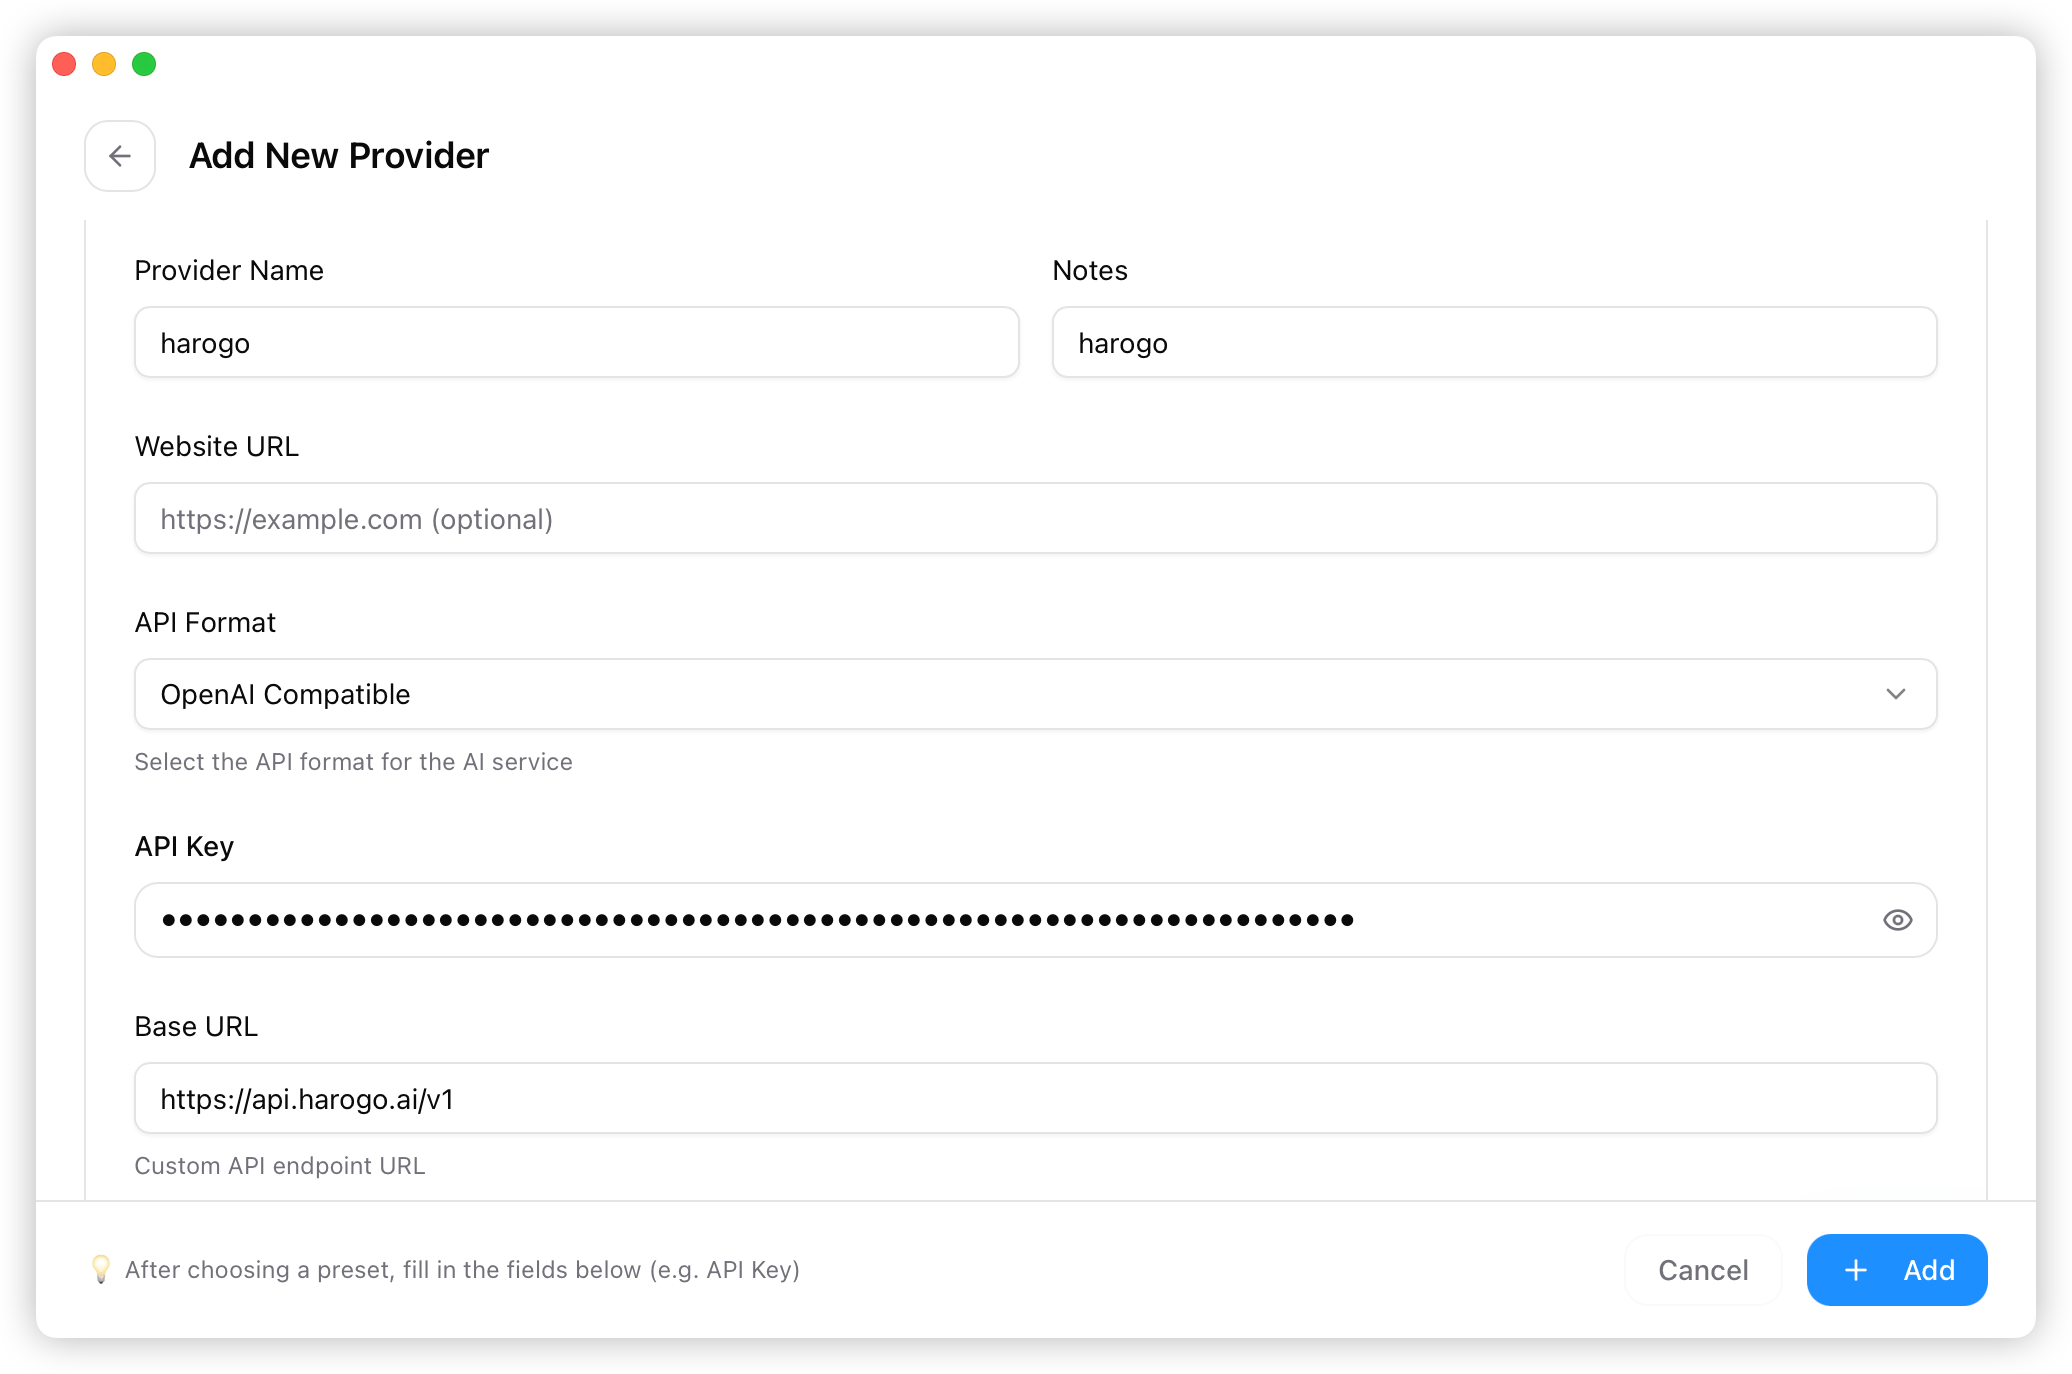
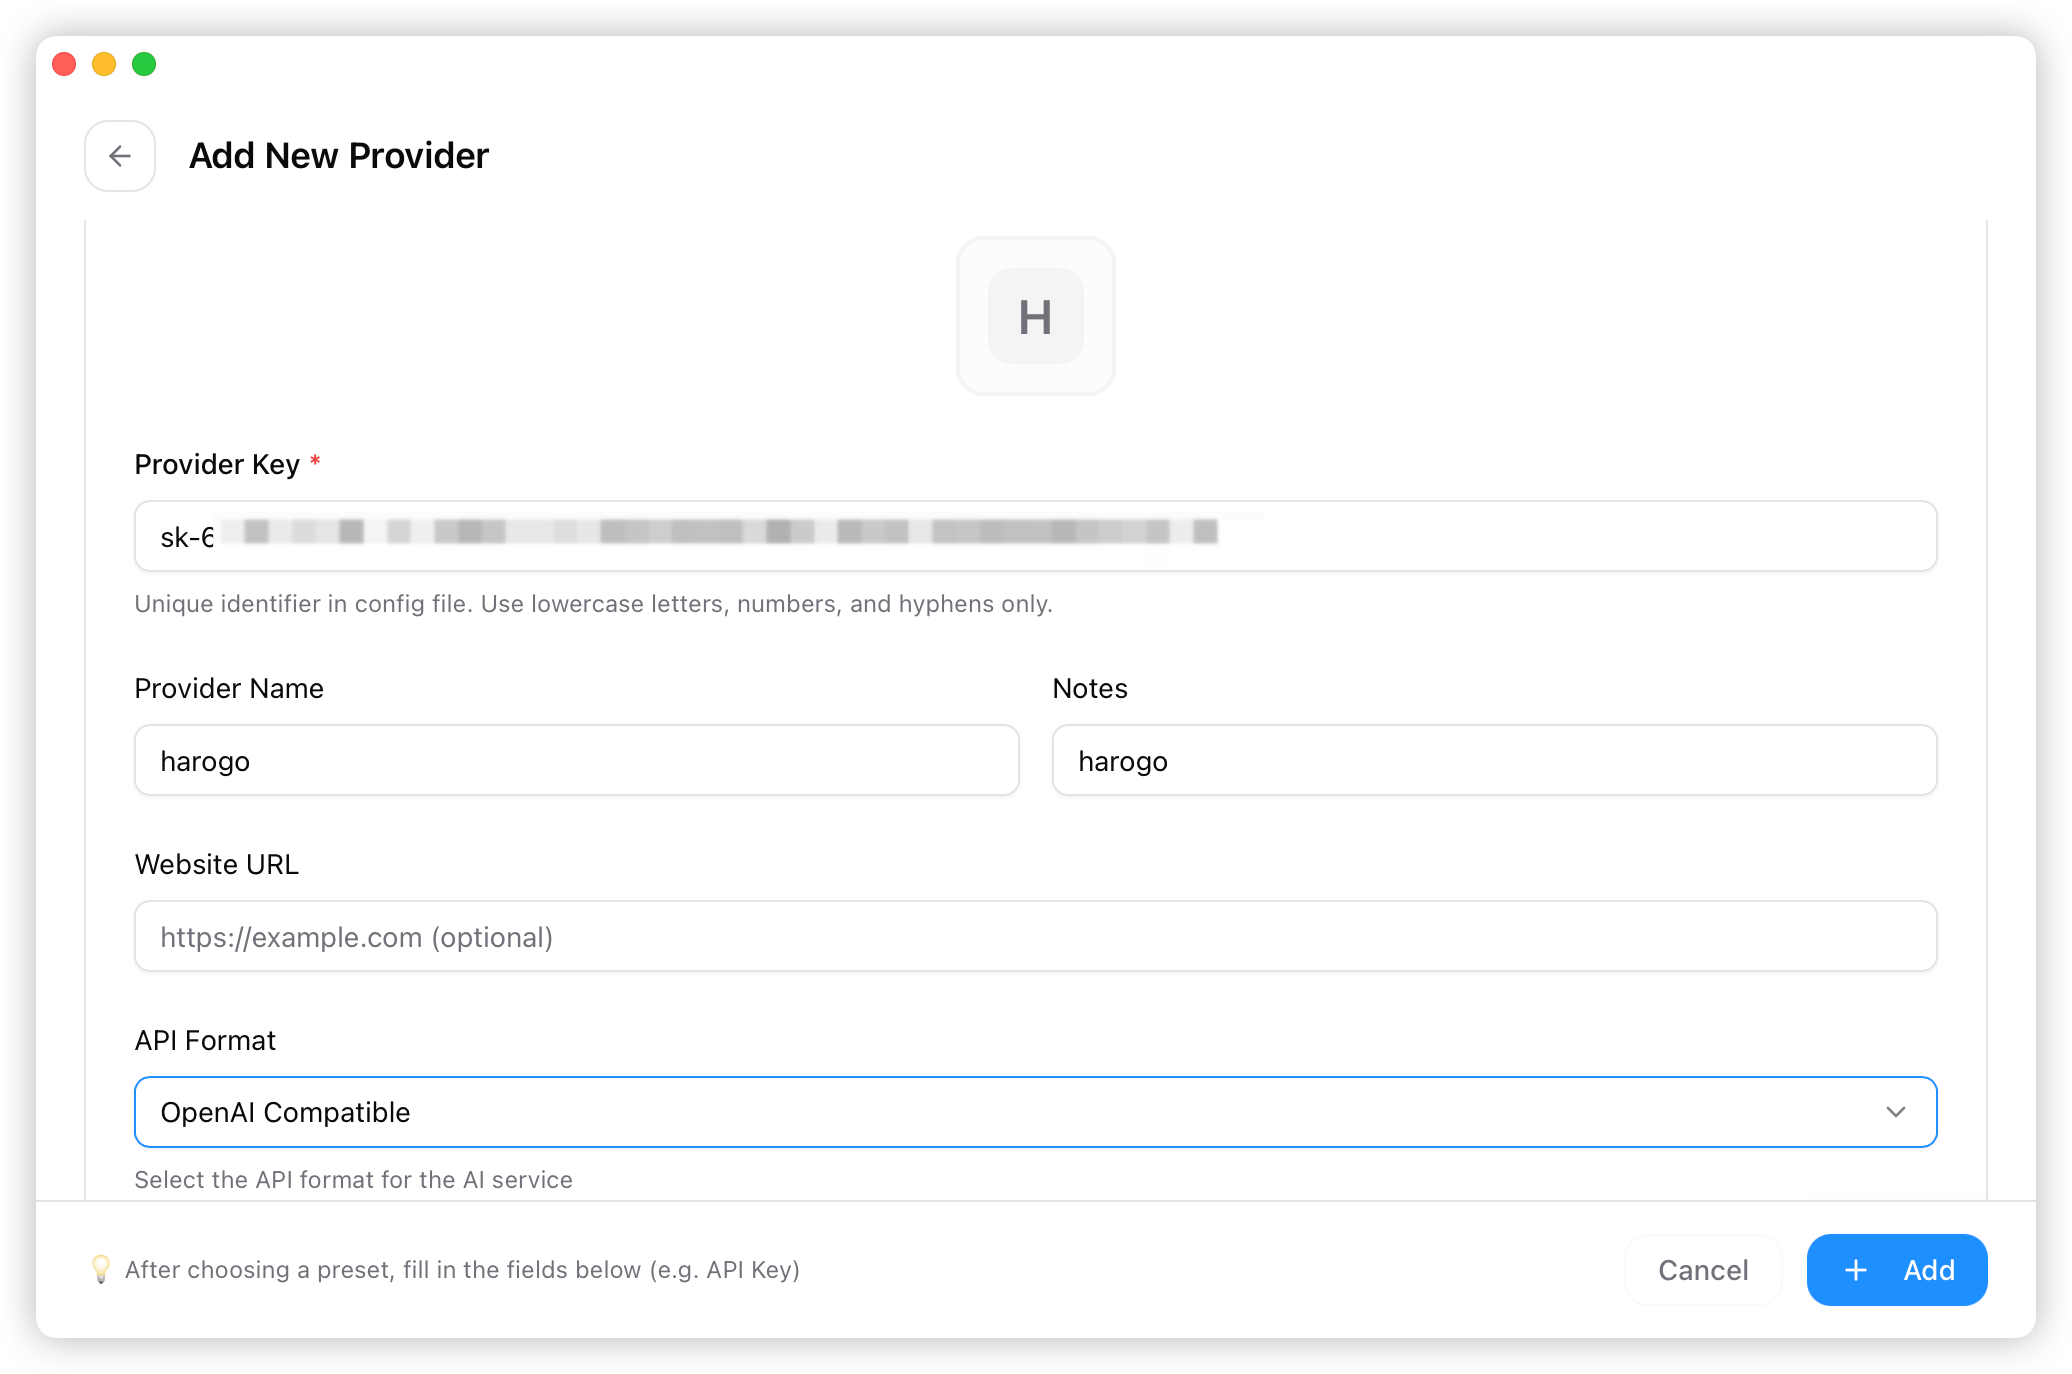
<Frame>
  <img src="https://mintcdn.com/harogo/ahn9NfUxTetKpuxm/images/iShot_2026-08-07_18.16.46.png?fit=max&auto=format&n=ahn9NfUxTetKpuxm&q=85&s=c85bc8402dd5cc55d9f2be449c57b7b0" alt="Filling in the provider configuration form" title="Filling in the provider configuration form" lightAlt="Filling in the provider configuration form" darkAlt="Filling in the provider configuration form" className="dark:hidden" width="2072" height="1374" data-path="images/iShot_2026-08-07_18.16.46.png" />

  <img src="https://mintcdn.com/harogo/ahn9NfUxTetKpuxm/images/iShot_2026-08-07_18.08.20.png?fit=max&auto=format&n=ahn9NfUxTetKpuxm&q=85&s=15017f7dad9e509d2ae7bca73acfb17a" alt="Filling in the provider configuration form" title="Filling in the provider configuration form" lightAlt="Filling in the provider configuration form" darkAlt="Filling in the provider configuration form" className="hidden dark:block" width="2072" height="1374" data-path="images/iShot_2026-08-07_18.08.20.png" />
</Frame>

4. Fill in the model information, then save.
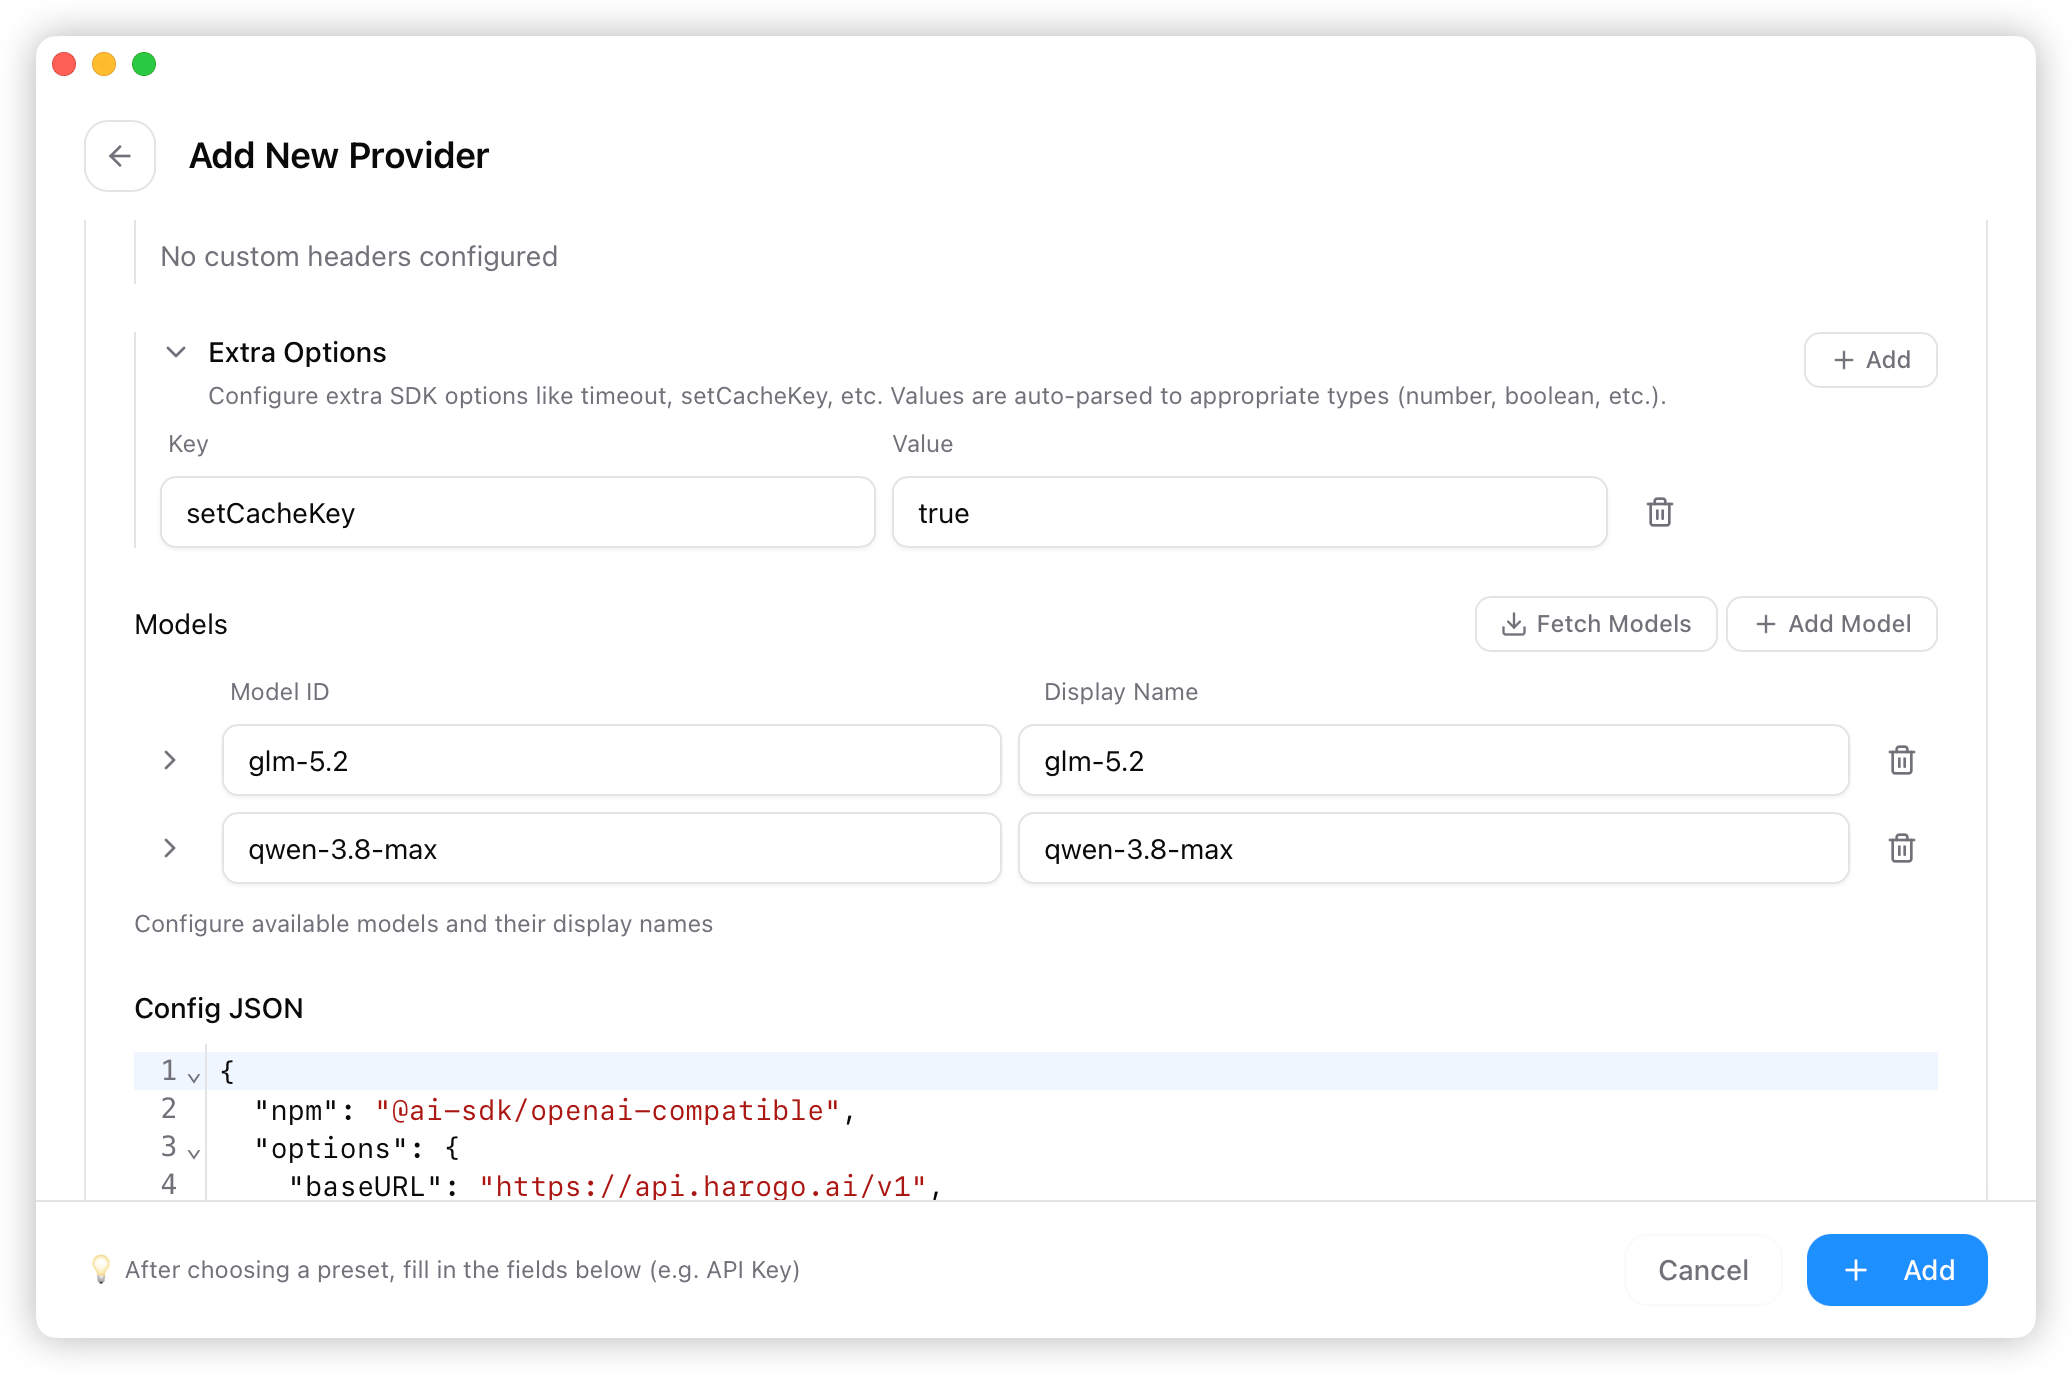
<Frame>
  <img src="https://mintcdn.com/harogo/ahn9NfUxTetKpuxm/images/iShot_2026-08-07_18.18.44.png?fit=max&auto=format&n=ahn9NfUxTetKpuxm&q=85&s=a76a105b4ae0f897a4972b296ee11b01" alt="Filling in the model configuration" title="Filling in the model configuration" lightAlt="Filling in the model configuration" darkAlt="Filling in the model configuration" className="dark:hidden" width="2072" height="1374" data-path="images/iShot_2026-08-07_18.18.44.png" />

  <img src="https://mintcdn.com/harogo/ahn9NfUxTetKpuxm/images/iShot_2026-08-07_18.09.03.png?fit=max&auto=format&n=ahn9NfUxTetKpuxm&q=85&s=8d577825c2b6929965d0ab7d88cd8a4e" alt="Filling in the model configuration" title="Filling in the model configuration" lightAlt="Filling in the model configuration" darkAlt="Filling in the model configuration" className="hidden dark:block" width="2072" height="1374" data-path="images/iShot_2026-08-07_18.09.03.png" />
</Frame>

5. Back on the home screen, select "harogo" from the provider list and click "Use."
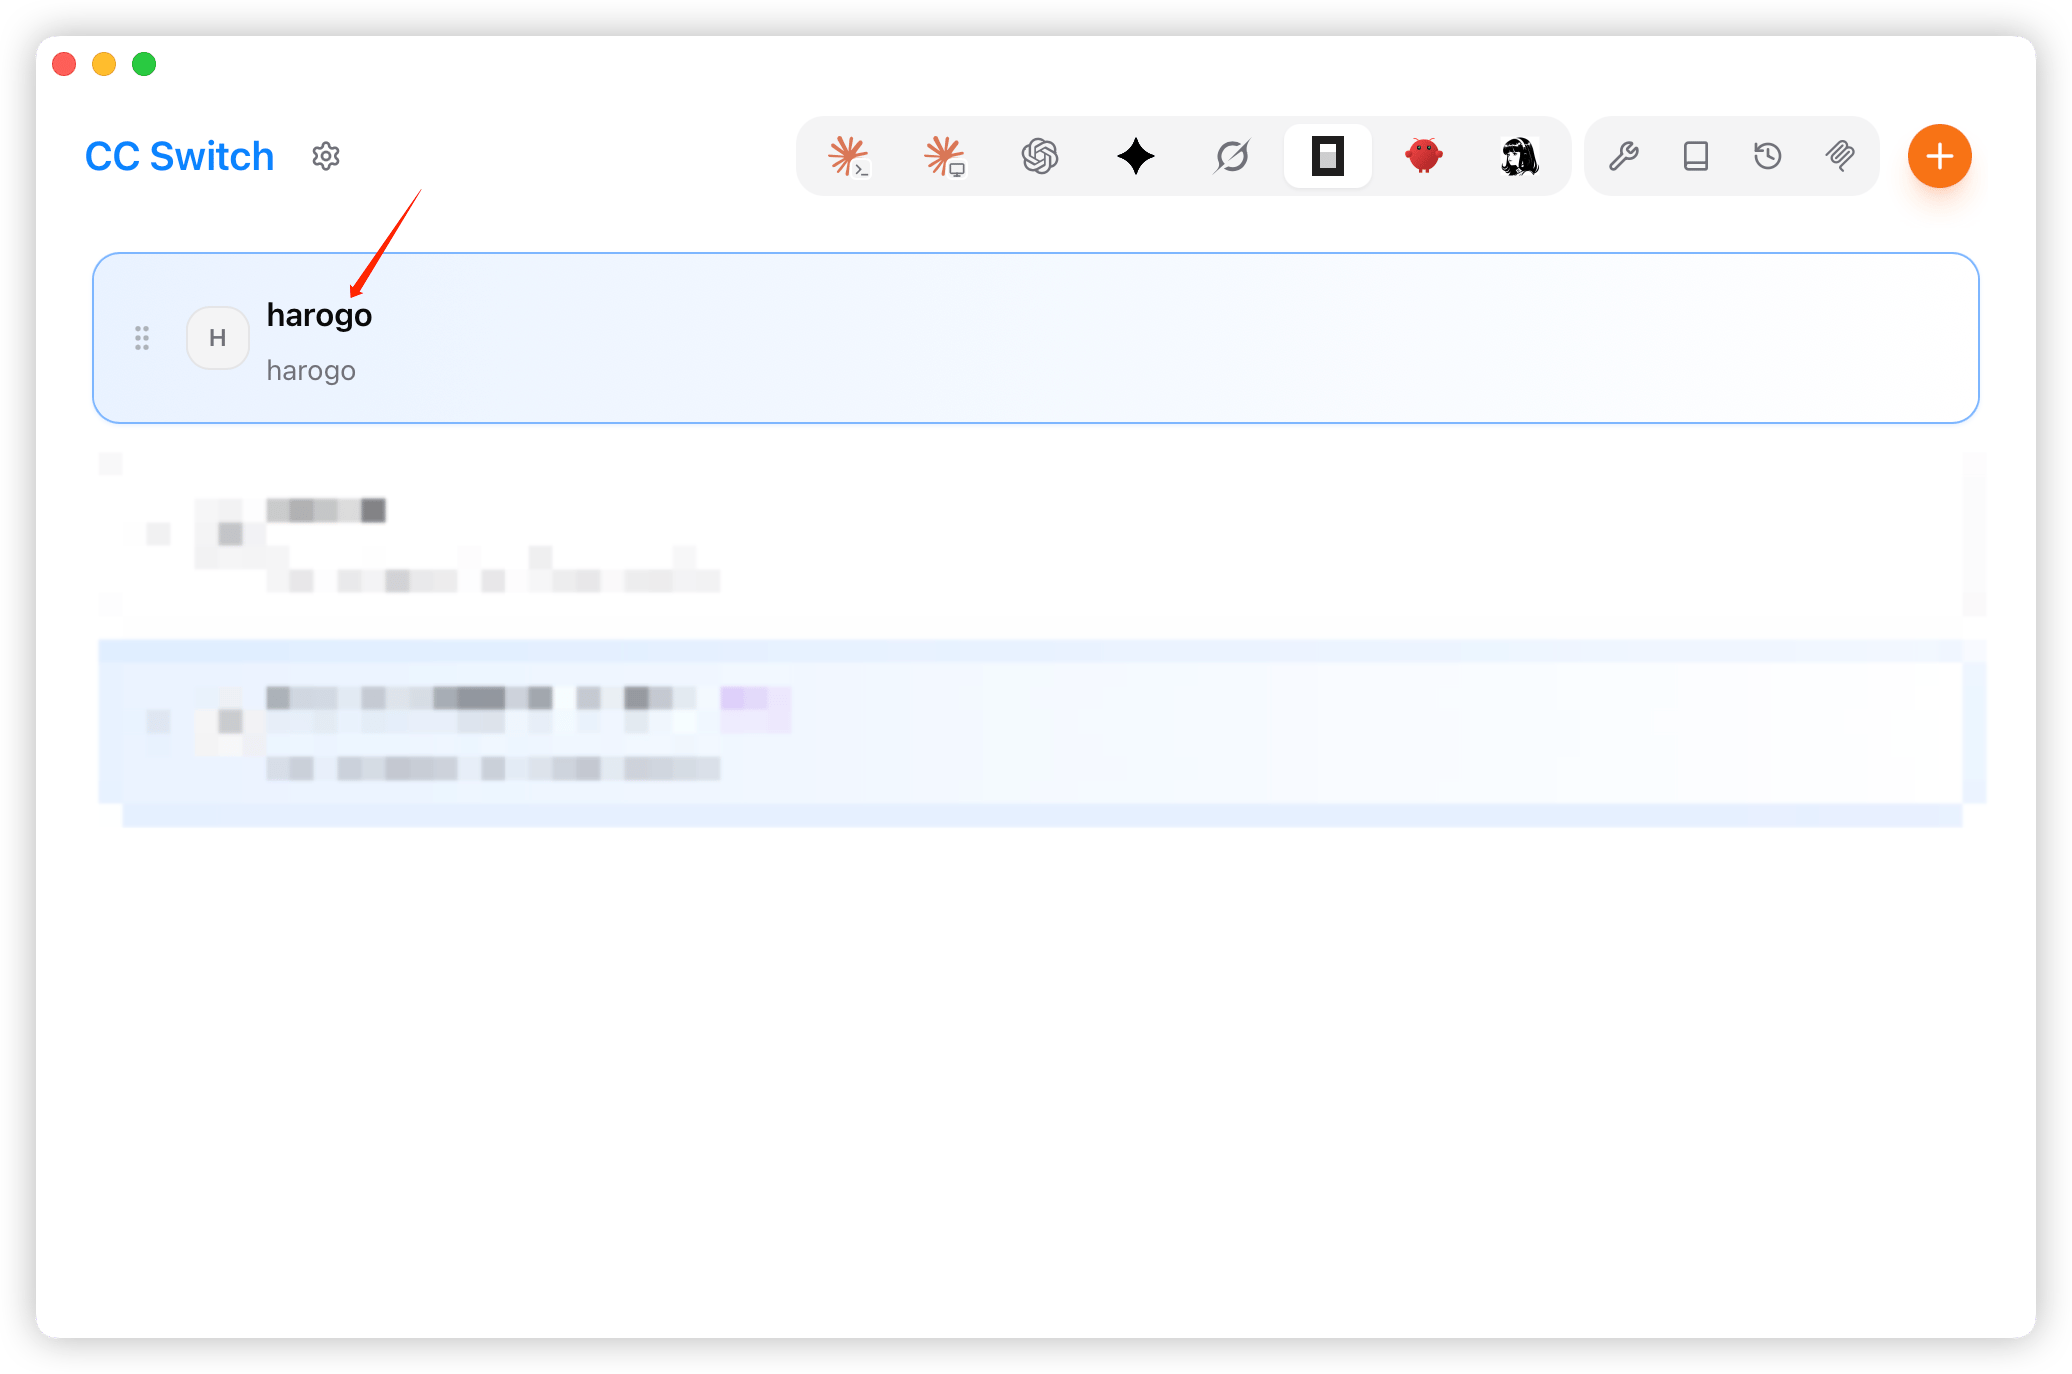
<Frame>
  <img src="https://mintcdn.com/harogo/ahn9NfUxTetKpuxm/images/11.png?fit=max&auto=format&n=ahn9NfUxTetKpuxm&q=85&s=1def4d7582f64eb85b6ca3ce2e8e4bcb" alt="11" width="2072" height="1374" data-path="images/11.png" />
</Frame>

***

## 3. Using the Model

### 1. Verify the Installation

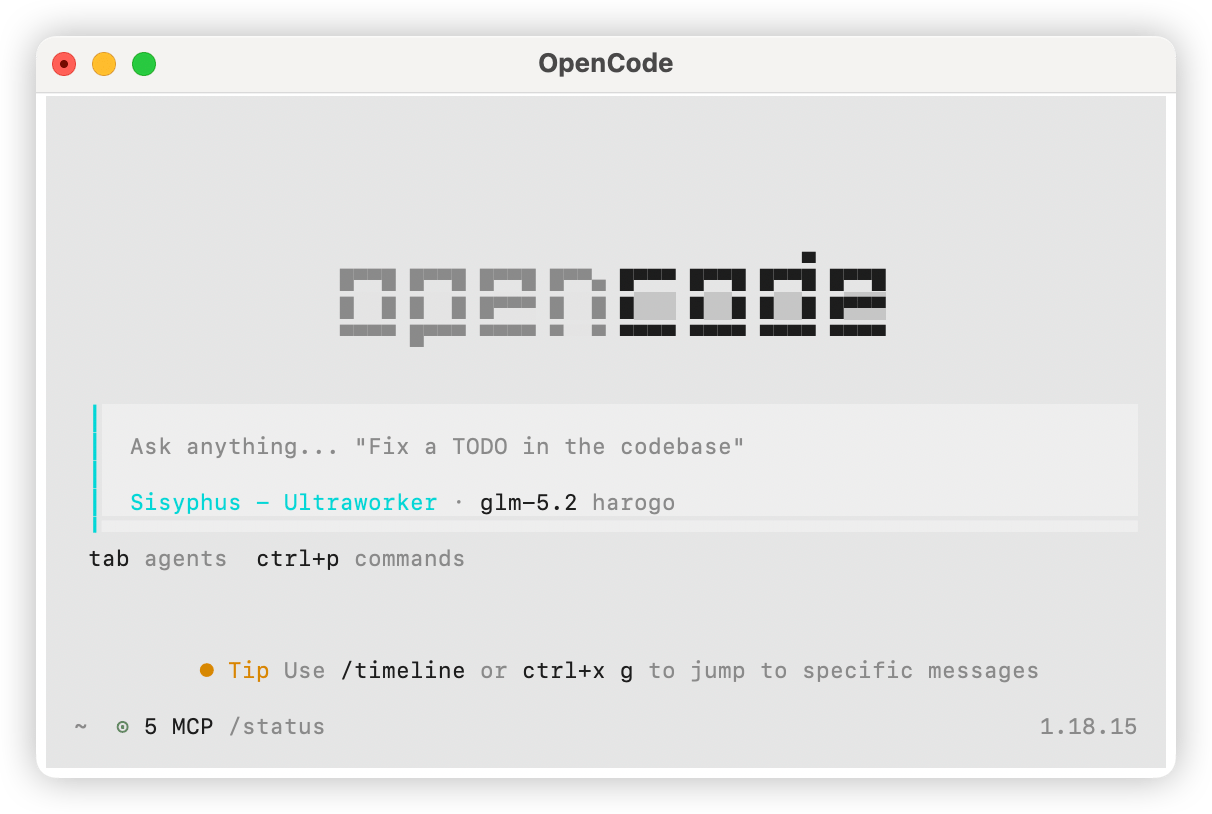
You can verify that OpenCode installed and configured correctly with the following command:

```text theme={null}
opencode
```
<img src="https://mintcdn.com/harogo/ahn9NfUxTetKpuxm/images/iShot_2026-08-07_18.21.30.png?fit=max&auto=format&n=ahn9NfUxTetKpuxm&q=85&s=9443d2a7bf806ffd7d73c331633e26d3" alt="Opencode 3" width="2750" height="1420" data-path="public/cn/opencode-3.jpg" data-path="images/iShot_2026-08-07_18.21.30.png" />

### 2. Select a Model

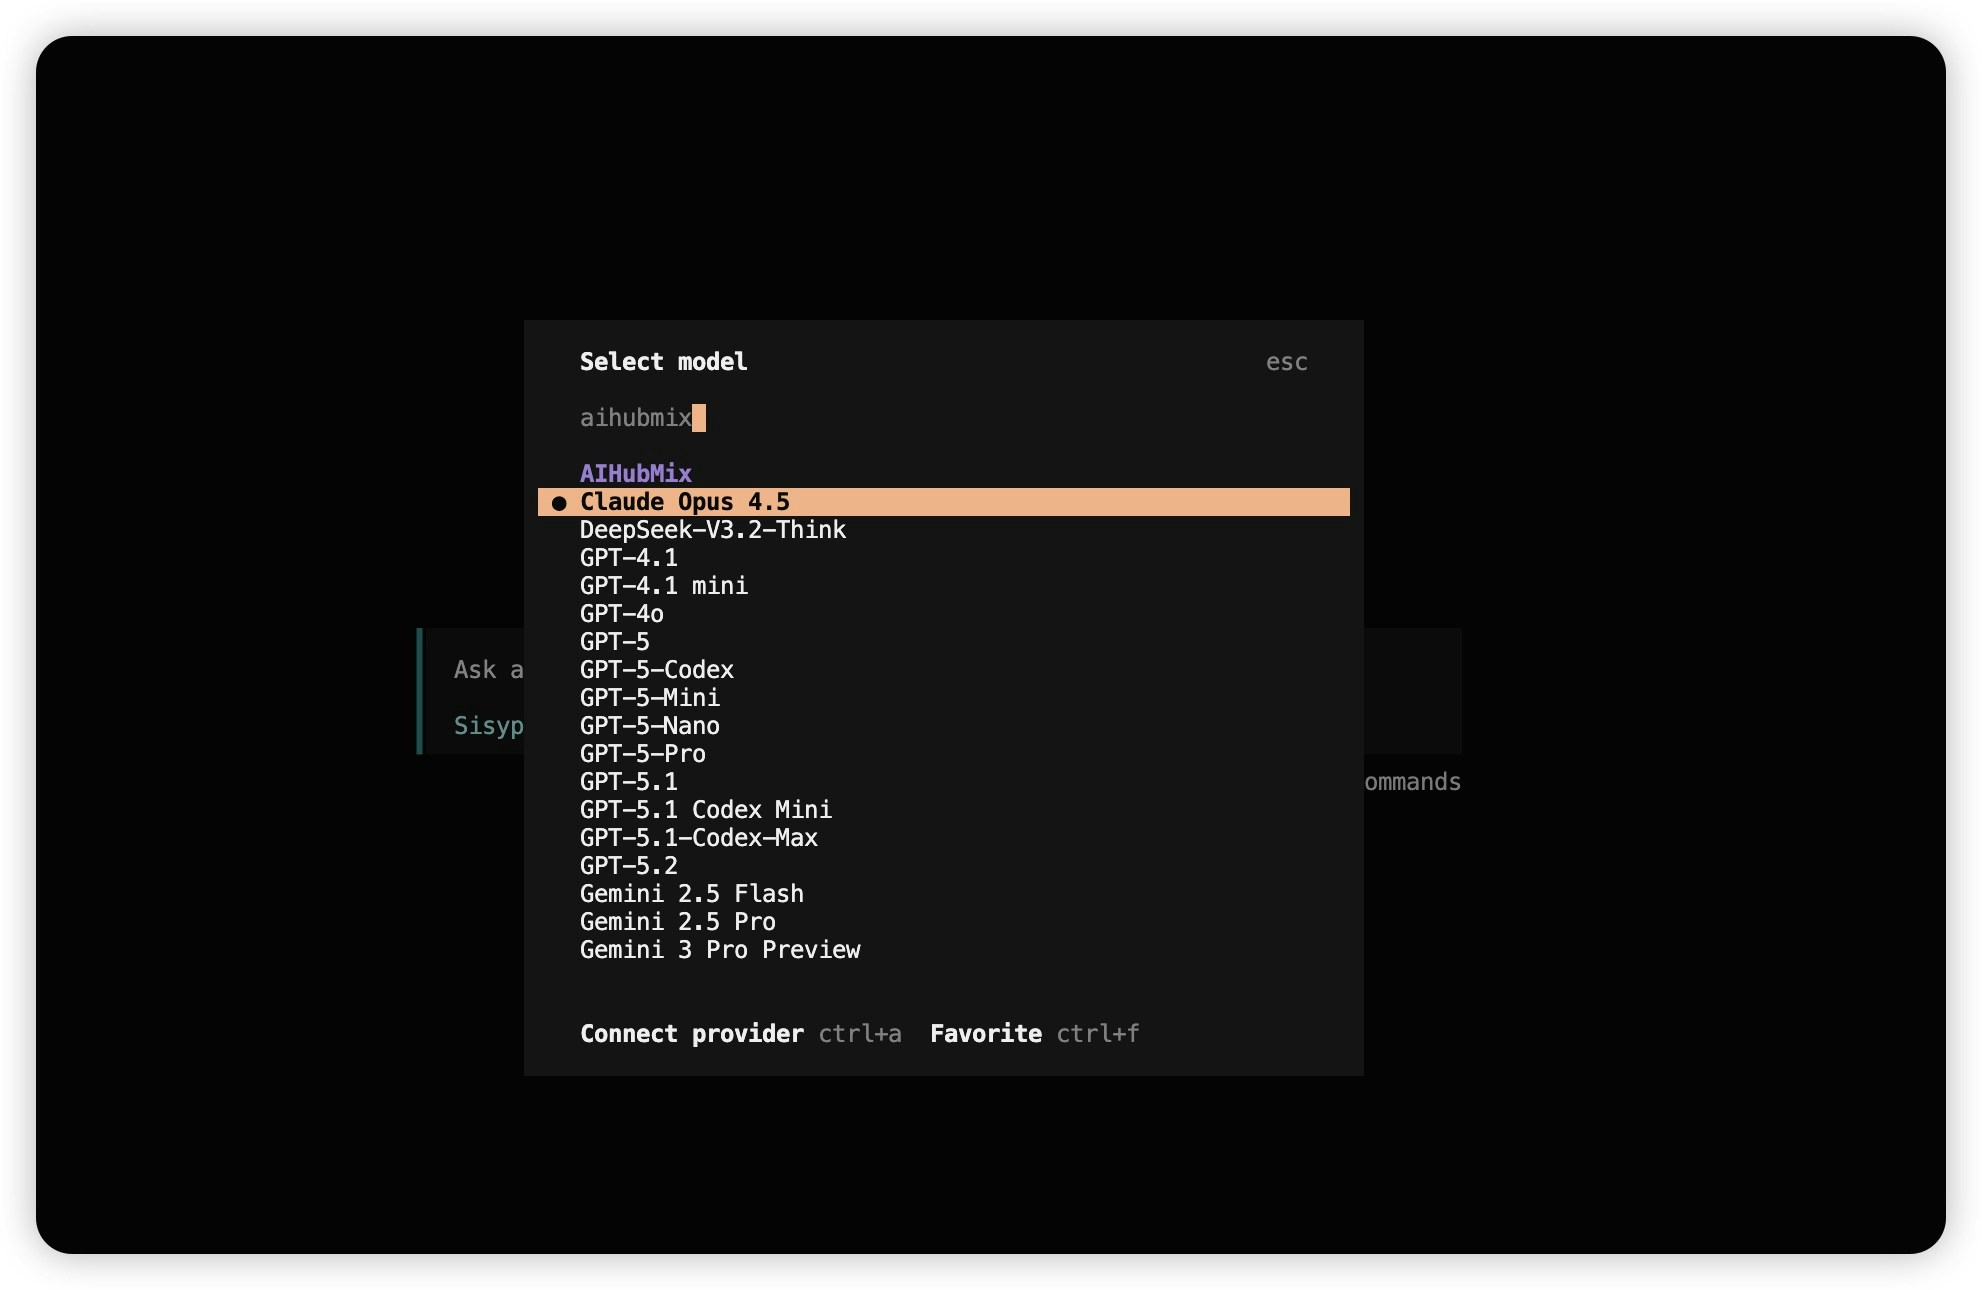
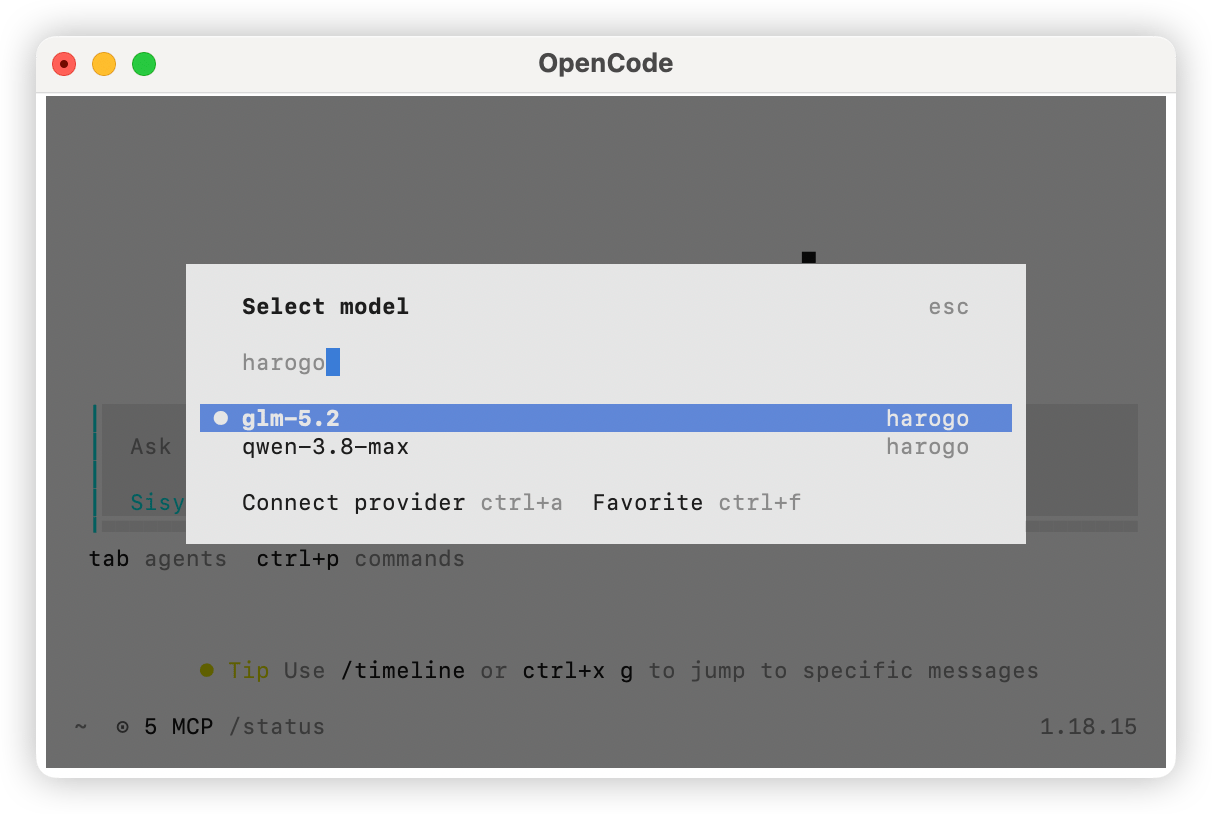
Type `/models`, search for `harogo`, and pick the model you want.
<img src="https://mintcdn.com/harogo/ahn9NfUxTetKpuxm/images/iShot_2026-08-07_18.22.23.png?fit=max&auto=format&n=ahn9NfUxTetKpuxm&q=85&s=86b8836b83460ce4ce6a8544d88e25c1" alt="Opencode 4" width="1982" height="1290" data-path="public/cn/opencode-4.jpg" lightAlt="Opencode 4" darkAlt="Opencode 4" className="dark:hidden" data-path="images/iShot_2026-08-07_18.22.23.png" />

<img src="https://mintcdn.com/aihubmix/aax4hBrhzzthbrWx/public/cn/opencode-4.jpg?fit=max&auto=format&n=aax4hBrhzzthbrWx&q=85&s=09d8bbf66f1069fe42f85beb2f0297c5" alt="Opencode 4" width="1982" height="1290" data-path="public/cn/opencode-4.jpg" lightAlt="Opencode 4" darkAlt="Opencode 4" className="hidden dark:block" />